Misplaced chairs, doorknobs, and a spontaneous game of football have one thing in common – they can easily damage your drywall. This guide will make the process of repairing drywall easy for anyone! All you need are the right tools, a Drywall Patch Kit, and a free afternoon. This guide focuses on the drywall patch method, which is suitable for holes up to six inches in diameter. By the time you finish your repairs, your wall will look as good as new.
Step 1: Choose Patch Size
Before you begin any repair work, measure the hole you are covering so you can pick up the right patch for the job—the patch should overlap an inch or two past the edge of the hole.
Our drywall patches come in 4" x 4", 6" x 6", or 8" x 8".
Step 2: Find Studs
Next, use a stud finder to find and mark the nearest studs on either side of the hole you plan to repair. You don't want to accidentally cut into them or any electrical wiring that may be close by.
Step 3: Clean Up Damaged Area
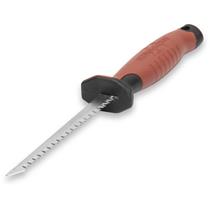
Using a utility saw, carefully cut around the hole to make a uniform rectangle. This creates an even surface to work with and prevents you from extra work down the road because the frayed edges of the hole could push against the joint compound as you work. Then, vacuum up any drywall dust.
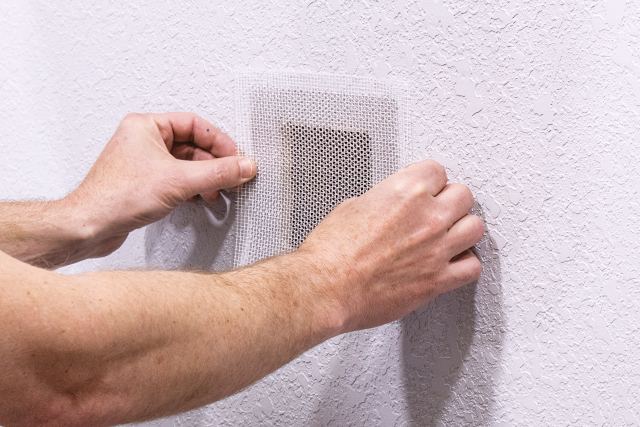
Step 4: Apply Drywall Patch
Remove the paper backing from the patch and place the drywall patch (sticky side down) over the hole. Run your fingers over the edges of the patch to ensure it is firmly adhered to the wall.
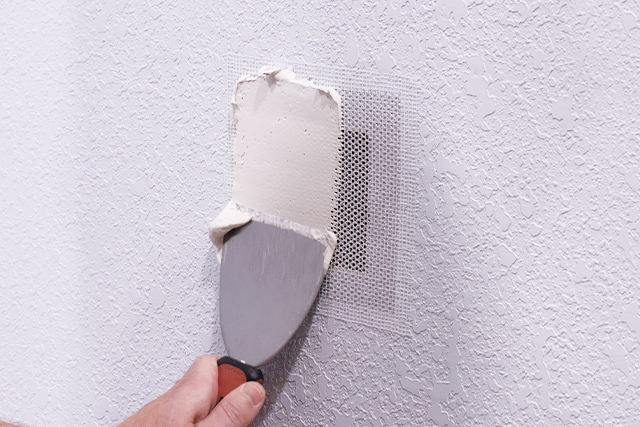
Step 5: Spread and Smooth Joint Compound
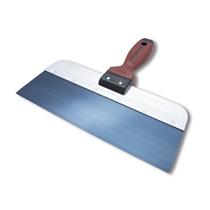
For this step, you need your joint compound and a flexible joint knife. A flexible joint knife does a far better job at evenly pressing joint compound through the patch's mesh for a longer-lasting, more durable repair job. Spread the joint compound over the patch in a crisscross pattern to ensure a complete bond. Then "feather out" the edges so the compound blends in with the surrounding wall for a flat finish.
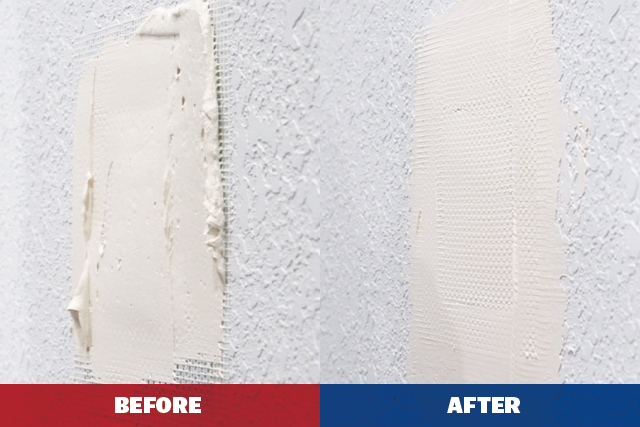
Step 6: Sand and Reapply Joint Compound
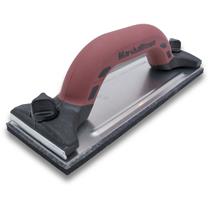
Once the joint compound is completely dry, lightly sand over any high spots with a dry sanding sponge or hand sander. Then, reapply joint compound as necessary.
Step 7: Add Texture
If you have smooth walls with no texture, skip to step 8!
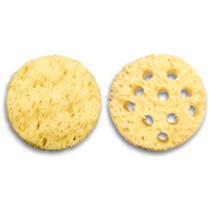
Before texturing, make sure the drywall patch area is free of dust and debris. While you're waiting for it to dry, go ahead and mix more joint compound. Mix four parts joint compound and one part water until the mixture has the consistency of pancake batter. This is the best consistency for texture sponges to grip onto. There are two types of texture sponges: orange peel and knockdown.
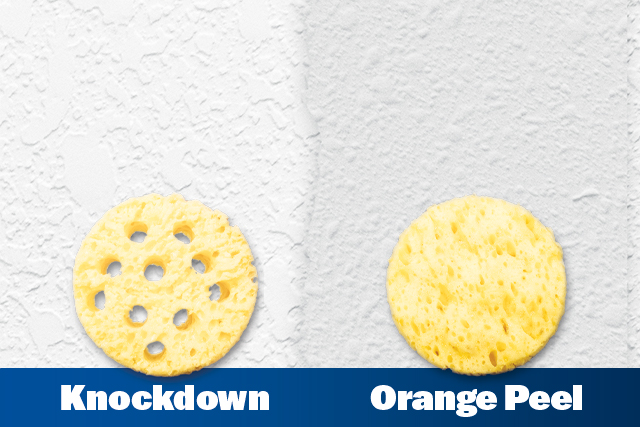
1. Orange Peel Texture
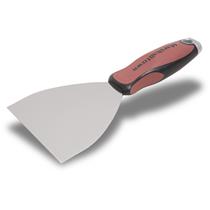
Pick up a small amount of thinned compound with your texture sponge and lightly dab it against the wall, starting in the center and moving outward. Make sure to get the existing drywall as well so the new area blends in. Repeat this motion until you are satisfied with your texture work. If you mess up, you can always scrape off the joint compound with a taping knife and start over!
2. Knockdown Texture
For those of you with knockdown texture, the process requires a tad bit more trial and error to achieve the desired effect. This texture differs from orange peel because it leaves behind voids and peaks that you gently "knockdown" with a taping knife. If you maintain a gentle touch, work in sections, and stay patient, you can achieve a professional looking knockdown texture on your own. Pick up a small amount of compound and dab it against the wall, leaving plenty of flat spaces between clumps of compound. Wait 10 to 15 minutes for it to dry some and then grab your taping knife. Lightly drag it down over the semi-dry compound to flatten the peaks into the voids your sponge left behind. If you aren't satisfied, sand down the texture and try again!
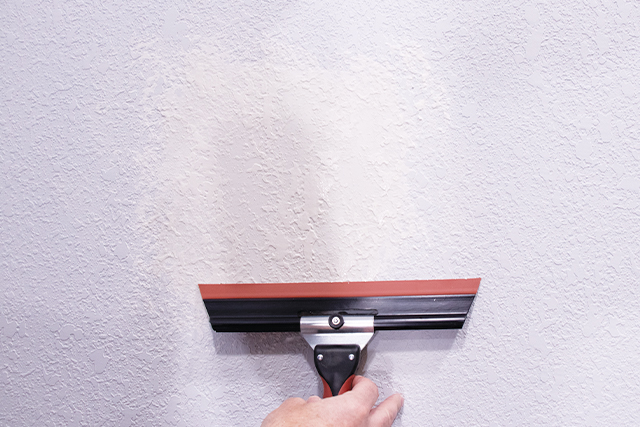
Work in sections, and always clean your blade of compound after each pass over your texture.
Step 8: Finishing Steps
Once the wall is completely dry, you can apply primer and paint. Now, you are left with a wall that looks new again!