Pouring concrete is a big job, but it can still be done well by a DIYer. Before you start, it is important to understand the tools needed to do the job. This guide will go through the basic finishing tools needed to achieve a professional finished slab of concrete.

When you are working with concrete, you need to wear gloves to prevent potential concrete burns. We recommend heavy-duty, chemical-resistant, waterproof gloves.
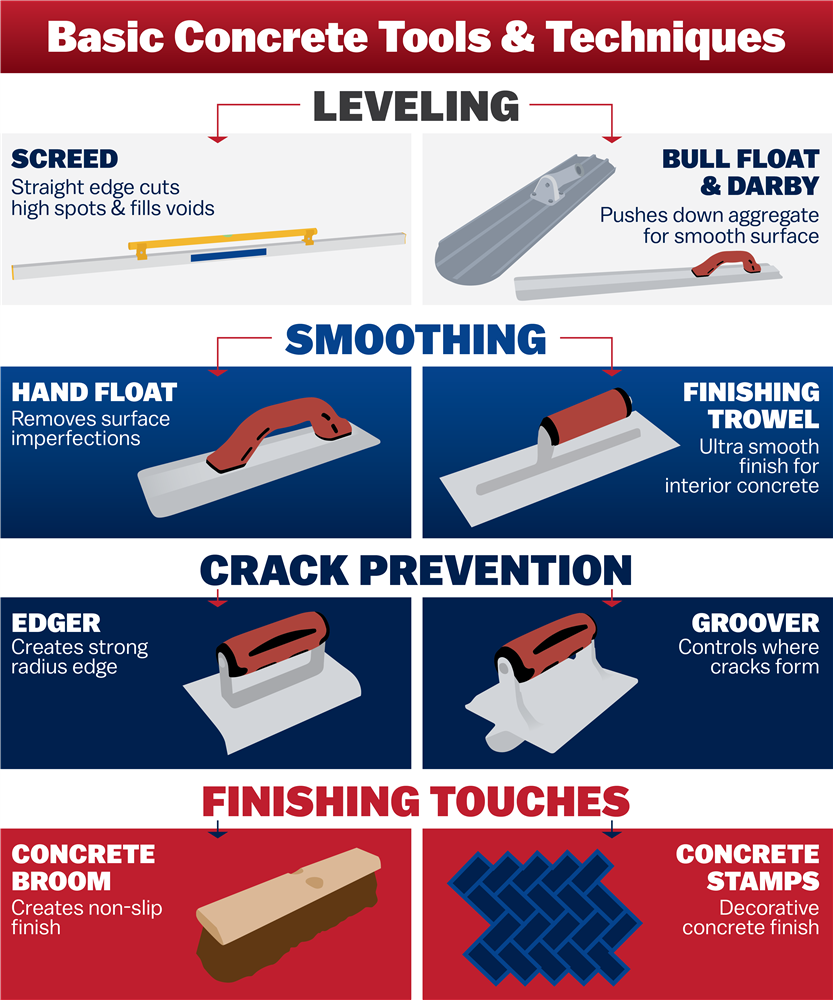
There are four categories to discuss:
1. Leveling
2. Smoothing
3. Crack Prevention
4. Final Touches
Each category has a different purpose, but one thing remains constant – timing. The important thing to know is when to use each tool. This will make a difference between a low-quality finish and a professional-quality finish.
Leveling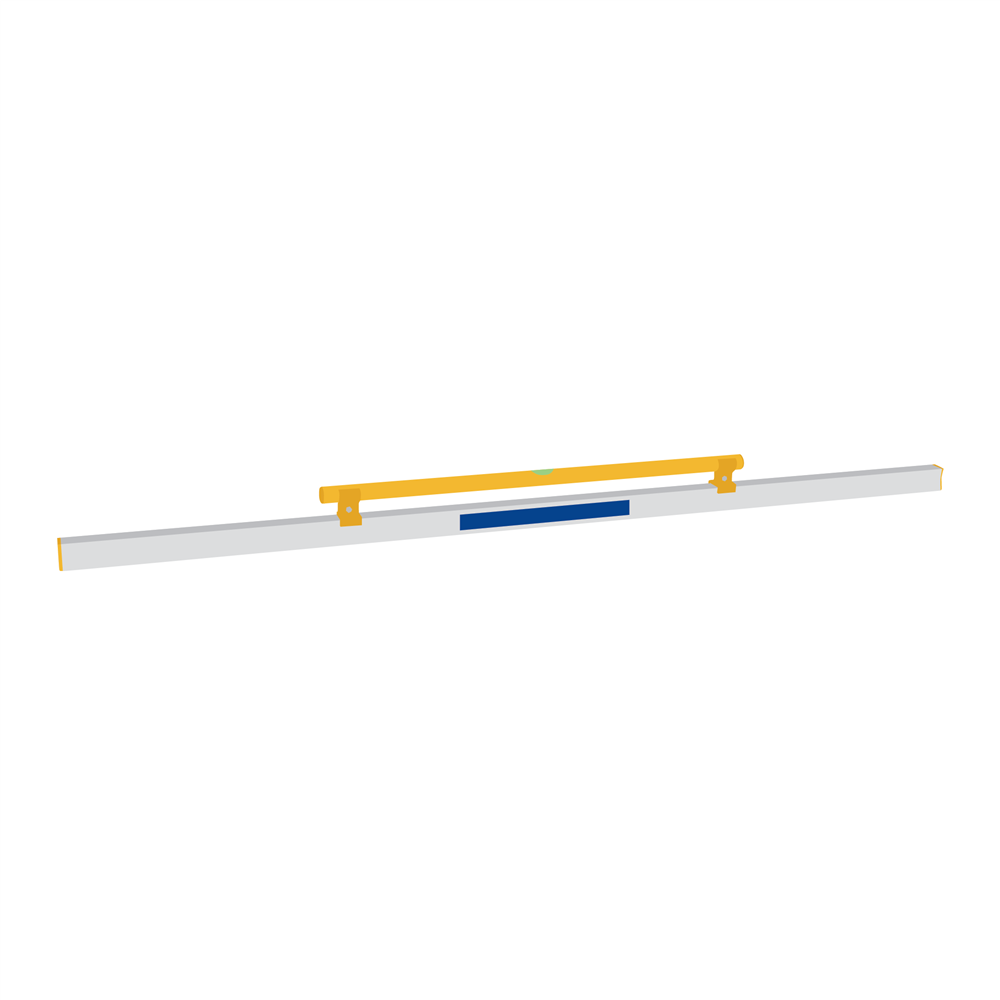
The goal of leveling is to cut high spots and fill voids until the surface is level with the form boards.
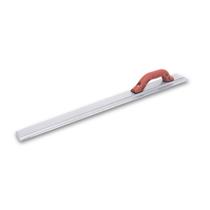
1. Screed
What: A screed is a straight edge used to level concrete. This can be a 2 x 4 or a lightweight aluminum screed that spans the width of your slab.
When: Screeding can take place almost as soon as the concrete hits the subbase. You can screed in sections as you pour or wait until the forms are filled. Screeding in sections ensures more consistent results.
How: Rest the screed on top of the forms. These will support and help guide the screed. Now, skim the screed over the surface, smoothing out lumps and bumps and filling in low spots. Move in a back-and-forth sawing motion, slowly moving forward the length of the slab. If there are low spots the screed can’t reach, toss in a handful of excess concrete, then repeat the process. If you notice any voids too deep for the Screed to fill completely, grab a handful of excess concrete and toss it onto the void. Then, screed over the area again to level it.
Repeat this process until you’ve screeded the entire length of your slab.

The key to screeding properly is to avoid letting the screed sink down into wet concrete. This will create more work later when you have to refill the holes.
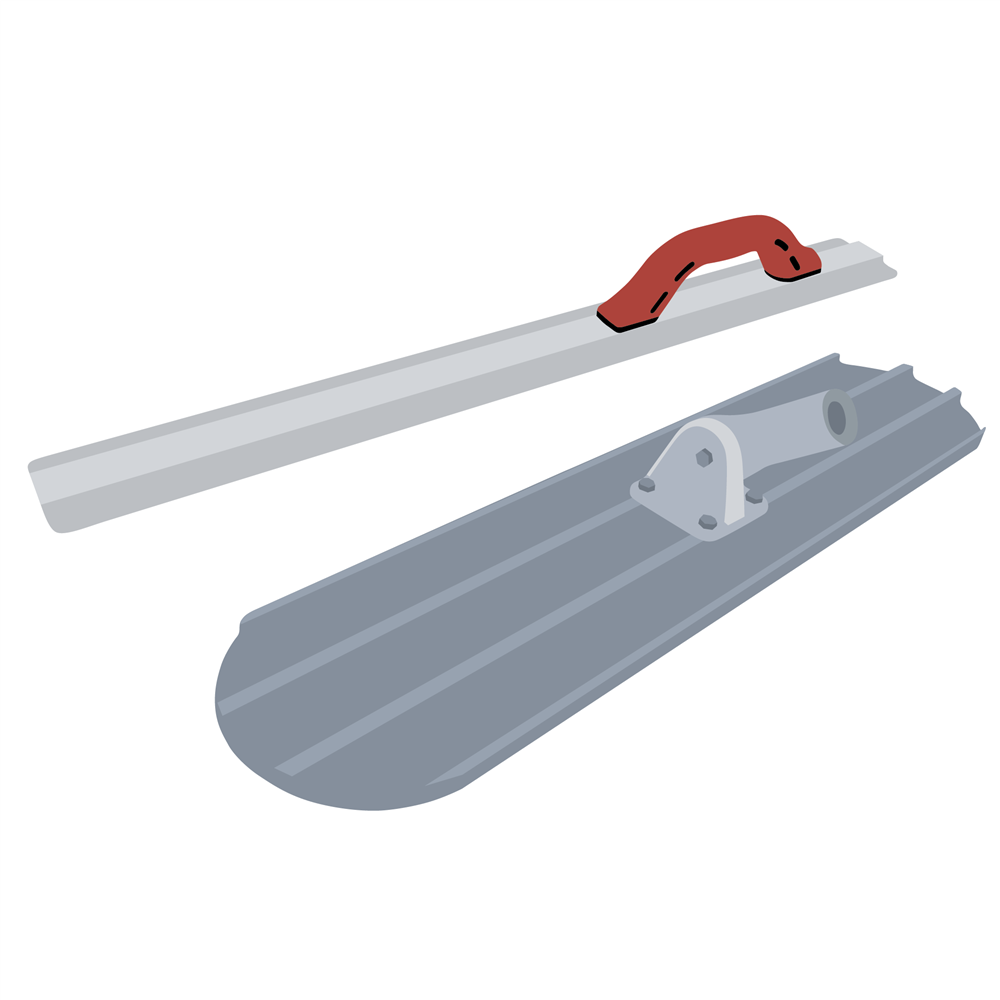
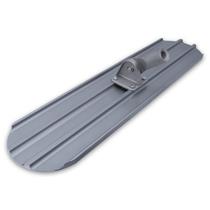
2. Bull Floats and Darbies
What: Both are finishing tools that push down aggregate while bringing the cream, or paste, to the surface. They also help level any remaining surface imperfections. Darbies are handheld tools with a long blade that are ideal for leveling the edge of a slab. A Bull Float is attached to a 72” handle that allows you to easily level the bulk of a slab.
When: This can take place immediately after screeding while the concrete is still wet.
How: Set the Bull Float on the concrete and push the tool forward until you have spanned the width of the slab or cannot go any further with the handle. Then, pull it back towards you. Use a Darby by working along the edges of the slab using long, sweeping motions.
Using the Bull Float and Darby too excessively works "bleed water" into the concrete. This is water that is pressed up to the sruface as the aggregate sinks to the bottom. Bleed water will make your slab weaker, so about two to three passes is perfect to get the job done.
Smoothing
The smoothing process aims to make the surface as flat as possible for a stronger, more aesthetically pleasing overall finish; but it’s crucial to know when to start this step.
Concrete needs time to set before you can begin the smoothing process. This means you must wait for the bleed water to evaporate. You will know it's evaporated when the slab loses the glossy sheen of wet concrete. Another way to know it is ready is to push your finger into the concrete. If it sinks up to your first knuckle, the concrete is still too wet.
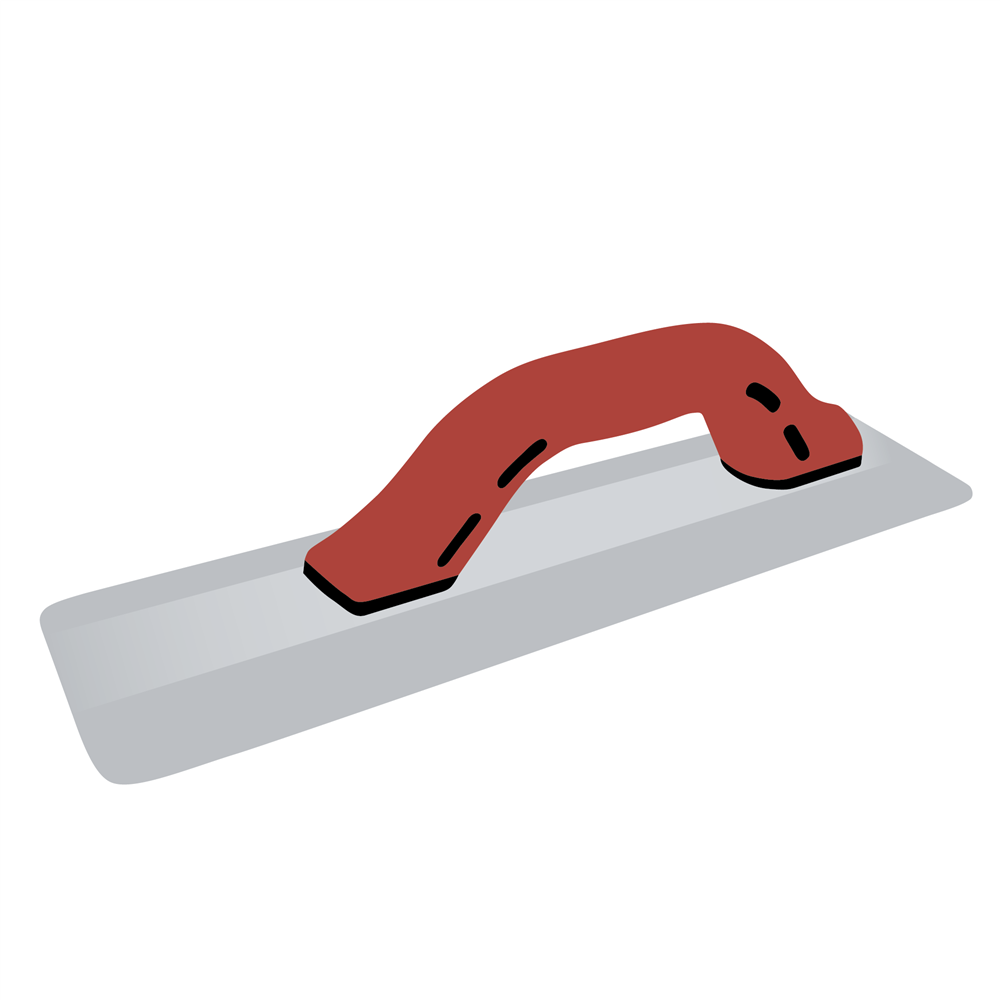
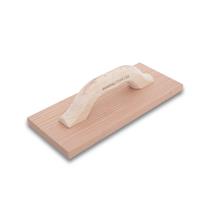
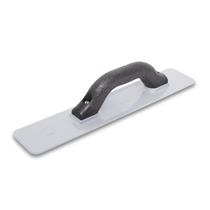
1. Hand Float
What: This process consolidates the aggregate, pulls cream to the surface, and cuts the mud to the right height with one tool. It also works to remove imperfections and leave you with a flatter, smoother surface.
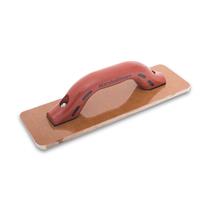
There are three distinct types of hand float blade materials that all serve a specific purpose during the finishing process:
1. Wood Floats are used for going around the perimeter of the slab to consolidate the aggregates present within the mix. These Floats also leave the surface torn, or open, to allow bleed water to evaporate without sealing the concrete.
2. Magnesium Floats are used for concrete mixes with air-entraining properties. They can be effective on all varieties of concrete as long as they aren't used too soon.
3. Resin (or Composite) Floats are a cross between wood and magnesium hand floats. Like a wood float, this tool won’t seal the concrete, but it will smooth the surface quite nicely, much like a magnesium float.
When: Only start hand floating concrete when pressing the palm of your hand into the surface leaves an indentation between ¼” to ⅜”.
How: Hold the hand float at a 45° angle to prevent the tool from gouging the concrete. Then run the float over the surface. You can use a variety of movements: arcs, sweeping motions, or running the tool back and forth. Be sure to use light pressure! If you’re struggling to reach part of the slab, you can use a darby in place of a hand float.
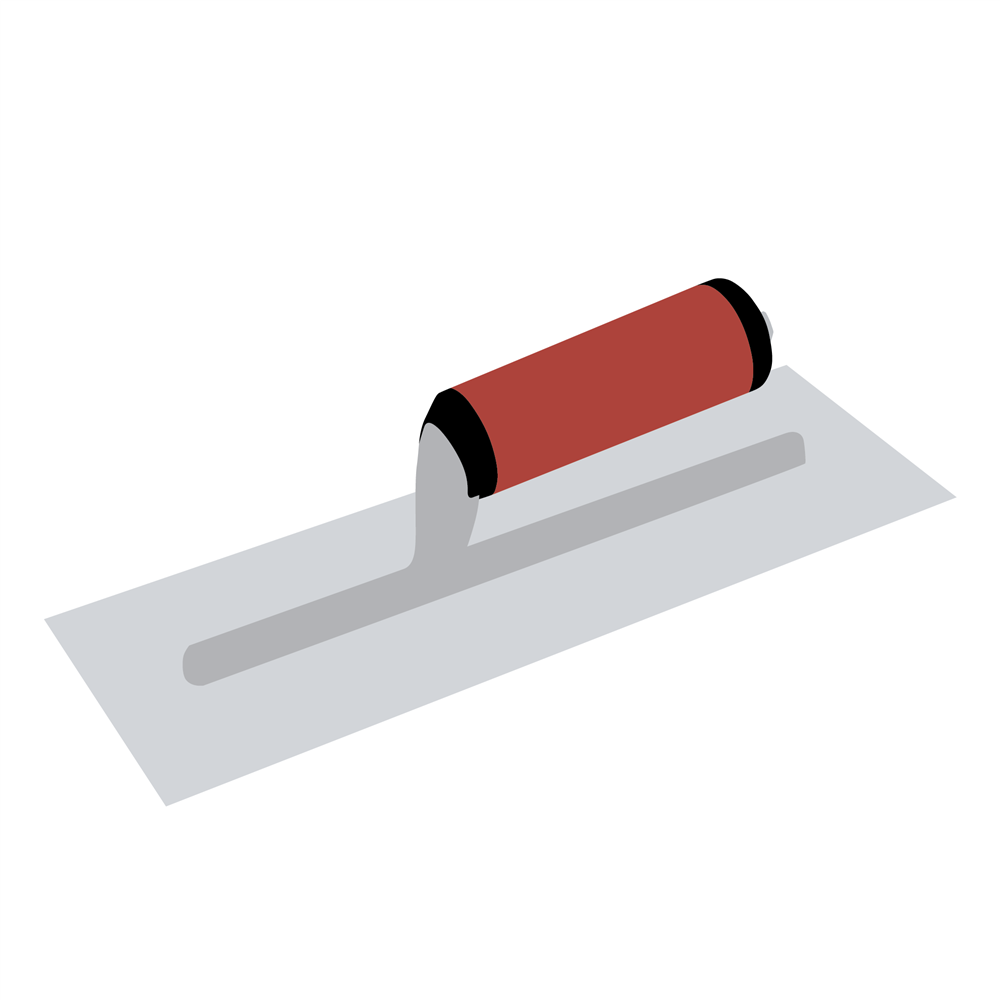
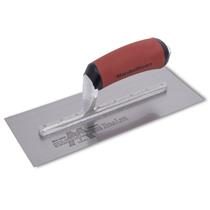
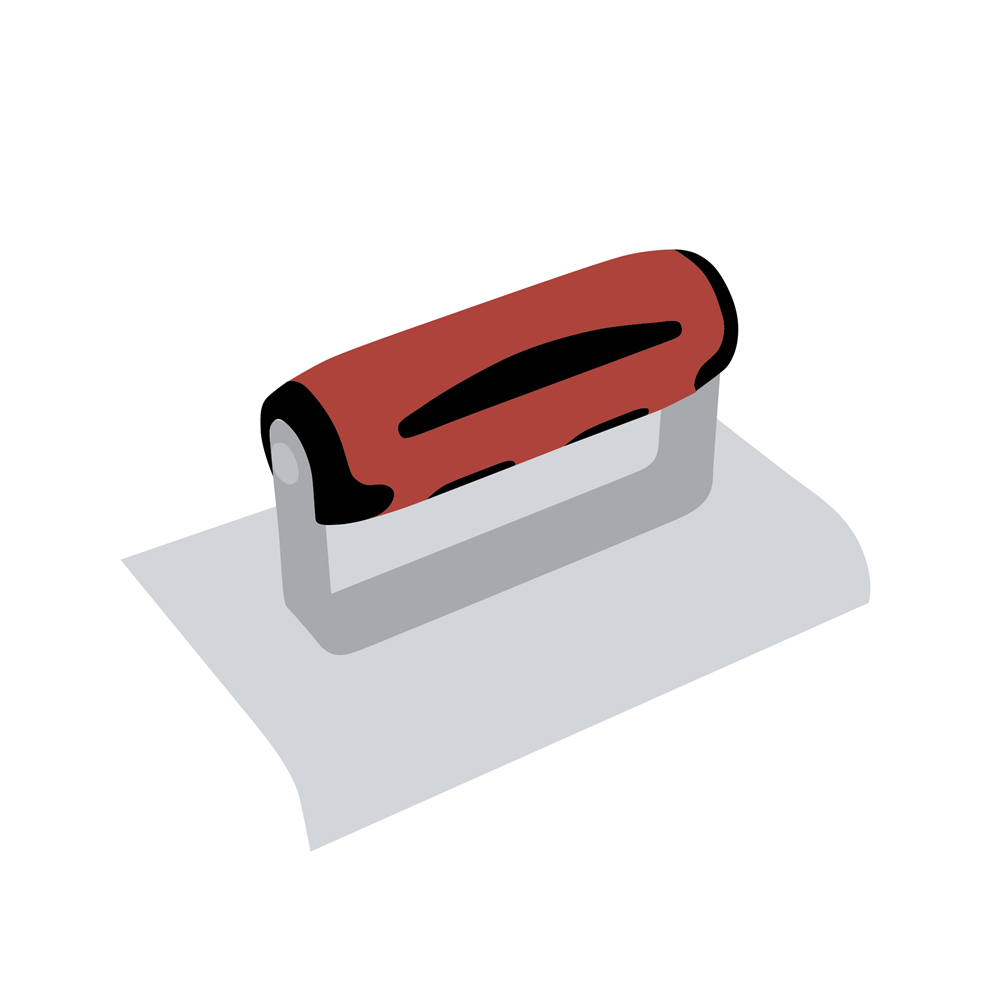
2. Finishing Trowel
What: Finishing Trowels feature large, flat, rectangular blades specially designed to achieve a perfectly smooth concrete finish and are ideal for interior concrete projects. These also come with a rounded blade to avoid gouging the concrete and a pointed blade for hard to reach corners.
When: Use this tool after floating the concrete or when your palm leaves behind an indentation no deeper than 1/8”.
How: Hold the finishing trowel at a 45° angle to prevent drag and work around the perimeter of the concrete slab using long, straight, back-and-forth strokes. To achieve a smoother finish, allow the concrete to set before returning for a second and third pass.
Crack Prevention
The Crack Prevention and Smoothing processes go hand-in-hand on the jobsite since they happen at the same time. If crack prevention tools cause imperfections on the surface, simply smooth them over again with your smoothing tools.
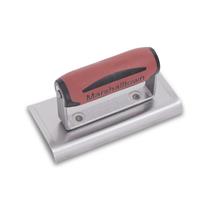
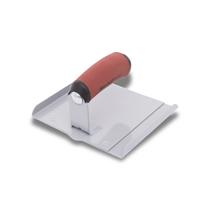
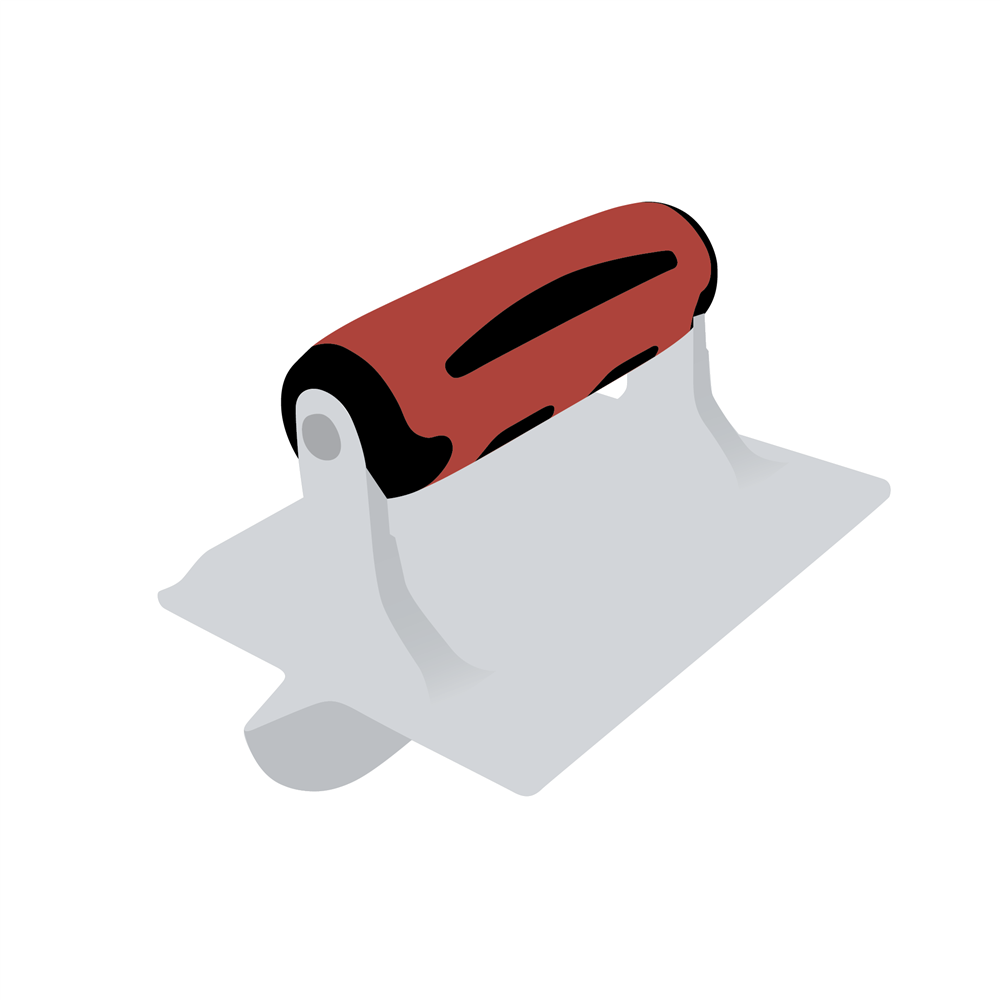
1. Edger
What: Edgers are tools featuring a wide, flat blade with a radius edge used to round the edges of a concrete slab to prevent it from chipping.
When: This tool can be used after the smoothing process when the concrete is firm but not solid.
How: Use the forms as a guide and run the tool in long, sweeping strokes along the edges of your slab until the edges are smooth, solid, and straight. Walking Edgers function in the same way, but you can stand and walk behind it. Use a hand float to smooth any marks left behind by the edger.
2. Groover
What: Groovers come in many different shapes and sizes, but they all work to control joints or grooves in concrete (controlling where the cracks form). Cracks will form within the groove line, leaving the surface of the slab unblemished for years. These come in handheld or handled varieties.
When: This tool can be used either before or after edging.
How: First, either stretch Mason’s Line across the slab or use a screed as a guiding line. Then, shimmy the groover into the concrete. Run it back and forth in short increments until the groove meets the opposite side of the slab.
Sometimes groovers catch on aggregate buried beneath the surface, which can leave behind a divot. Thankfully, this is easily fixed. Simply scoop up any excess cream clinging to the groover or spilling out from the new control joint, place it over the divot, and use the groover to smooth it out.
Final Touches
This is the time to use a broom or concrete stamp for a decorative concrete finish.
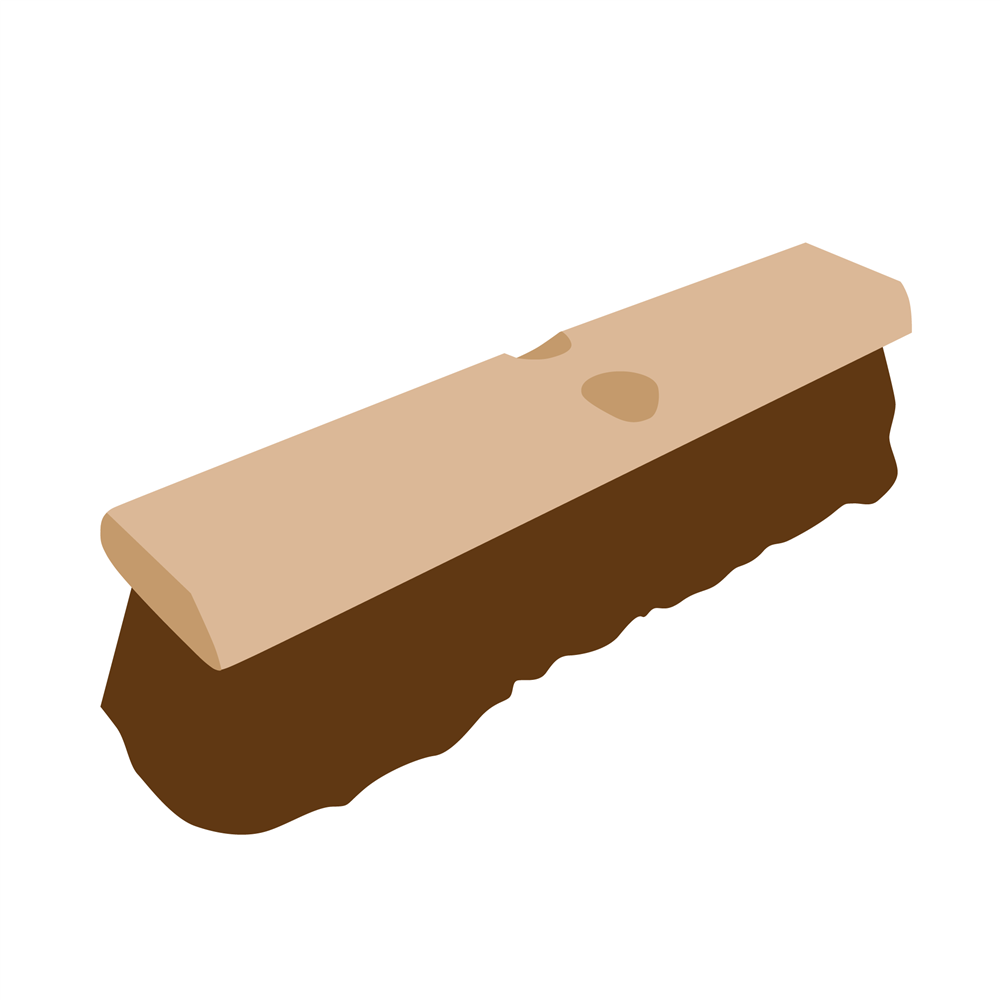
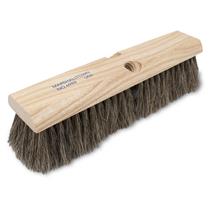
1. Concrete Broom
What: Concrete Brooms are used to roughen up the surface of the concrete for a non-slip finish without being uncomfortable to walk on with bare feet.
When: Brooming must be done while the concrete is still soft; however, all the bleed water must be evaporated before you broom. Typically, this is right after the smoothing and crack prevention processes.
How: With patience and a steady hand, set the broom on the farthest end of your slab and pull it straight back in one continuous motion. Do not stop or twist. Repeat until the entire slab is broomed. If you make a mistake, do NOT try to correct it with the broom. Instead, go over it one more time with your hand float and try again.

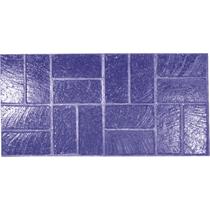
2. Concrete Stamps
What: Concrete Stamps are great for those who want to add a design to the concrete project. They come in a variety of patterns – brick, slate, natural stone, circle, leaf, faux wood grain, etc.
When: Stamping should be done while the concrete is still soft. Typically, this is when your palm leaves an indent no bigger than 1/4".
How: Pick a corner and set the stamp onto the concrete. Pat it down with a hand tamper to ensure a complete transfer of the pattern. Then, lay another stamp sheet down leaving no gaps between it and the first one. Repeat this process for the entire slab.
Knowing what these tools are, when to use them, and how to use them will help you with your next concrete project! Put your new knowledge to the test and pour your own concrete slab.