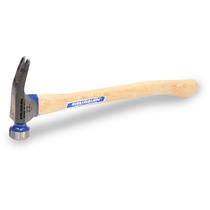
You’ve been using the same trusty VAUGHAN Hickory Handled California Framer® regularly, so it’s normal for the handle to get damaged or become loose. Instead of replacing it with an entirely new hammer, you can simply upgrade it with a new handle.

If the hammer head is damaged or unsafe to use, make sure to replace the entire hammer.
At VAUGHAN, the replacement handles are the same as those installed at the factory. This means you can easily replace the handle yourself while maintaining a comfortable, durable grip and perfect fit.
To replace a hickory handle, you will need some tools and your safety equipment.
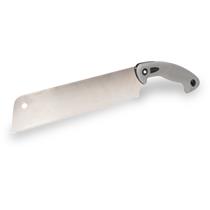
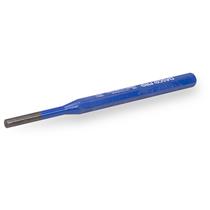
- Tools needed: replacement handle and wedges, a saw, punch, hammer, a drill and drill bit, two wooden blocks
- Optional Tools: a bench vise, sandpaper, sealant, and a small brush
- Safety Equipment: Safety glasses
Step 1: Remove the Old Handle
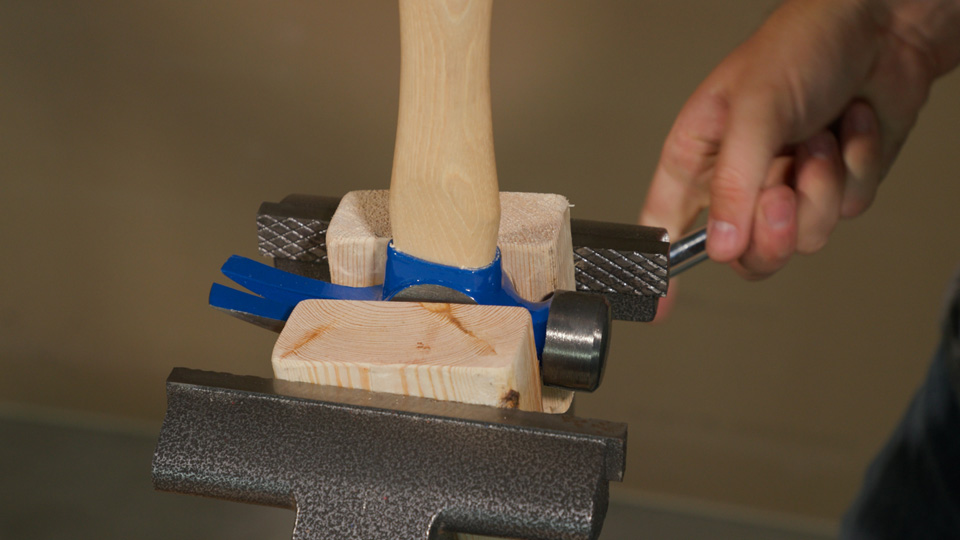
Once your tools are ready and your safety gear is on, you can begin removing the old or damaged handle. To do this, first clamp the hammer head upside down between two wooden blocks in the vise.
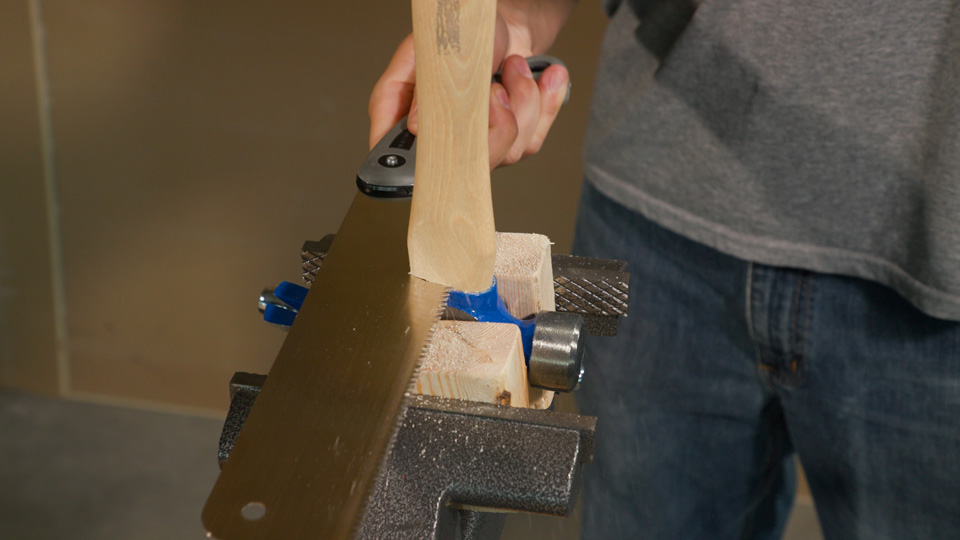
Then, using your saw, remove the old handle right below the head of the hammer.
Step 2: Remove the Remaining Wood
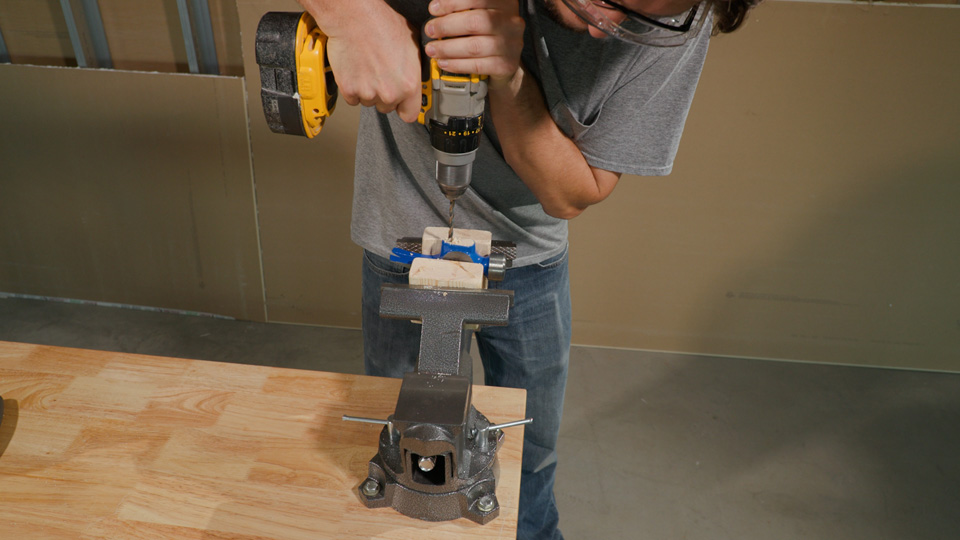
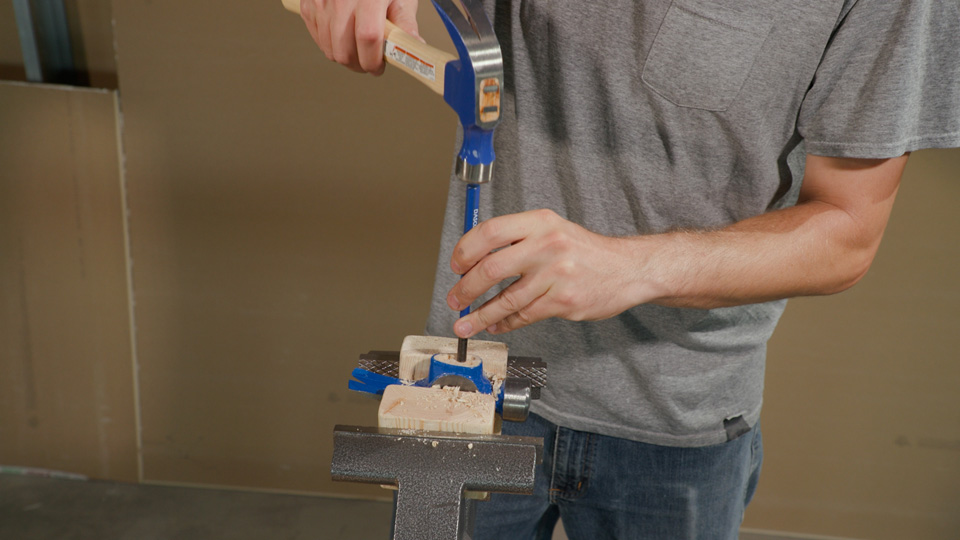
Next, drill out the remaining wood from the head and with your DASCO PRO Punch, drive the wood from the eye.
Step 3: Insert the New Handle
Once the wood from the old handle is completely removed, you can install the new handle. Insert it from the bottom of the eye into the head by tapping it with a hammer. When small wood shavings curl around the head or the handle won’t move any farther, you are ready for the next step.
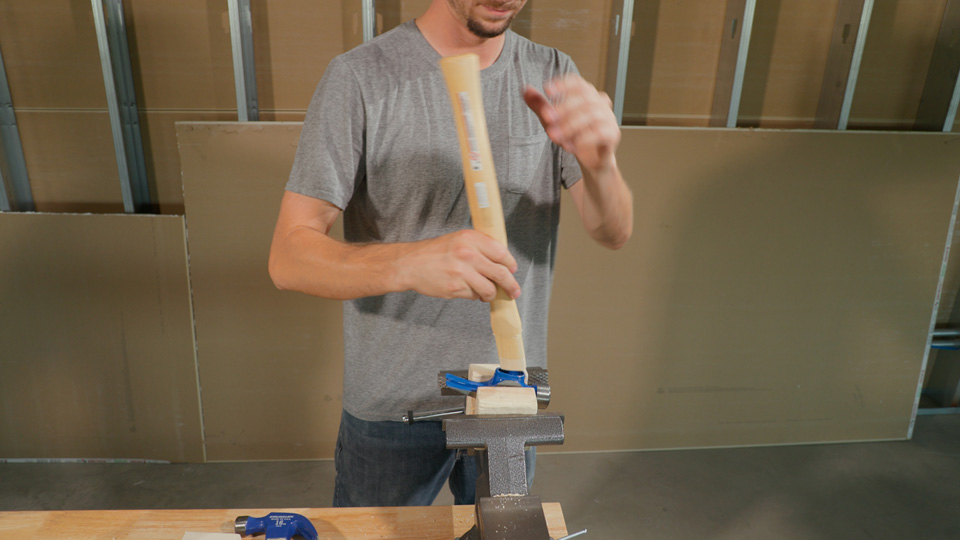
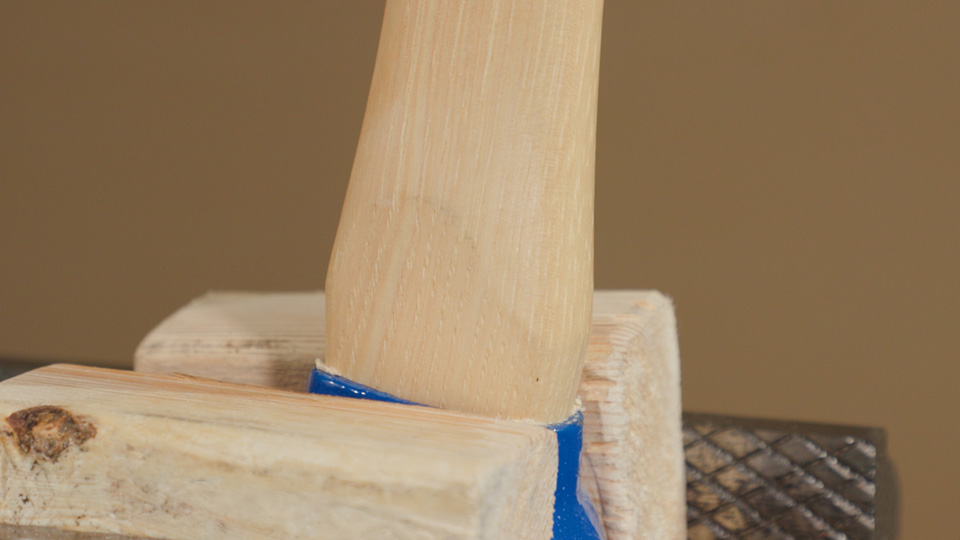
Step 4: Install the Wood Wedge
Move the hammer right side up and clamp the vise onto the new handle.
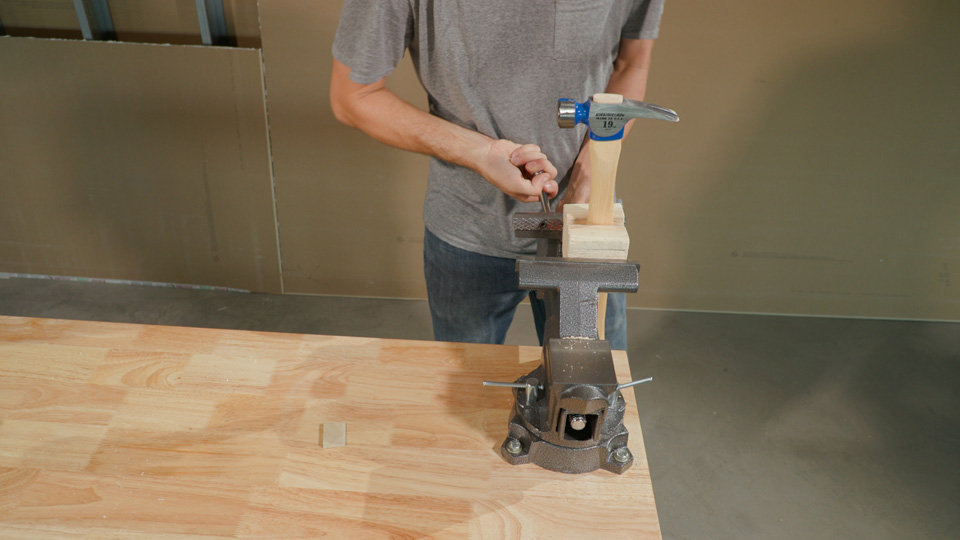
Drive the wood wedge into the handle slot using your hammer. When you’ve installed the wood wedge as far as it will go, saw off the excess so it’s even with the hammer.
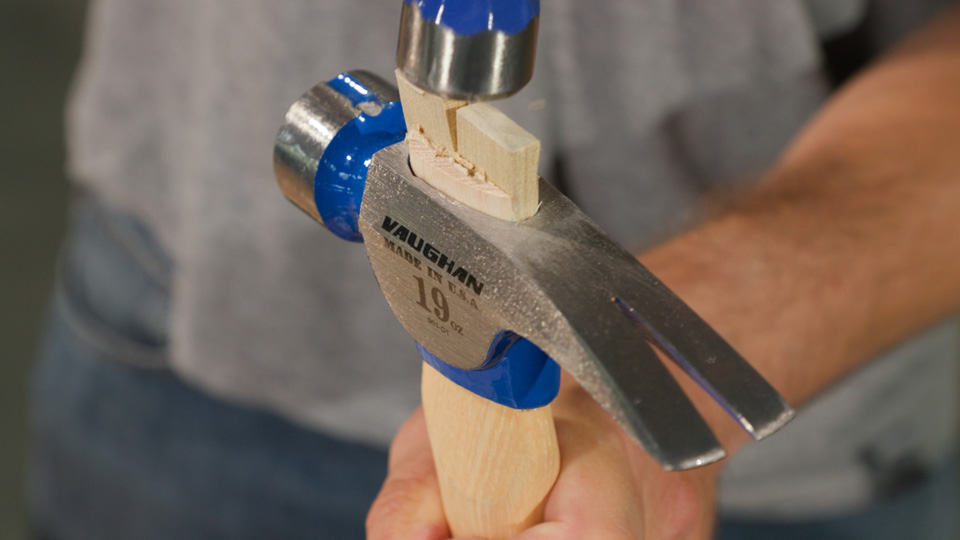
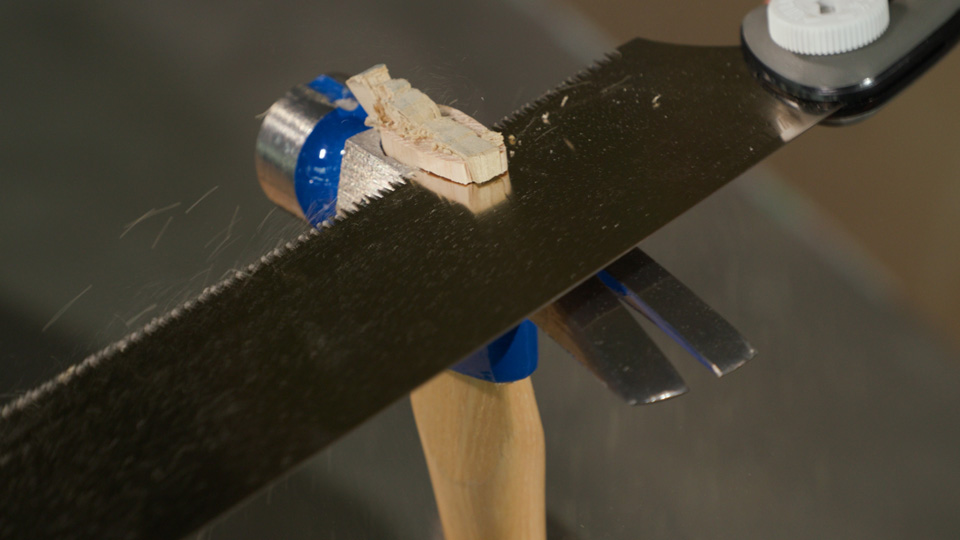

TIt’s normal for the wood wedge to split or crush toward the end; this means it is inserted as far as it will go.
Step 5: Install the Steel Wedges
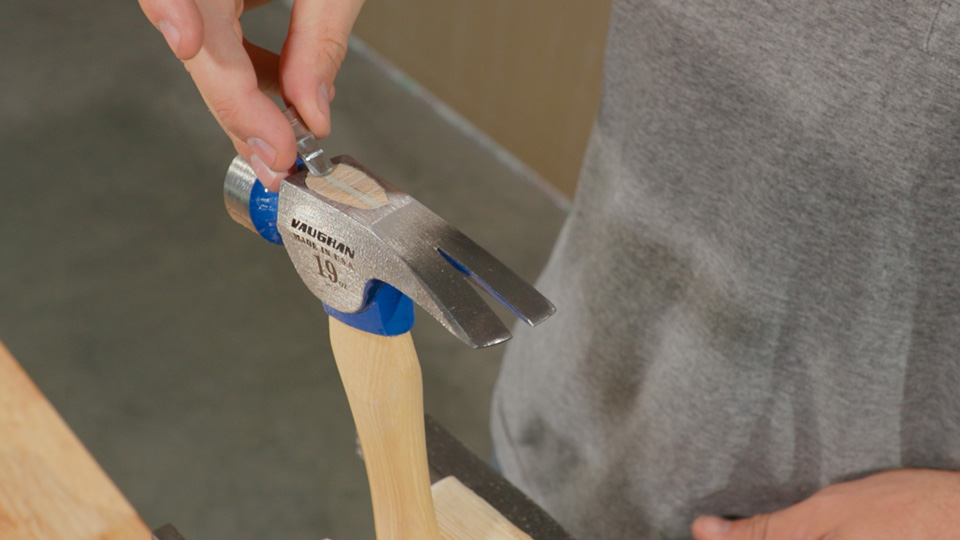
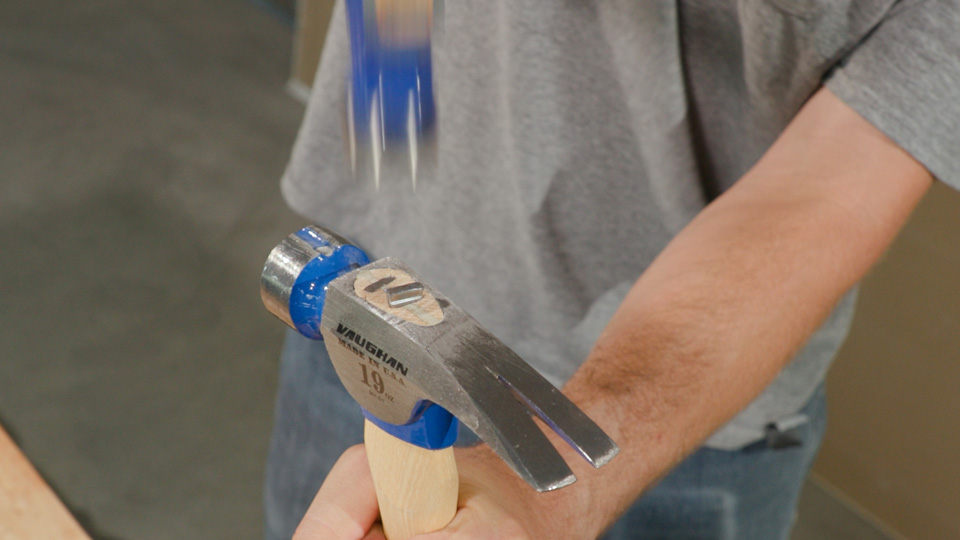
Next, you will need to install two steel wedges. To do so, find the center of the eye and put the wedges about halfway between the center and edge. Drive them perpendicular to the wood wedge and flush with the top of the hammer.
Step 6: Seal the Handle
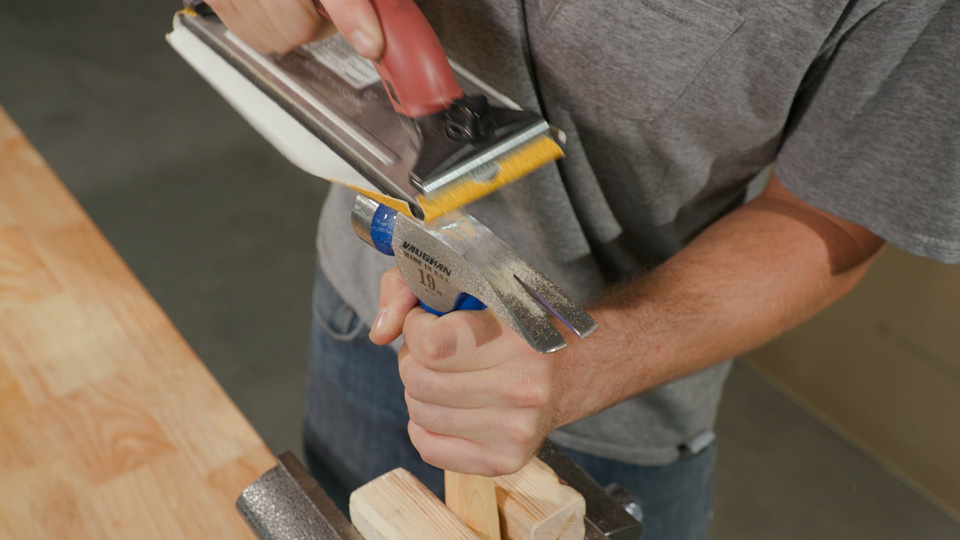
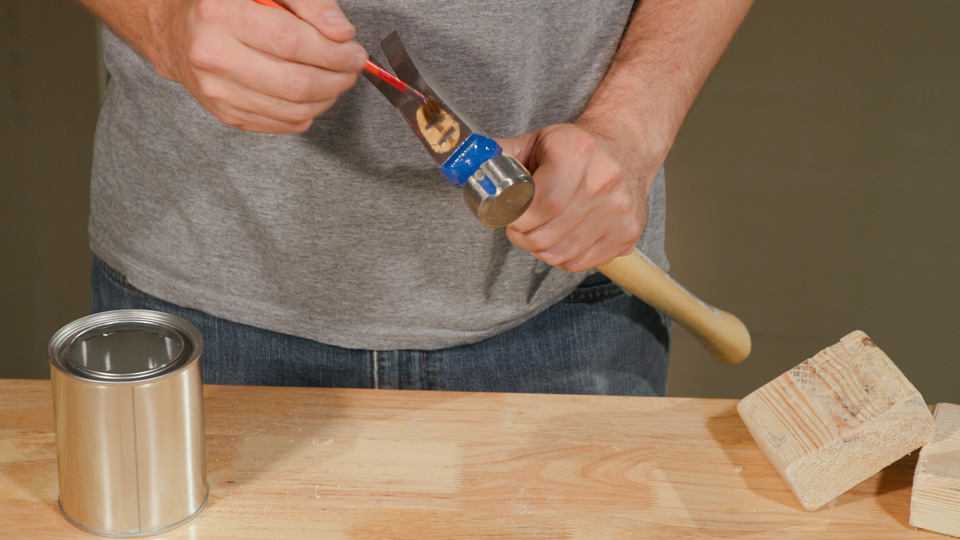
Lastly, make those finishing touches. Sand the top smooth and remove any wood dust. Then, apply lacquer or paint to seal the wood. This will protect your hammer handle from different moisture levels that could affect the fit of the handle.
Replacing the handle of your VAUGHAN hammer is a straightforward process that will save you time and money, plus it will revitalize your favorite hammer, extending its life for all your future projects.
