The final part in this series shows you how to stain and seal your concrete countertops to keep them protected from dirt, stains, and weather. Adding a stain will deepen the color and using sealer will give the top a glossy sheen. Make sure to choose a stain that is designed for concrete. We used an acrylic water-based stain. The finish we used was also an acrylic water-based finish providing a durable scratch-resistant surface and UV inhibitors for longevity.
Step 1: Prep Work
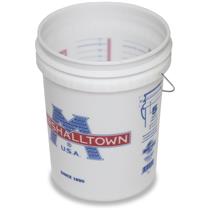
Before applying stain, the concrete needs to be washed with a citric acid wash, like CHO. Use a 5-gallon bucket and dilute the citric acid wash to the specified recommendations. Apply it with an acid wash brush.
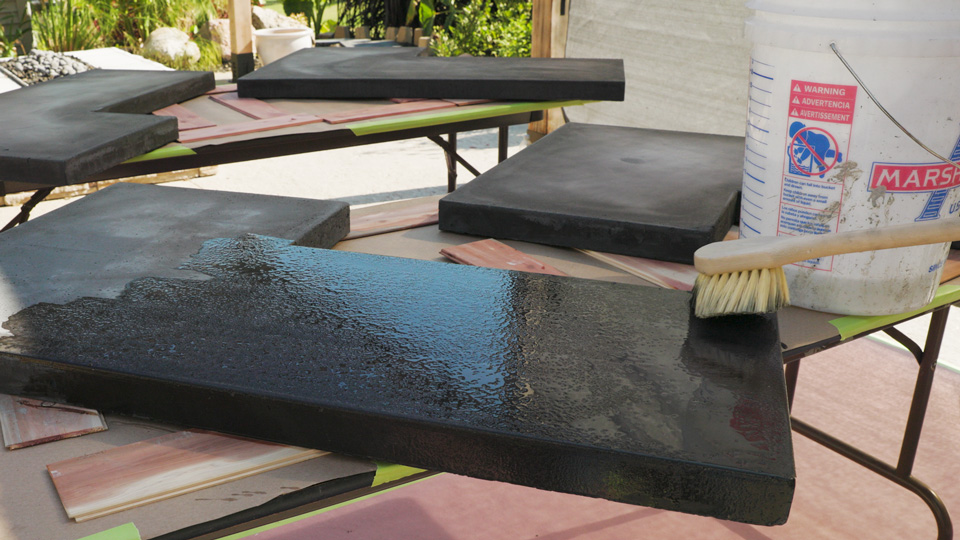

Be sure not to skip over Step 2. This is a critical step in neutralizing the acid from the surface.
Step 2: Clean and Rinse
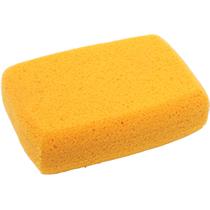
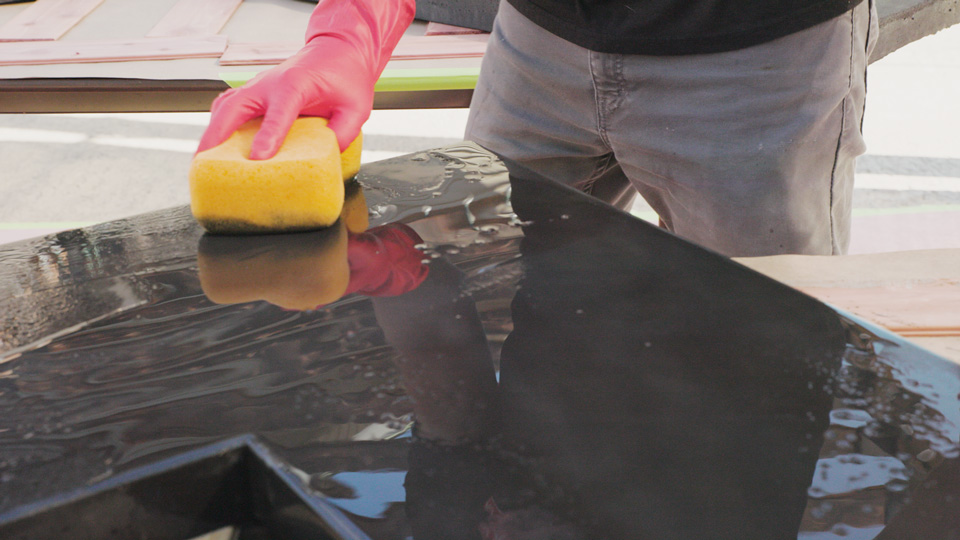
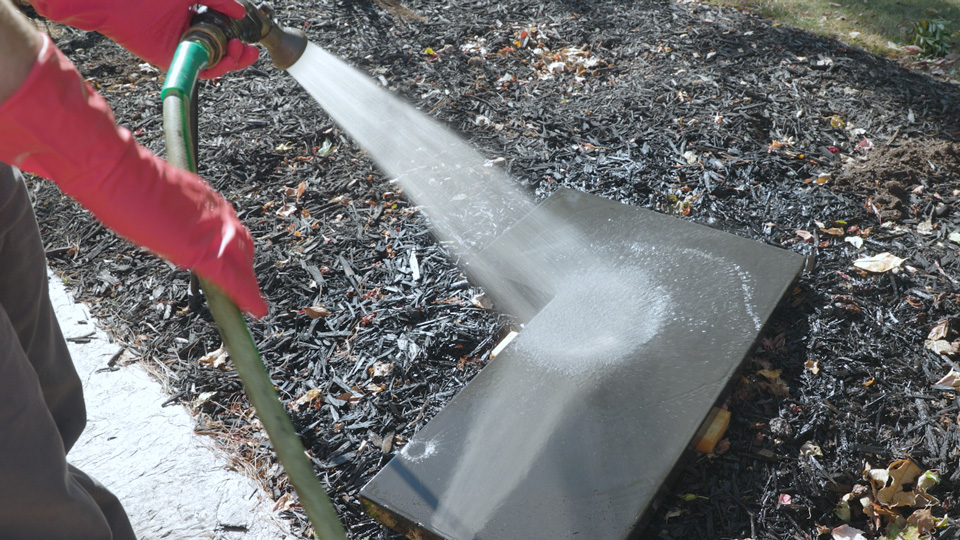
Use a sponge and a mild cleanser mixed with water for the final cleaning. Rince again with clean water. Let the concrete dry thoroughly after rinsing.
Step 3: Set-Up Your Workspace
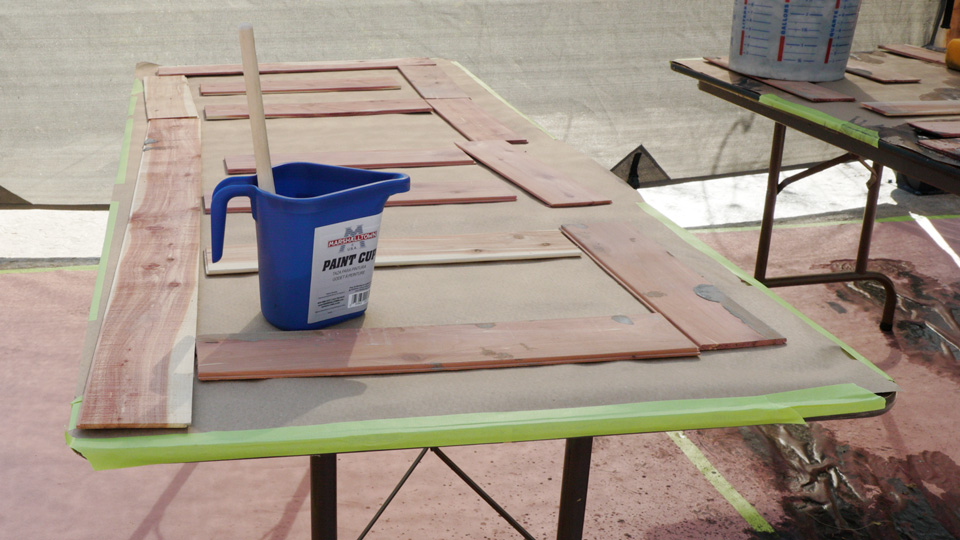
Before applying the stain and sealer, set up a work area with spacers placed to make the application easier.
Step 4: Apply the Stain
Dilute the stain with water, per the manufacturer’s instructions. Apply it to the edges and top with a paint brush. A paint cup makes it easy to move around with the stain while you work. When applying, keep it as even as possible.
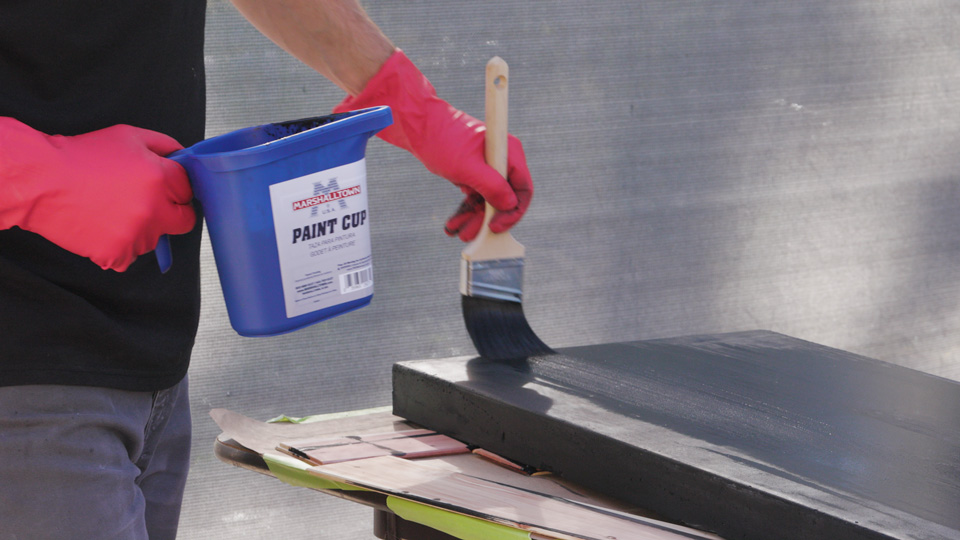
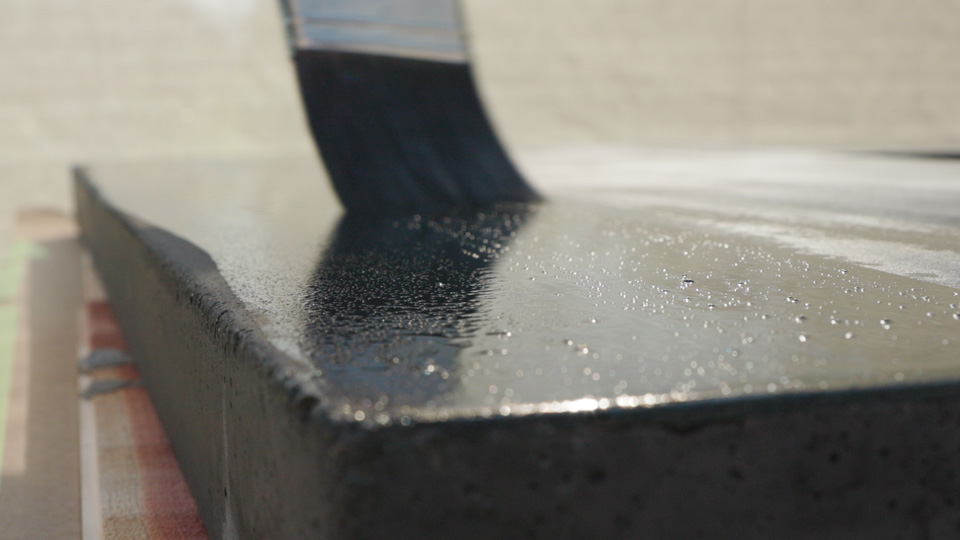

Plan ahead! The stain we used required 28 days to fully dry before we could add the sealer.
Step 5: Apply the Sealer
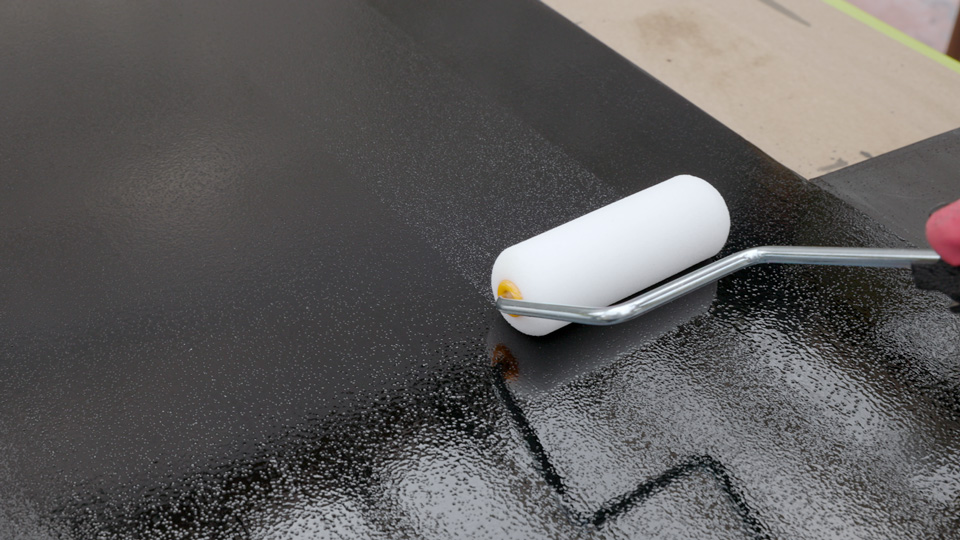
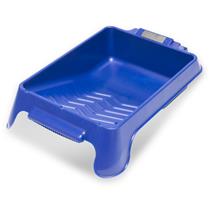
Once the stain is fully dry, you can apply sealer. To keep the coverage even, use a foam roller. A paint tray works well to hold the sealer. Then, lightly top-off the sealer with a foam brush to remove any air bubbles or imperfections.
When the sealer is dry, the final step is to set the countertops into place.
Now you can enjoy your new, beautiful concrete countertop fire pit with friends and family.
