Cultured stone is a cost-effective solution for interior and exterior projects and provides the same beauty and performance of natural stone veneer. Since cultured stone is manufactured, it is more uniform and easier to cut, simplifying installation.
The cultured stone we chose for this project has no visible mortar joints giving it a dry-stacked appearance. The stone color can vary depending on the color pattern chosen. All our stones are the same width but vary in length. There are short, medium, long, and corner pieces which makes wrapping around the corners easy. When you apply the stone, vary the size, color, and pattern for a random, appealing look.
Step 1: Prep Work
First, you need to protect your work area. Construction paper and masking tape work well for patios, decks, and floors. Next, set spacers to keep the stone from touching the bottom surface. We used scrap wood planks about 3/8" thick. Because the firepit was previously covered in 1/2" thick cement board, the stone can be directly applied to the cement board with a special polymer modified mortar. Layout the first layer of stones to get an idea of how to place them.
Step 2: Mix the Mortar
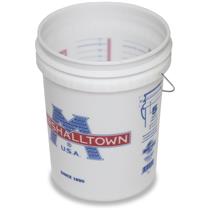
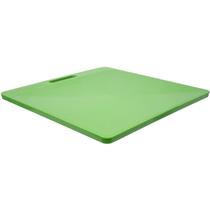
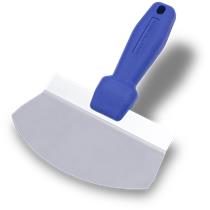
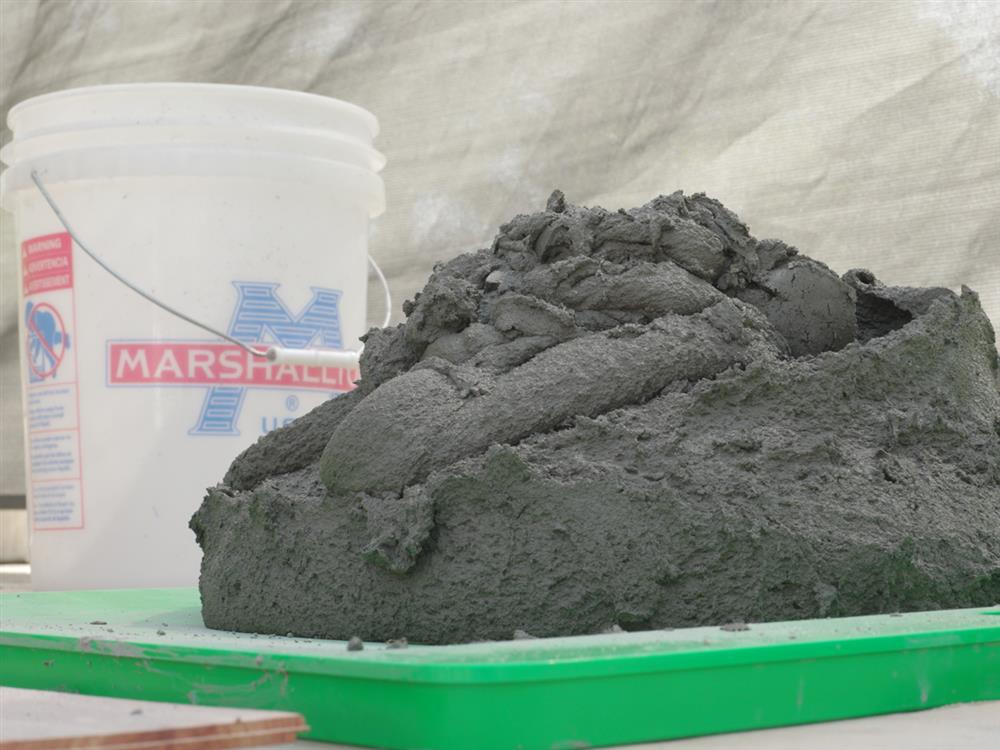
Following the manufacturer's instructions, add the right amount of mortar and water to a 5-gallon bucket. Using a drill and an eggbeater mixer, mix the mortar checking for the right consistency as you mix. The mortar should hold firm on a trowel when it is ready. Then, pour it onto a mortar board, which will make it easy to scoop the mortar onto the stones. Use a bucket scoop to remove any leftover material from the bucket.
Step 3: Begin Installation
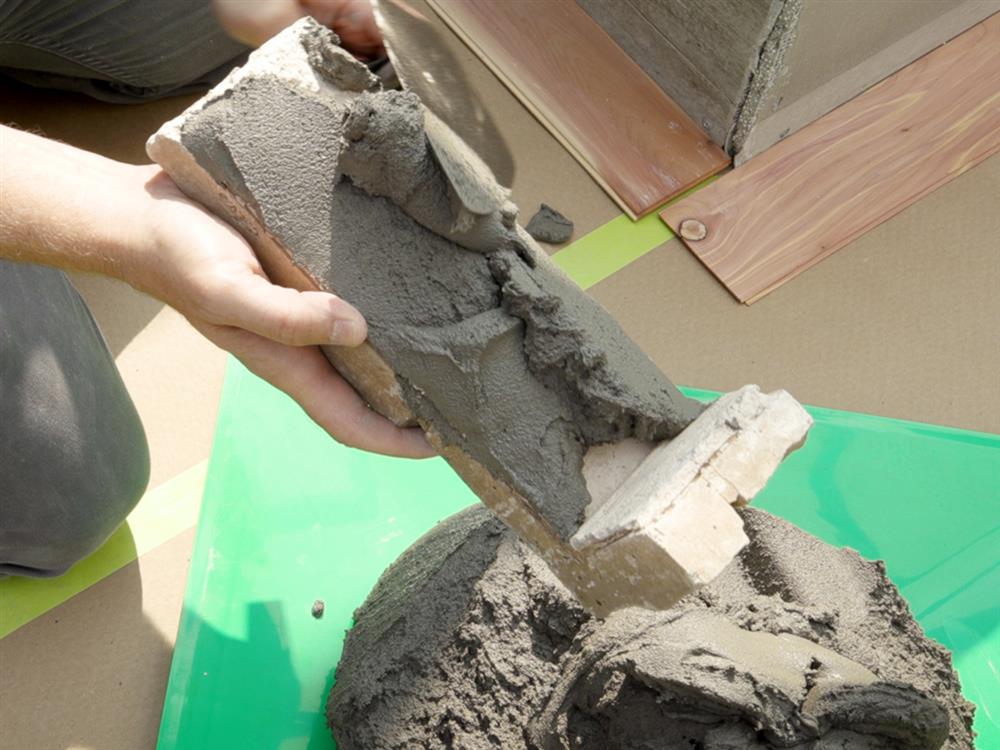
Using a brick trowel, scoop a generous amount of mortar and spread it on the backside of the first corner stone, like you are buttering a piece of bread. It should be applied relatively thick and cover the entire back.
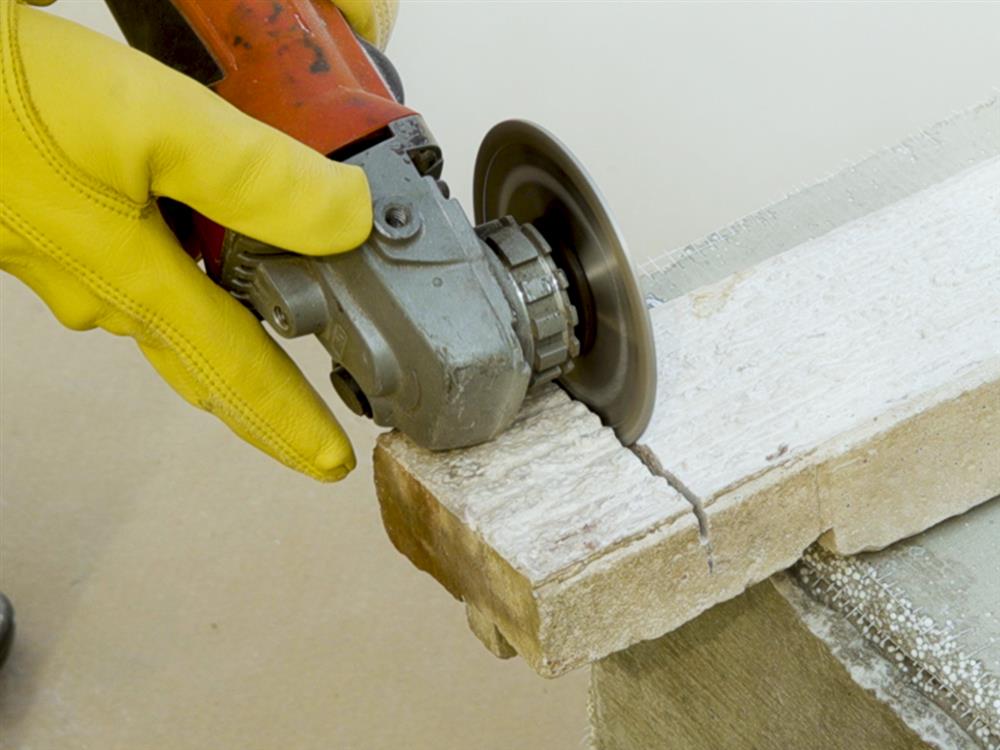
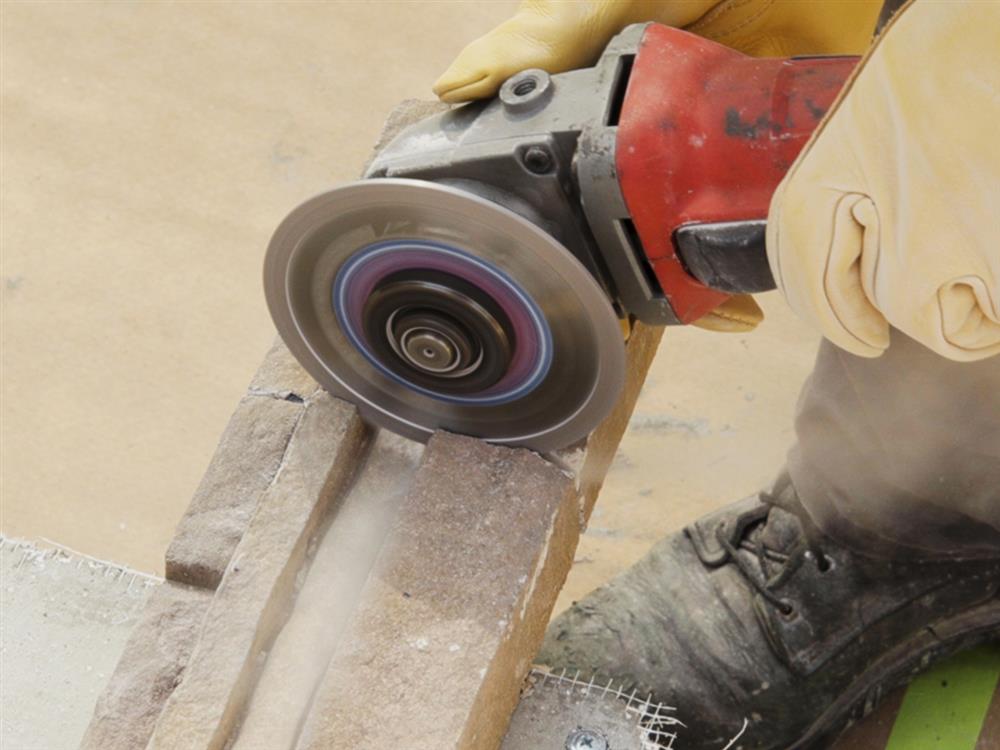
Then, position the first piece and press it into place, wiggling it for a good bond. The mortar should squish out of the backside; remove it with your trowel. Continue this process, making sure to periodically check for a level surface. A gentle tap with the bumper of your trowel can be just enough to line up a tile. Make sure to mix and match the length, texture, and color. Some small gaps may appear in narrow stones, but that will only add character to the stone layout. As you approach a corner, check to see if the last block or the block before it needs to be trimmed. Use a grinder and a masonry cutoff wheel to quickly cut the stone.

As you apply stone, be careful not to apply any pressure against the stone that's already installed, as this can break its mortar bond.
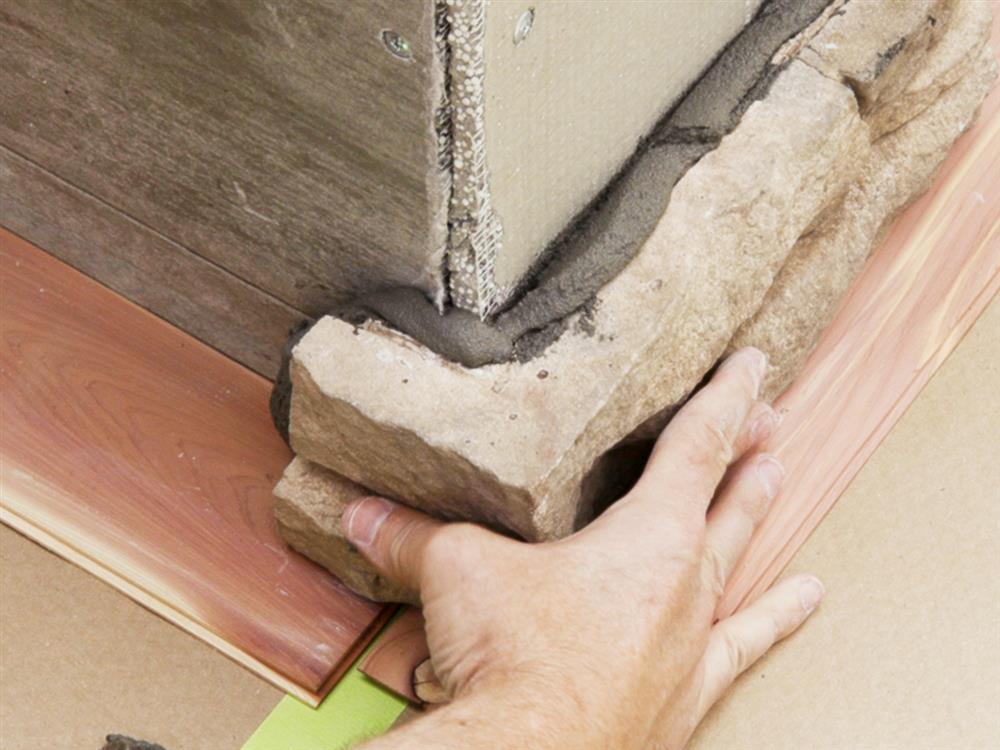
Step 4: Working Around a Corner
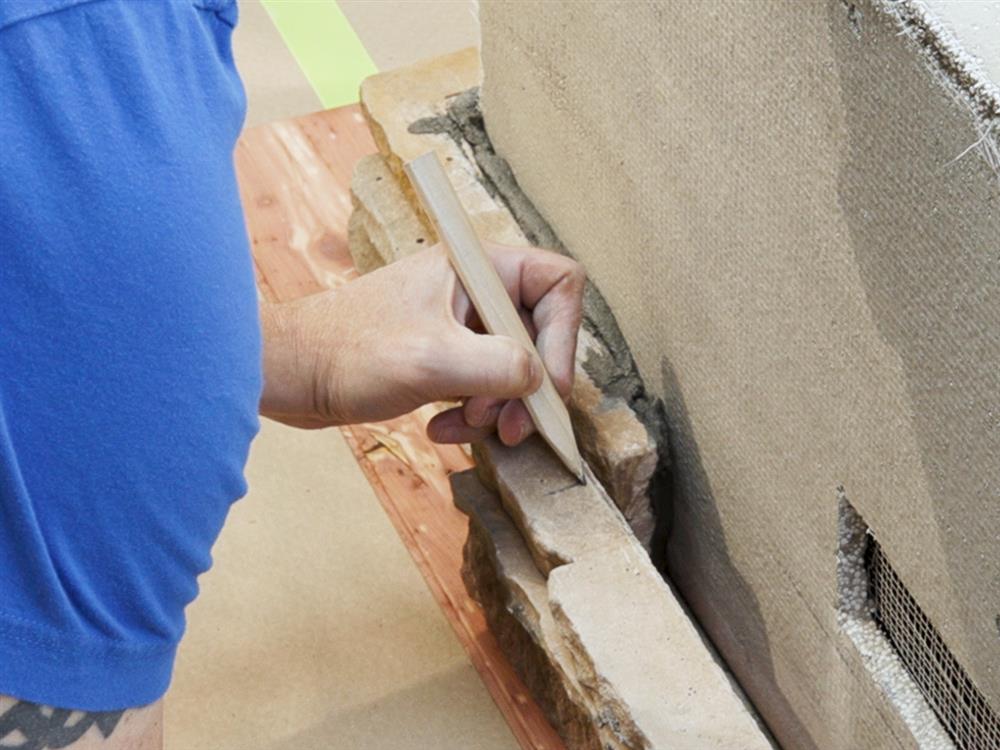
Install the corner stones first, checking that they are level with the others, and then fill in the gap with straight stone. There is a chance you will have to cut the straight stone. To do this, first mark the location of the cut. Then transfer a straight line across the back side with a square. Using a grinder, cut into the back side then flip the stone over and make a cut on the front. The cutoff wheel may not cut all the way through, but you can usually break the stone off by hand.
When you cut cultured stone it leaves an exposed edge without color. To hide this edge, bury it against another stone.
Step 5: Stack Up Additional Rows
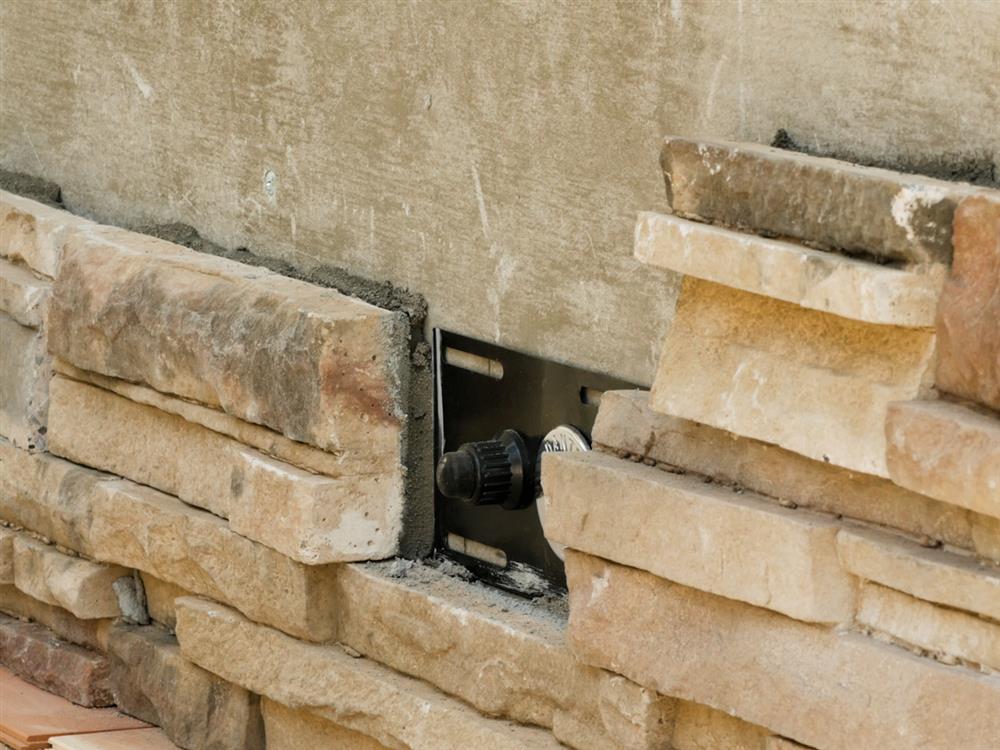
Continue working your way around to complete the bottom row. Once the first row is one, start on the second row. Our fireplace insert had a control panel and vent openings that we had to work around. Cut the stone to length to work around these open areas. Don't forget to clean up the excess mortar as you work. You can use a masonry brush to help you!
Step 6: Install Final Row
Once you get to the final row, you will most likely have to trim the stone to a narrower height using a tile saw with a fence. Clamp the fence to the desired height and cut the stone with the back facing down. Then flip the stone over and cut it on the front side. Cut corner stones in the same way and use a grinder to cut deep into the corners.
Step 7: Finishing Touches
Once the rows are complete, it's time to decide what to do for a top. We chose to do a concrete countertop with a black stain.
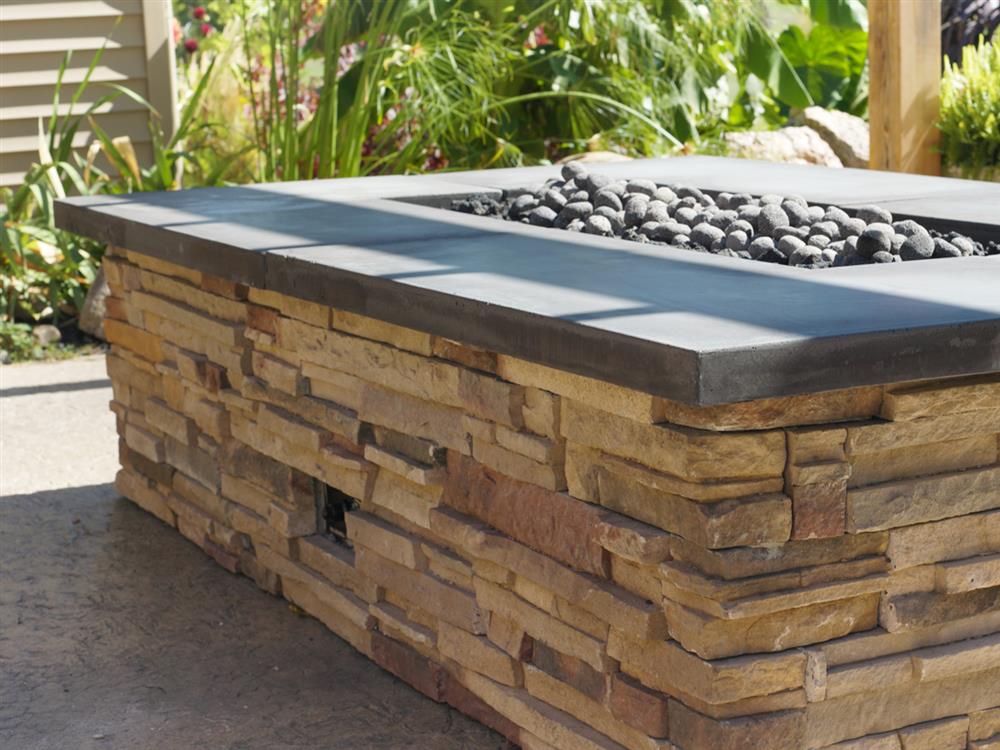
Now, step back and admire your hardwork. You now have a beautiful firepit to enjoy with family and friends!
Be sure to check out MARSHALLTOWN's high-quality tools to make your next cultured stone project a success!