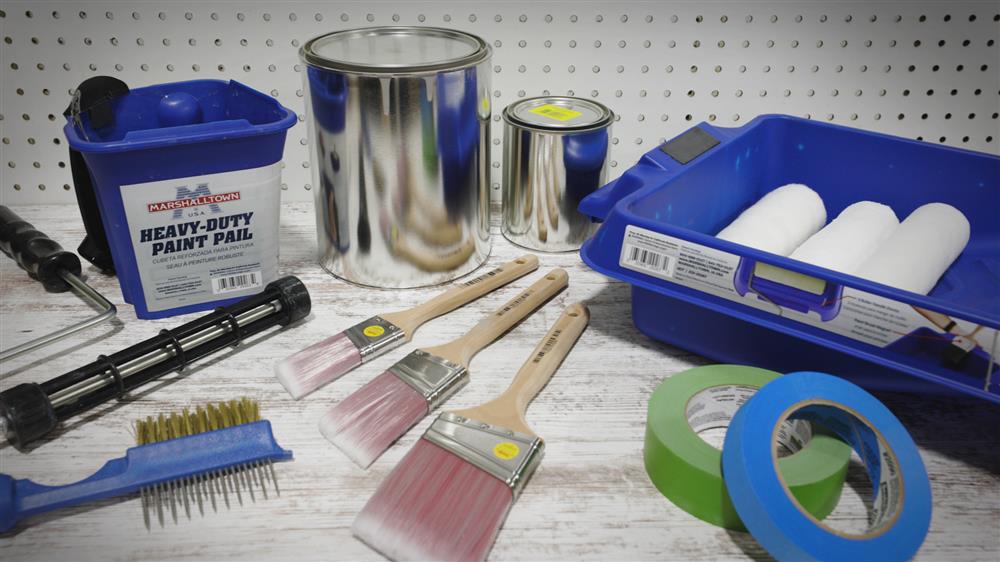
The cost of buying new rollers, trays, and buckets for every paint project can really add up. Instead of tossing out your used roller covers or trays, take time to clean and care for them. The process is super simple and takes no time at all.
Step 1: Reclaim Excess Paint
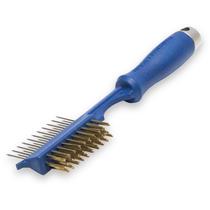
Rollers hold more paint than brushes, so you always want to reclaim as much paint as you can. The soaked in paint could be just enough for touch-ups later down the road. So, saving the excess paint will save you an extra trip to the store. To do this, take the curved end of the Premium Paint Brush Comb or the flat end of a putty knife, and use long, gentle strokes to scrape off the paint, letting it fall back into the paint can or paint tray. Once most of the paint is off, take the cover off the roller and set aside.
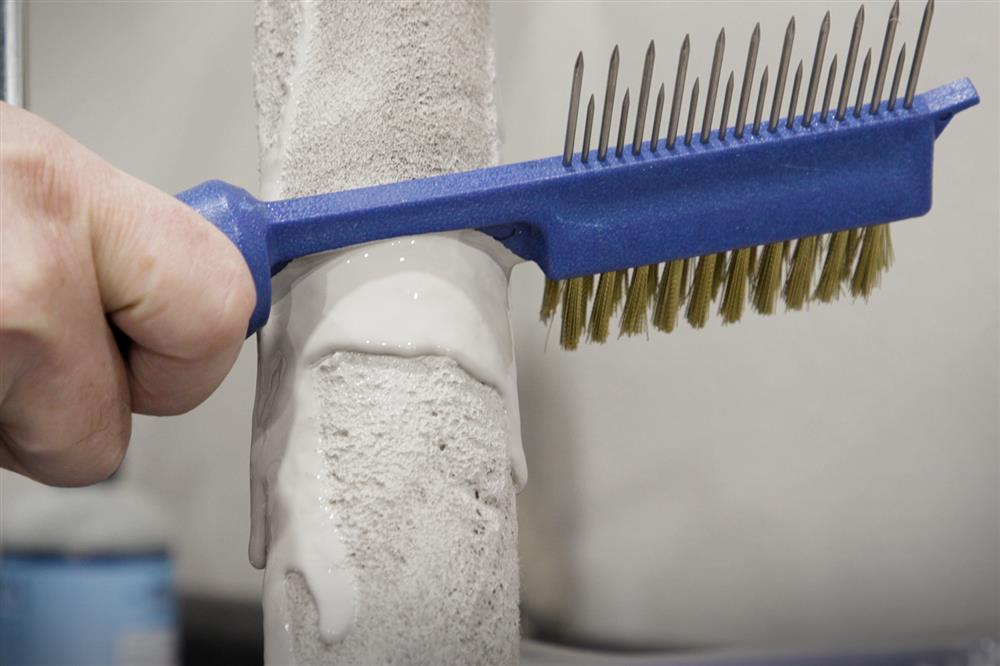
Step 2: Clean Roller Frame
Using warm, soapy water, clean the roller frame. Using your paint brush comb will help you remove paint from hard-to-reach areas on the frame. Make sure to do this step when the paint is still wet, otherwise it will be much more challenging to clean.

If you used an oil-based paint, soak one end of a clean rag in the manufacturer recommended solvent, wring it out, and scrub off the paint.
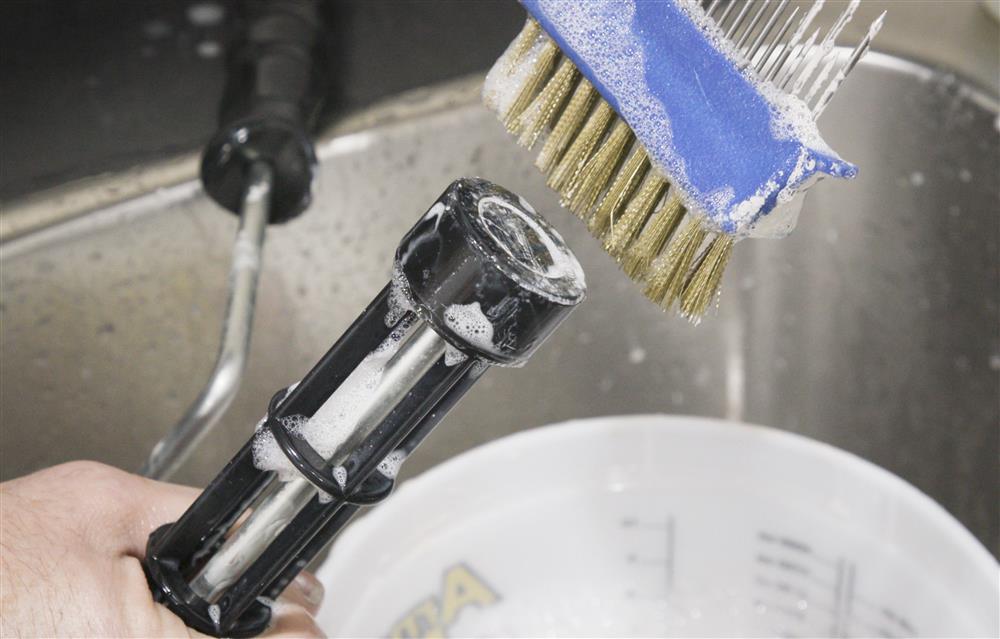
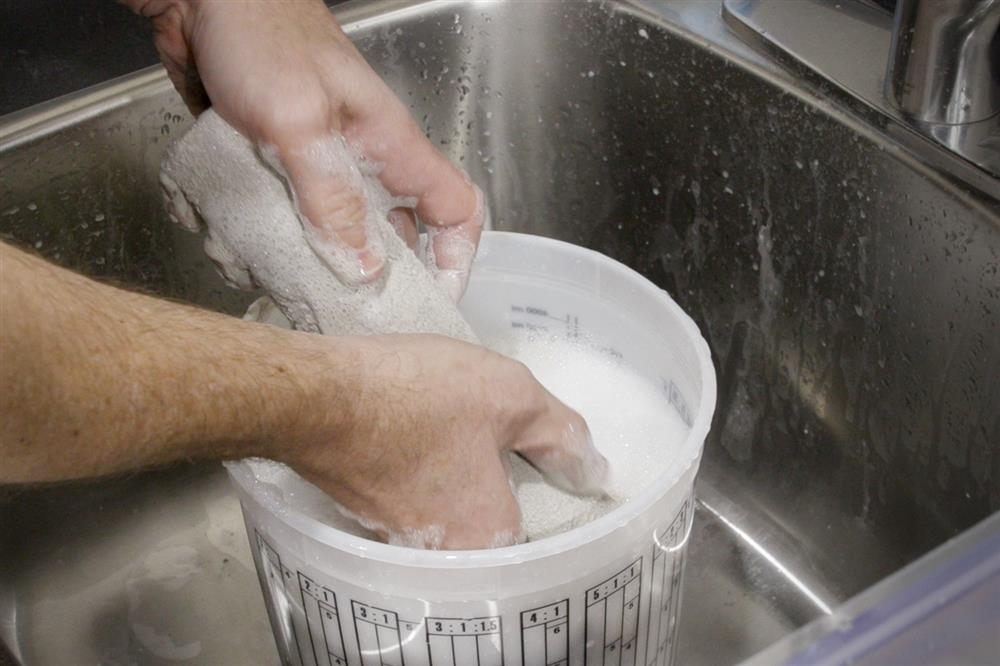
Step 3: Wash Roller Cover
Fill a bucket with warm, soapy water and completely submerge the roller cover. Soak and scrub it, removing as much paint as possible. Make sure to clean the inside of the cover, as paint can easily accumulate and dry making it harder to get it on the roller frame.
For oil paint: Oil paints take a little longer to clean out of your roller, but only by an extra 2 to 3 minutes of soaking and scrubbing in a well-ventilated area.
Be sure to wash away any paint that may have accumulated inside the center of your roller cover as you go. Dried paint will make sliding covers on and off the frame more difficult the next time you need to paint.
Always wear chemical-resistant rubber gloves and protective eyewear when working with mineral spirits, paint thinner, or turpentine, and only use these products in a well-ventilated area, preferably outdoors.
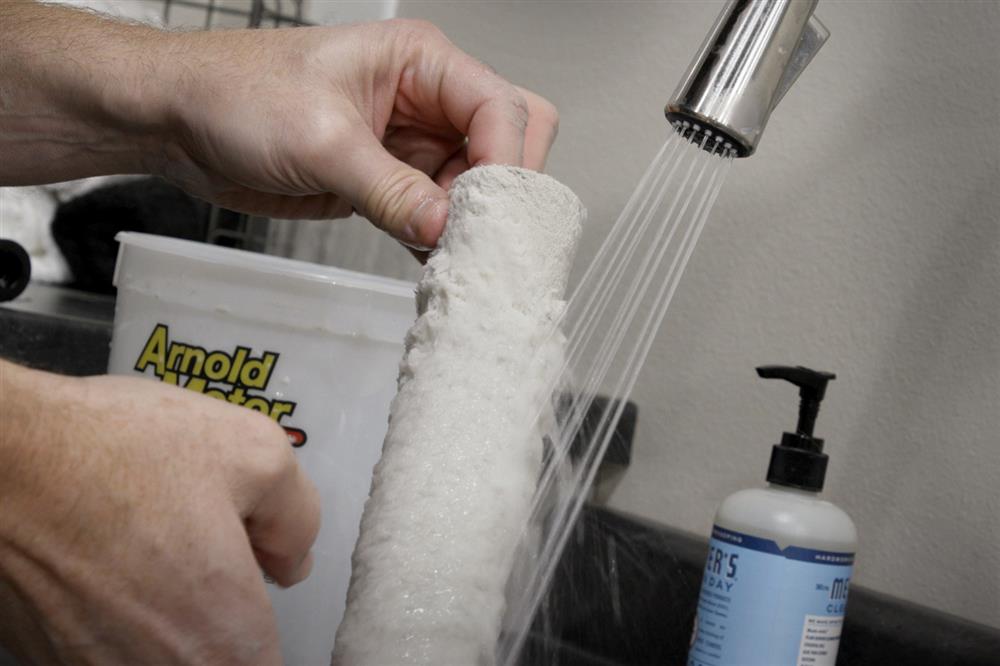
Step 4: Rinse Roller Cover
Once you have removed the excess paint, rinse the roller cover under running water. Squeegee out any remaining paint once again.
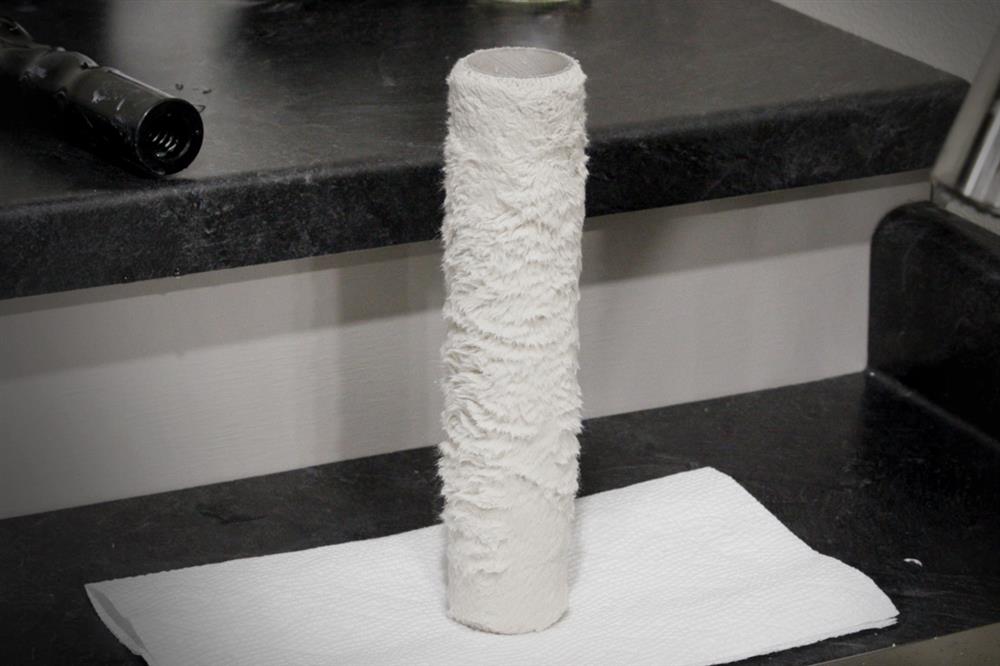
Step 5: Dry Roller Cover
Using shop towels, dry the roller cover the best you can. Then, use your Premium Paintbrush Comb to lightly comb the roller to help the fibers return to their original shape. Then, stand the roller on its end and let it dry.
Leaving the roller flat on its side will squish down the fibers on one side, making for an uneven roll the next time you use it.
Step 6: Clean Up
If the excess paint is still in your paint tray, pour it back into the paint can. Allow the paint to dry and peel it out of the tray. Your other option is to rinse it will warm water. Using your 5-in-1 Tool, scrape excess paint from the lip of the can and seal it back up.
Overall, by washing and reusing your paint rollers and trays, you're going to save yourself from making extra trips to the store and spending unnecessary money. Thankfully, this process is super easy to do!
Interested in learning more about paint tool care? Check out our post detailing the best method for cleaning paint brushes so you can get the most out of your tools.