Sometimes it’s tempting to buy cheap, mediocre brushes when painting your home, but don’t let the lower cost fool you. Cheap brushes often leave behind bristles and brush strokes, making your walls look patchy and of lower quality. Investing in high-quality brushes makes all the difference and you will end up saving money when you care for your brushes. Follow this guide to keep your brushes like new!
Step 1: Reclaim Excess Paint
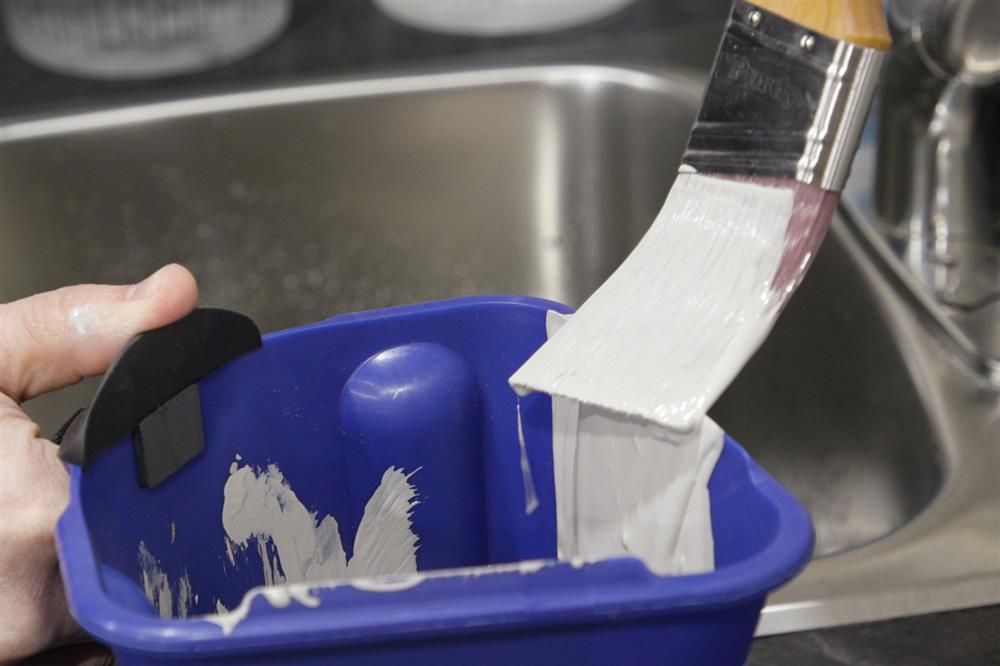
Before you use any water or soap, it’s important to get as much paint out of the brushes as possible. This excess paint will also come in handy for making touch-ups. Scrape the brush against the inside edge of the paint pail to remove the paint. Then, wipe the brush on a paper towel or shop towel to remove even more paint.
Step 2: Wash Brush in Proper Solvent
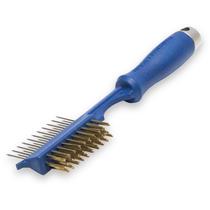
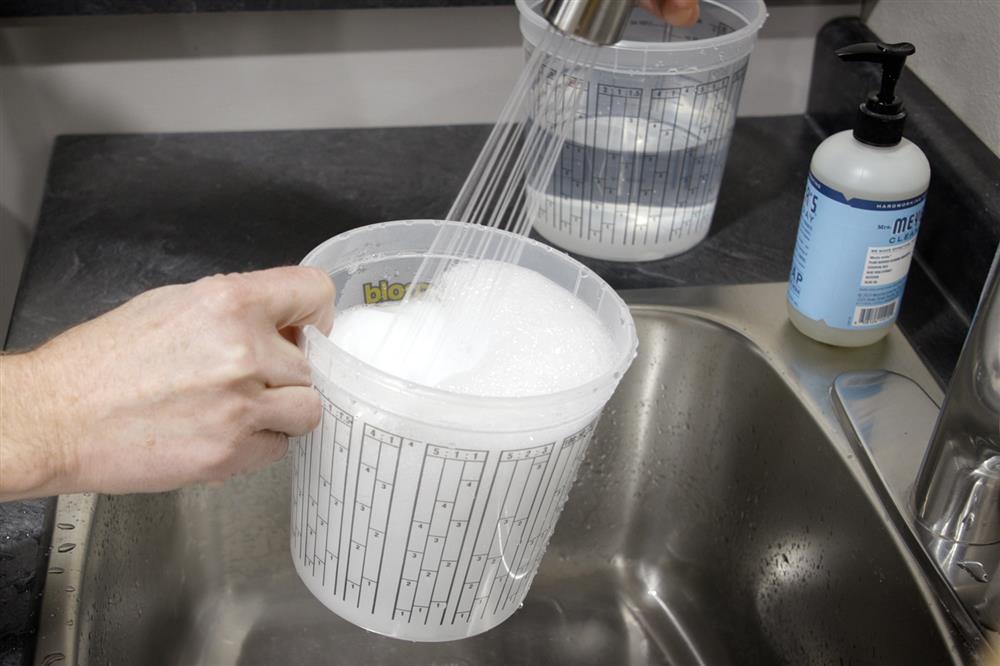
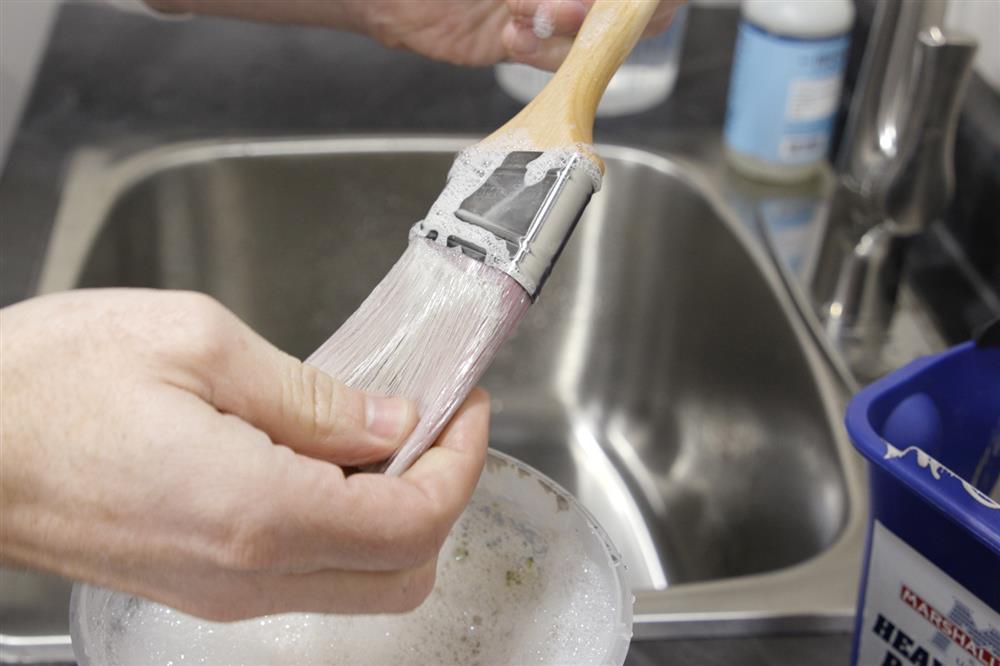
Once most of the paint is cleared away, fill two buckets with water and add dish soap to one of the buckets. If you are using oil-based paint, use mineral spirits, paint thinner, or turpentine in place of dish soap. In the soapy water bucket, swirl the brush around for about 10 seconds to loosen any stuck paint. Then, press the bristles against the side of the container to squeeze out the paint and water. As you go, work the bristles between your fingers, gently swirl the bristles in your palm, and use the MARSHALLTOWN Premium Paintbrush Comb to get your paint brush clean. Then repeat the process in the clean bucket of water.

Mineral spirits, paint thinner, and turpentine emit strong fumes and are flammable, so always use with caution and work in a highly ventilated area, preferably outdoors. You should also wear safety goggles and chemical-resistant gloves when handling these products.
Step 3: Rinse
Now, remove the brush from the bucket and rinse it under warm water. Make sure you don’t rinse the brush upside down, as this can ruin the bristles. Repeat the solvent/rinsing process as needed to remove all paint residue.
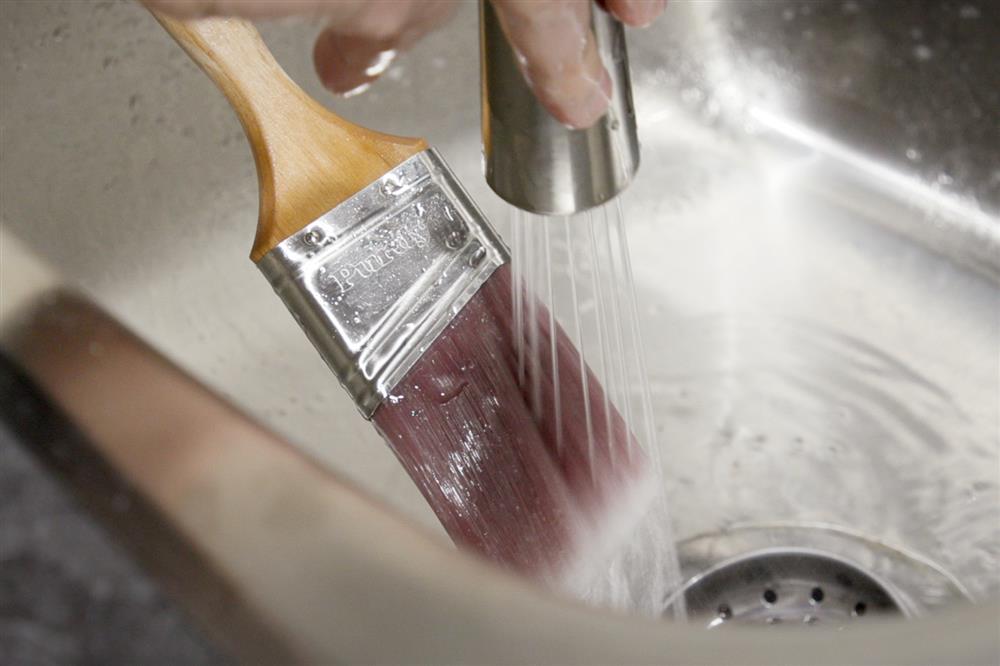

Before rinsing paint thinner/ turpentine/mineral spirits from your brush, use a few sheets of newspaper to paint away most of the remaining solvent.
Step 4: Dry
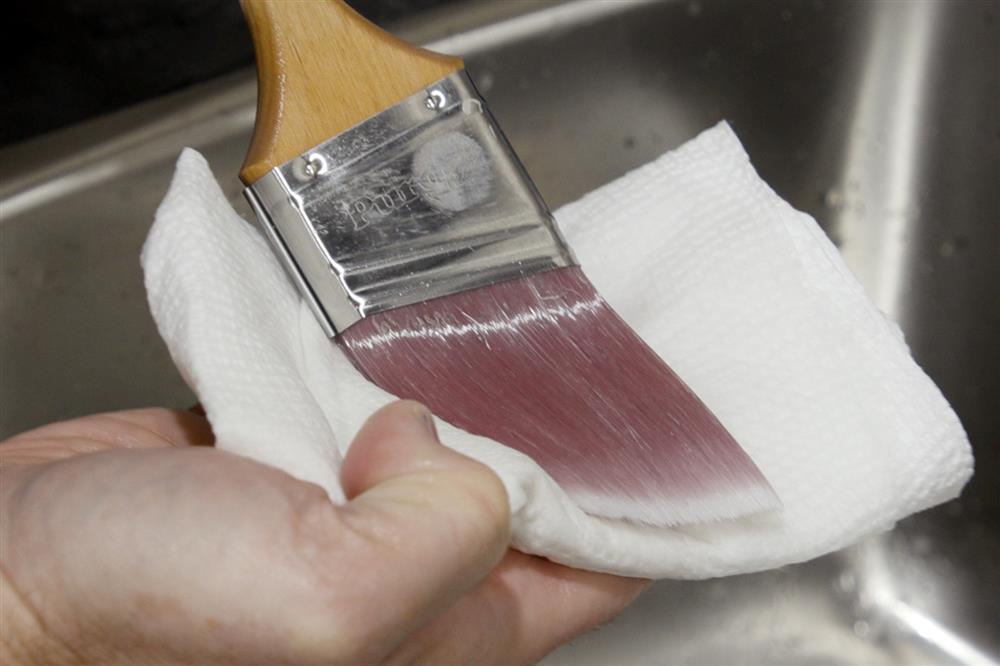
Gently blot the brush on shop towels or paper towels. It is a good idea to use your paintbrush comb during this step to straighten the bristles. This will help them dry in the correct shape.
Step 5: Store
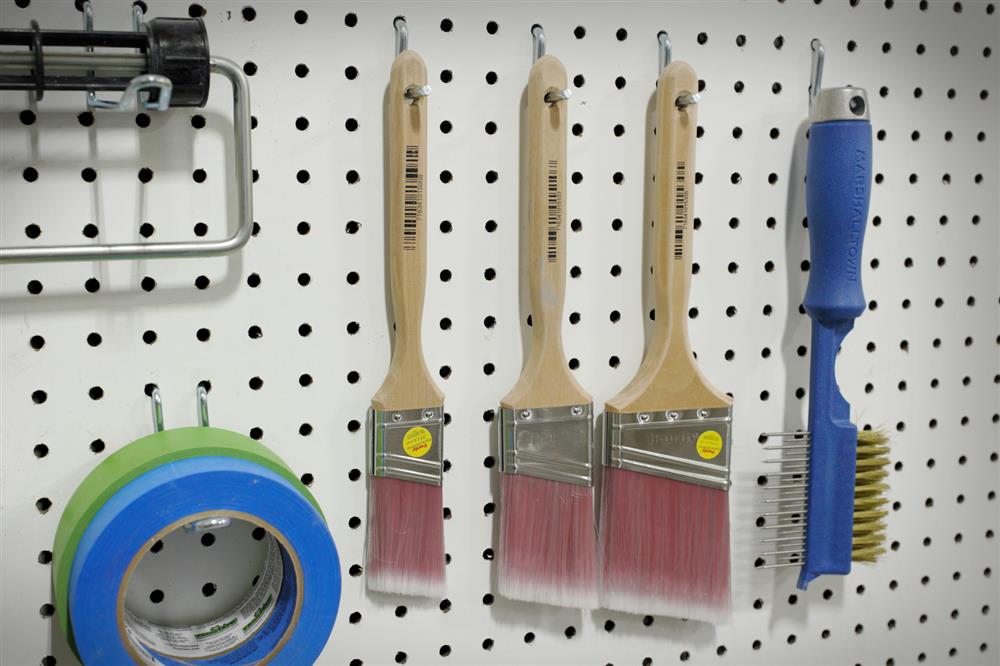
Once the brushes are dry, it’s time to put them away. If possible, store them in their original packaging. If you don’t have the originally packaging, hang the brushes in a safe place along with the rest of your paint tools. You can also wrap the brushes in brown paper and tie it loosely with string.
These fives easy steps will help you keep your expensive brushes like-new for a long time! Remember, using high quality brushes will help you achieve beautiful, smooth walls in your home.
