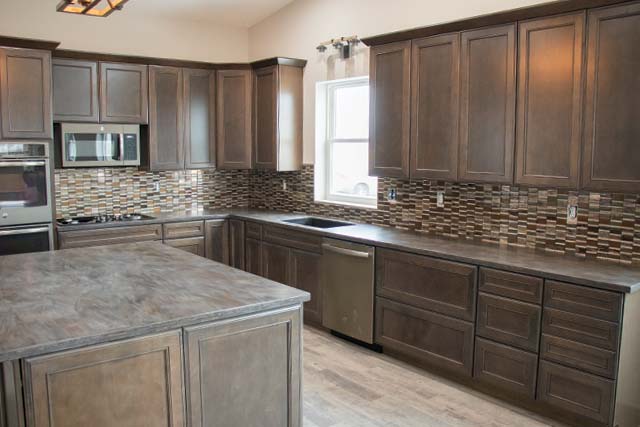
A new tile backsplash is a great way to update your kitchen and add your own personal touch. Mosaic tiles are available in a wide range of sizes, materials, styles, and colors to suit your tastes. Plus, their fiberglass mesh backing makes it easy to cut the sheets with tile nippers or a utility knife to fit under windows and around outlets.
The installation process may seem tricky, but we will walk you through all the steps so you can go into this project feeling confident!
Calculate!
Before you can begin the process of tiling, you need to know how much tile you will need. This means calculating the square footage of the area you are tiling. All you need is a tape measure and a piece of paper to write on.
Here is the equation: Length of Wall x Height of Wall = Total Square Footage
For example, if the space you are working with is 5’ by 2’, the equation will look like this:
5ft. x 2ft. = 10ft.2.
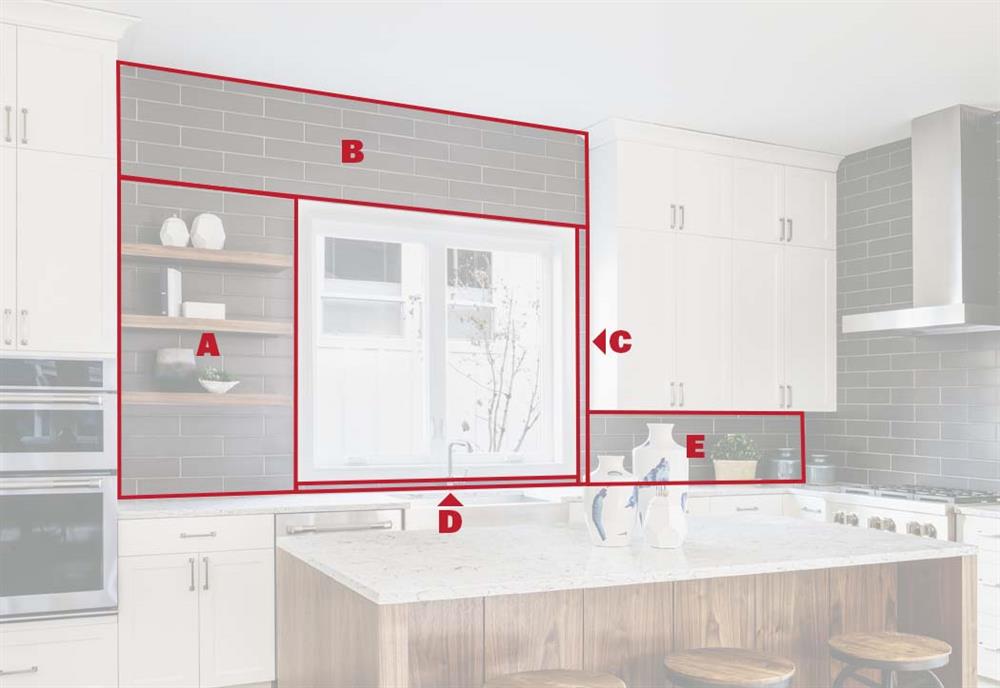
It can get tricky with a disproportionate wall, so section it off into smaller squares and add together, like the image below.
Include an additional 10% to your total square footage to cover any small gaps under windows, around outlets, or to replace any sheets that were damaged during shipping and handling. To do this, multiple your number by 1.1 to get your new total square footage.
Step 1: Prep Work
- Scrape off old flaking paint, fill holes/dents, and wipe down the surface with warm soapy water
- Grease stains or other discolorations may need to be covered with a coat of primer to make sure the tile adhesive sticks
- Use a pencil to outline outlet covers and light switch covers before removing – these will be guiding lines when installing the backsplash
- Clear the counters and move your oven away from the wall or out of the kitchen complete. Make sure to follow manufacturer’s instructions when handling appliances
- Optional: Cover your counters with cardboard or heavy-duty paper and tape it into place
- Optional: Install edge protectors to protect the outside edges of your tile
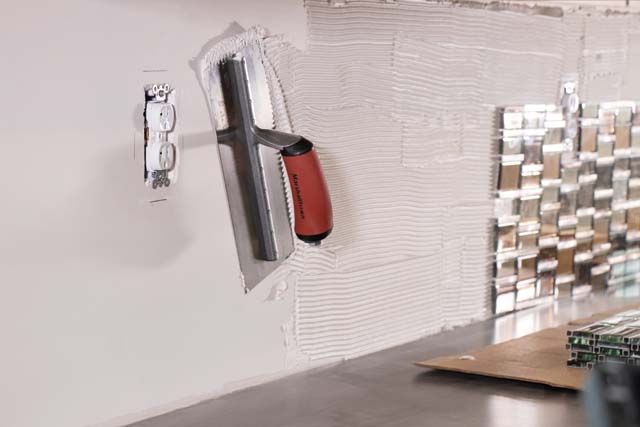
Step 2: Lay Out Tile and Spread Adhesive
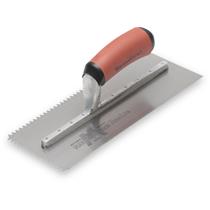
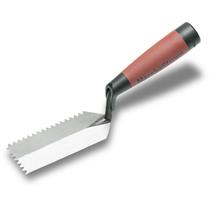
Map out a few sheets of tile, starting at the bottom and working your way up. Alternate the pattern of the stone for a natural look. When you like the pattern, move on to spreading the tile adhesive. Using a V-Notched Trowel, scoop up a liberal amount of tile adhesive, apply and even layer to your wall, and use the notched edge to create uniform notched in the adhesive. It is best to work in smaller sections. Also, make sure the notches go the same direction for the best results.

For smaller areas, use a notched margin trowel.
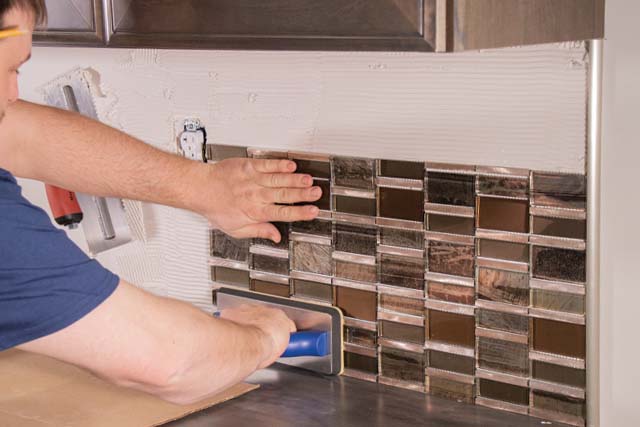
Step 3: Place Tile
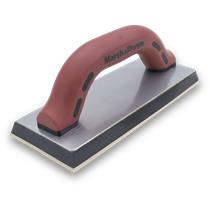
Starting at the bottom of one end, carefully place your first full sheet of tile and use a rubber tile float to press it into place. Hold for several seconds to prevent rippling. Make sure the grout joints are even as you continue placing full sheets.
Step 4: Cut Tile
To tile smaller areas, you will have to cut down the full sheets. This is for areas around a window, outlet, or along the outside edge.
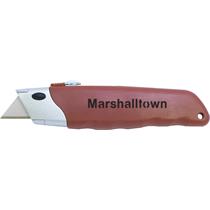
Q: What kind of tile cutter do I need?
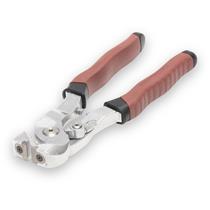
A: For most all tile types, you can get away with using a pair of tile nippers and a wet tile saw to cut and trim your tiles to size. If you’re using glass tiles, switch out the standard tile nippers for a pair of glass nippers. Remember: always wear the proper eye protection when using these tools.
You can also use a utility knife to quickly cut through the fiberglass mesh backing to fill any small, single tile sized gaps in your backsplash.
If you’re having trouble squeezing your notched trowel into these spaces, you may need to switch to a V-notched margin trowel. To help these trimmed tiles stick, back butter (coat the back of the tile in a thin, even layer of tile adhesive) them before pressing into the notched adhesive on your wall.
Continue this process until the entire area is covered. Then, allow the adhesive to set before grouting.
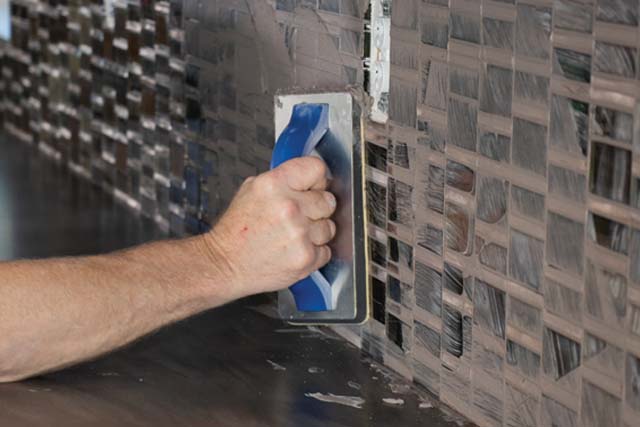
Step 5: Grout
Wipe down the tile with a damp towel or sponge to remove any dust that may have gathered and allow the tile to dry for 10 minutes. Mix your grout according to the manufacturer’s instructions as written on the label. You will know you’ve mixed the grout thoroughly when it has a thick, mud-like consistency. Now, allow the grout to slake (a fancy industry term for “soak up the remaining water”) for 5 to 10 minutes. Once it’s ready, you have about two hours to use it. Apply the grout to the backsplash with a grout float held at a 45-degree angle and work in sections. Then hold the float at a 90-degree angle and scrape over the surface of your tiles to remove excess grout.
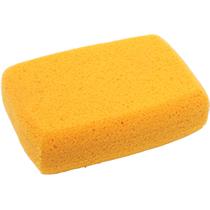
Step 6: Clean
Once the bulk of the grout has been wiped away, use a damp rag or grout sponge to wipe down the tiles. The sponge will not only clean the excess grout off the tiles, but it will also help shape the grout joints so they are consistent. If you spot a grout joint with a hole, fill it in with additional grout and sponge it again. After sponging, use a soft cloth to remove any final reside. Continue this process until you’ve completed the entire area.
Step 7: Caulk Outside Edges
You’re nearly done! To finish up, apply caulk along the edges where your backsplash meets the counters and cabinets to protect them against any moisture that may seep in. Finally, wipe down the backsplash with a damp rag or sponge. You may notice a haze on the tile. This is from the grout and is easy to remove! Apply a grout haze remover and let it dry.
Your kitchen is now updated with a beautiful, trendy backsplash you can enjoy for many years!