Concrete is the ideal material for walkways, patios, or foundation slabs. Pouring a slab yourself can easily save you half of the cost of hiring it out. All you need is a clear day, the right tools, and these seven steps.
Step 1: Prep Work
Doing prep work before you get to pour any concrete may seem tedious but skipping over these crucial steps could result in unlevel, oddly shaped slabs prone to shifting and cracking. Here’s what you’ll need to do before you pour any concrete:
1. Find a Spot and Make a Frame
First, grab a few 2 x 4’s and use the lumber to measure out and frame the area to your desired slab size (whatever best fits your space and needs). Cut your frame to size and use nails or screws to secure your frame together.
2. Make Sure Your Frame is Square
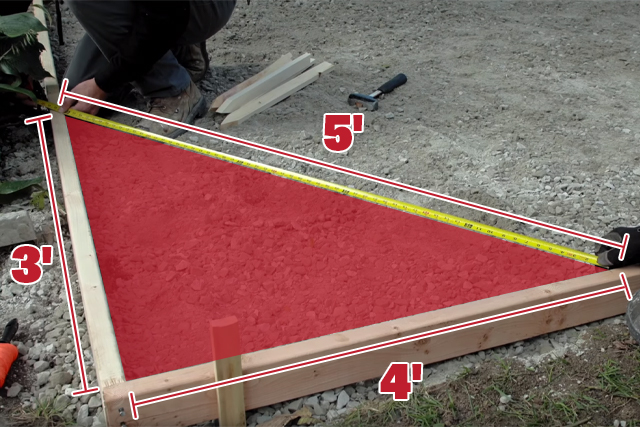
Use the Pythagorean theorem (you know, the one you told your math teachers you’d never use) to make sure your form is square. When you measure 3 ft along Side #1, then 4 ft along Side #2, the distance between them should measure 5 ft. If it does, your frame is square; if not, you need to adjust it.
Here’s a quick refresher: a2 (Side #1) + b2 (Side #2) = c2 (hypotenuse). Keep it simple by using round numbers, like this: 32 + 42 = 52.
3. Get Ready to Dig
Before you do any digging, you should always call 811 or visit call811.com to get a fix on the location of any pipes or wires that may be buried in your yard so you can avoid a costly mistake. This number works anywhere in the country. Once you’ve been given the clear, you’re ready to start digging.
Step 2: Dig
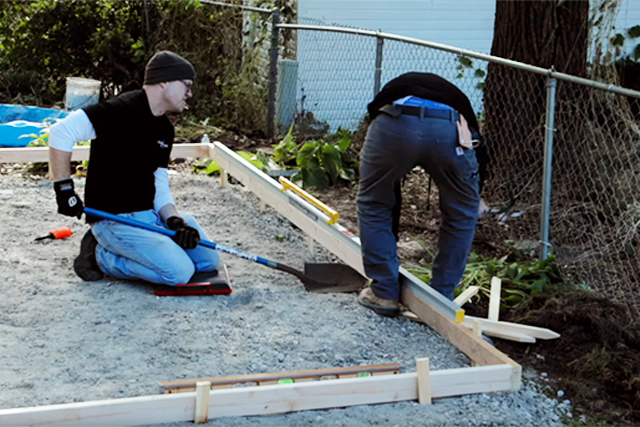
You should make the space for your pour as level as possible before you begin pouring concrete to help reduce the risk of your slab shifting or cracking over time. Start by placing your completed frame where you want the finished slab to be and score along the outside edge with the tip of your shovel. This will give you a guiding line to follow when you start digging. Next, remove your form and set it aside, and then, begin removing your sod and the first four to six inches of topsoil. The general rule of thumb is to allow about three inches for the gravel base and four inches for concrete.

It is perfectly acceptable to start this entire process by digging a space for your pour, then building forms to fit the space. Choose a starting point that works best for you.
You may need to use a hoe if your dirt is too tough for your shovel. This will rough up the soil to make it easier to remove with your shovel. A second pair of hands speeds up the process. Try to get the hole as flat and level as you can.
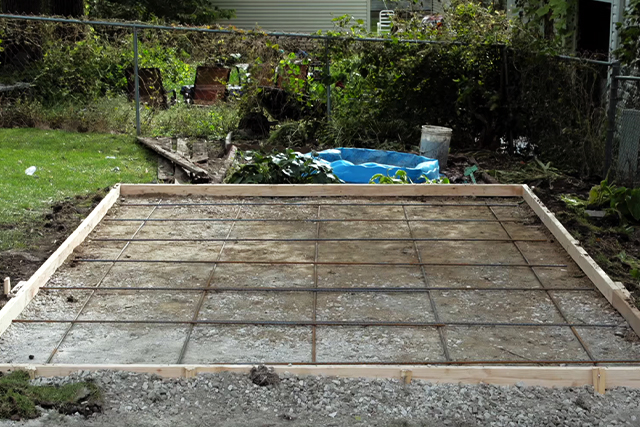
Step 3: Place Frame and Add Fill
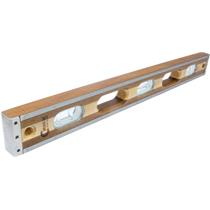
Once your hole is dug, place your frame exactly where you want it, and then secure it in place by hammering stakes every two feet around the outside edge of the form. Using a Level, check periodically to ensure your form is level all the way around. Then, use a hammer and nails to secure the stakes to the form. This will help keep your forms in place during the pour. If the stakes extend over the forms, cut them down to size. This process may make your form seem elevated in some places and lower in others (like in the image below), but don’t worry, that’ll be taken care of later.
Now it's time to add your fill. Some choose to use gravel while others use sand. It depends on where your slab is and what it’s being used for. For instance, all-purpose sand fill is most useful in wet areas that need a little extra help with water drainage. It’s easy to move around with your hands and pretty affordable, but there is a catch - sand is prone to shifting and displacement, which means your new slab might not stand the test of time. Gravel fill is a sturdy enough material that, when tamped down, proves to be both a budget-friendly and long-lasting option for many DIY projects.
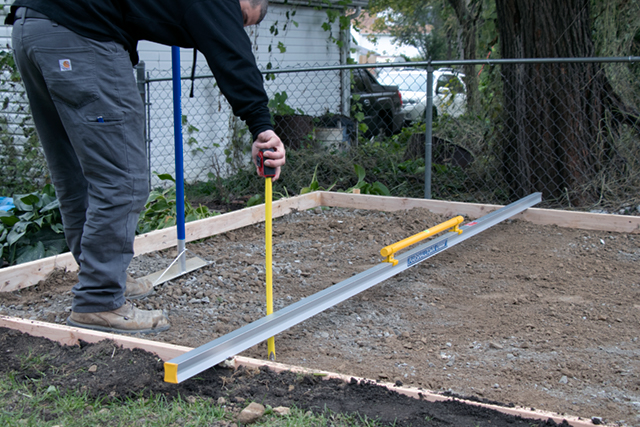
Pour and spread out your fill until you have a relatively even, three- to four-inch bed of material. If you notice that you have gaps between your fill and the bottom edge of your form, you’ll need to “grade” the fill by adding more gravel or sand to those low areas and spreading them out evenly until they match up with the rest of the fill. An easy way to double-check your work is to place a screed (or, simply, a long straightedge like a 2 x 4) on top of your form and measure down with a tape measure, making sure it measures the same all the way around. For those who decided to use gravel fill, you’ll need to use a tamper to make the surface as level as possible. Dampen the gravel or sand using your garden hose and a misting attachment to help prevent shrinkage cracking—this is especially important if you’re working outside on a hot day.
Step 4 (Optional): Lay Rebar
A common question is if rebar is required for every concrete project. The answer—rebar is strong, durable, and placing it within your concrete slab will make it tougher than nails, but it’s not always necessary for every project.
Rebar is recommended for concrete slabs that measure 5 – 6 inches in depth, which is about the depth of slab you’d need if you plan to drive on it or use it to house heavy machinery (like a large RV, for example). If your slab is under 5-inches deep, or if you plan to use it as a patio, sidewalk, or garden pad, you’ll likely be fine without it.
You could opt in for a welded wire mesh instead of rebar. It’s a thinner, typically cheaper alternative to rebar and offers similar benefits to rebar, including the reduced risk of your slab cracking over time.
Here’s the steps needed to install both options.
1. How to Lay Rebar for a Concrete Slab
Place rebar in an evenly spaced grid pattern like the example shown below and overlap any pieces to make up for the length needed to span your slab.
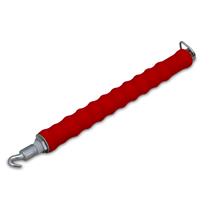
Loop a double-looped tie around every intersection and twist with a Pull Tie Wire Twister to secure the rebar together, then use the toe of your boot to press the tie down flat against the rebar or remove it completely using wire cutters.
Center the rebar where you want it (the ends should be about two- to three-inches away from the edge of your form) and elevate it with rebar chairs so the rebar hits in the true center of the slab instead of the bottom. You also don’t have to remove the chairs as you pour. Leave them in and let them handle the load for you.
2. How to Lay Welded Wire Mesh for a Concrete Slab
Welded Wire Mesh already comes in a grid pattern, which saves you time and manual labor. Simply lay out the sheets (as many as you need to support your slab) and you’re good to go.
You can use chairs to keep the mesh elevated, but because it’s so lightweight, it's easy to adjust it back to the center of the slab as you pour fresh concrete.
This mesh is sometimes sold in rolls, but we recommend sticking with the flat stuff—trust me, it’s not easy to flatten out steel once it’s been rolled up for so long, even if it is thin and seemingly malleable.
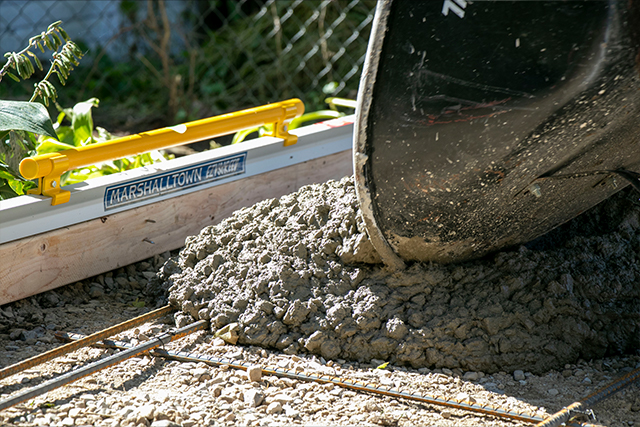
Step 5: Mix and Pour Concrete
The amount of concrete you’ll need for your project is completely dependent on the dimensions of your slab—particularly its volume (typically measured in cubic yards)—and you can use a concrete calculator to calculate the right amount. Depending on your budget, you can either call your local concrete provider to have them deliver ready-mix concrete directly to you, or you can visit a home improvement center to get the amount of concrete you need, mixing it yourself in a wheelbarrow or a concrete mixer. If you decide to mix it yourself, follow the directions as written on the bag.

Wet concrete can be damaging to exposed skin. Always wear the proper protective gear when working with this material.
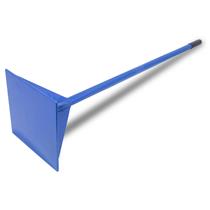
It’s important to work in sections when pouring concrete because 1) it’s easier to spread around with a placer or hoe, and 2) it gives you the chance to be sure your rebar or mesh is still where it needs to be. As you move the concrete, the surface should be relatively flat and slightly higher than the edge of your form (you’ll need this extra material when screeding).
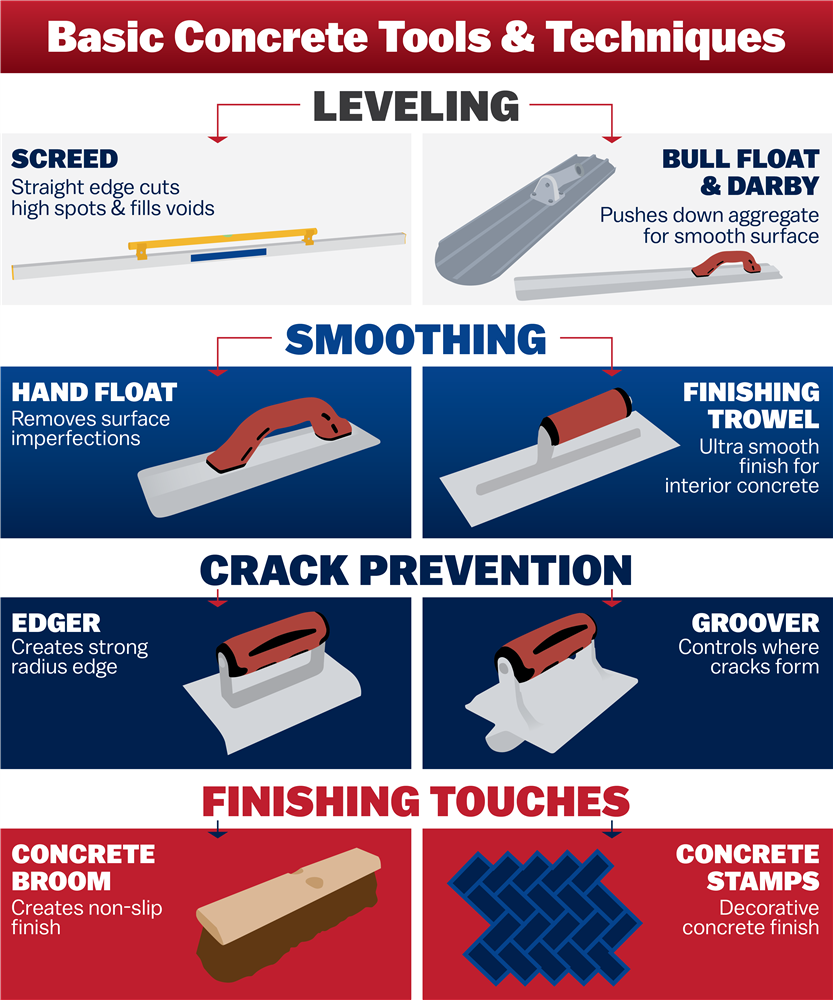
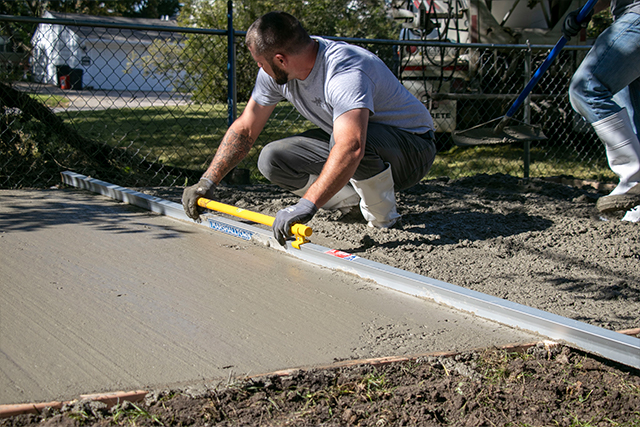
Step 6: Screed
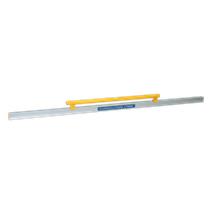
“Screeding” is an industry term that ultimately boils down to working a straight edge in a sawing motion over the top of wet concrete to fill any voids and smooth out the surface. We recommend using a MARSHALLTOWN Ezyscreed™ Combo Screed. Always use the top edge of your form as a guide for your screed, and don’t let the screed dig deep into the wet concrete. Think of it as skimming over the surface to smooth out the bumps.
For larger slabs longer than five feet, you can screed as you go to streamline the process. Those of you making smaller slabs can screed once the entire form is filled. You’ll need about three to four passes with the screed to see the best results.
Scoop up and clean away any concrete that may have bubbled over the side of your forms and onto the grass. If it hardens, it can make removing the forms much more difficult.
Step 7: Finishing Touches
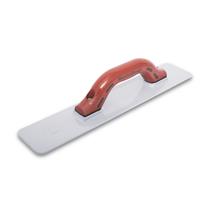
Wait until the concrete has lost a bit of its sheen before using your Cast Magnesium Hand Float to remove any marks or blemishes that may have been left behind after screeding. About two to three long sweeping passes should do it.
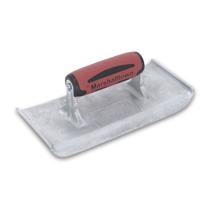
Next, round out the edges of the slab using an edger (the concrete should be firm, but not solid, before you begin edging). Work in long, sweeping strokes until the edge is smooth, solid, and straight. You may need to go back over the surface with your trowel if the edger leaves behind any lines.
If your pour is longer than 10 ft., you’ll need to cut in a control joint or groove to prevent cracking. So, while the concrete is still wet, find the center of your pour and mark the spot on the form with a pencil, stretch mason’s line over the surface to create a guiding line in the concrete, and follow the line with a groover to create a perfectly straight and centered control joint.
For larger slabs, use a bull float with a handle to extend your reach, allowing you to push and pull the tool over the surface of the slab to remove screeding, edging, and groover marks. Two to three passes with this tool should be enough to smooth out the surface without weakening it.
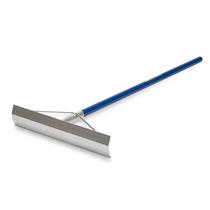
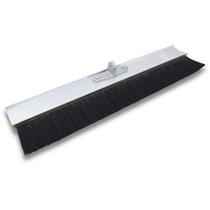
Finally, finish the slab with a concrete broom to create a non-slip surface with enough traction for foot traffic without being rough enough to hurt if walking on bare feet. Simply glide the broom over the surface, pulling toward you so all the grains face the same direction, and repeating this process until the whole slab is covered.
Leave the slab to cure completely (this could take one to three days), then remove the stakes and the frame. You may need to loosen the boards with a hammer or pry bar, but they should easily pry free.
Once they're off, clean up the debris, give the slab one final sweep, then adorn it as you see fit and enjoy it for years to come.