Earn points on every order
 FREE shipping on orders over $49.99
 Share Post
A damaged drywall cornerbead doesn't always mean removing the baseboard trim. When the original metal corner bead runs behind the baseboard, you can isolate the damaged section and replace it without creating a bigger repair.
This method removes only the damaged portion of the metal bead and replaces it with a paperfaced corner bead. With the right tools and materials, you can make a clean repair while leaving the existing trim in place.
Step 1: Assess the Damage
Start by assessing the damaged area. If the metal cornerbead is dented or creased and the drywall compound around it is cracked, simply covering it with more mud won't fix the problem.
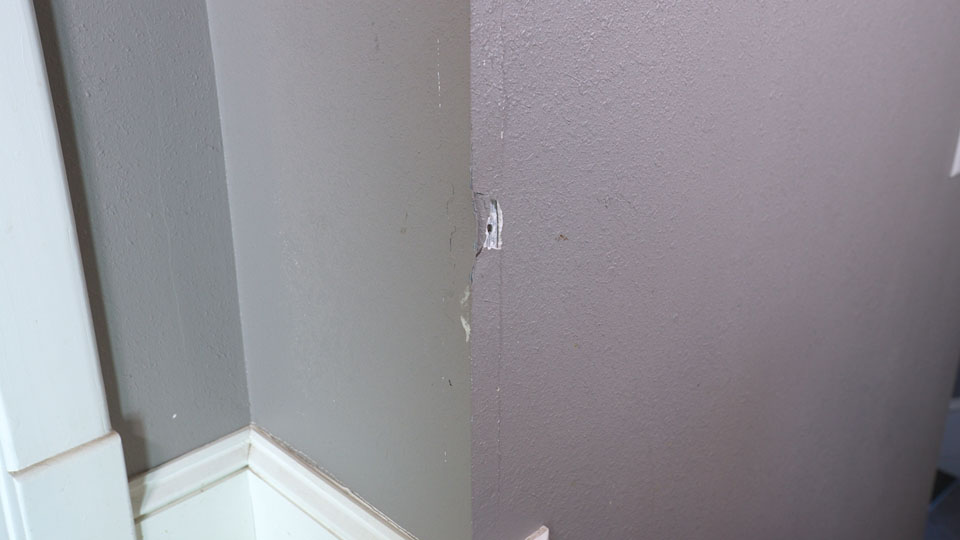
Once the metal bead is damaged, the affected section needs to be removed. Since the damage is above the baseboard, you can isolate the repair and replace only that section.
Step 2: Remove the Damaged Section
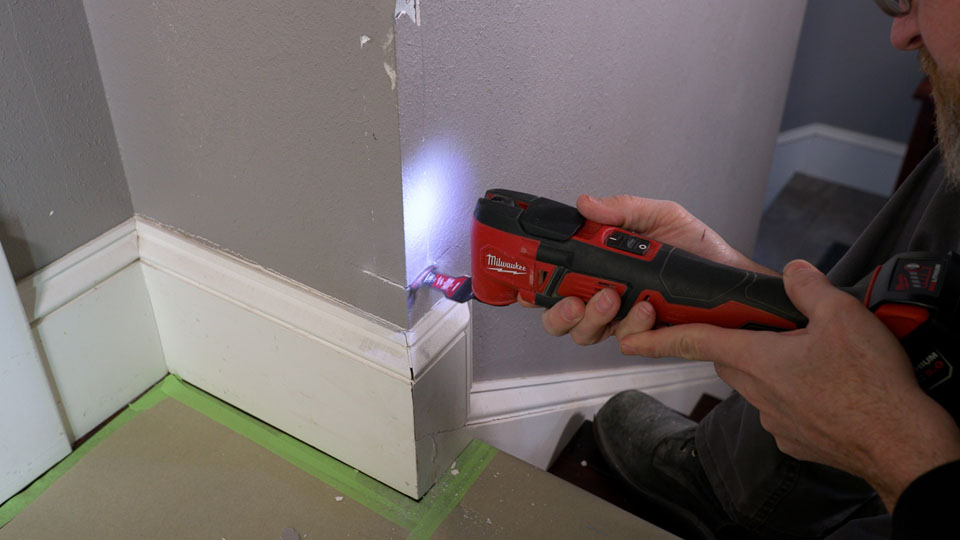
Use an oscillating multi-tool to cut through the metal corner bead just above and below the damaged area. Make clean, straight cuts. Once the section is cut, carefully pry it loose and remove it.
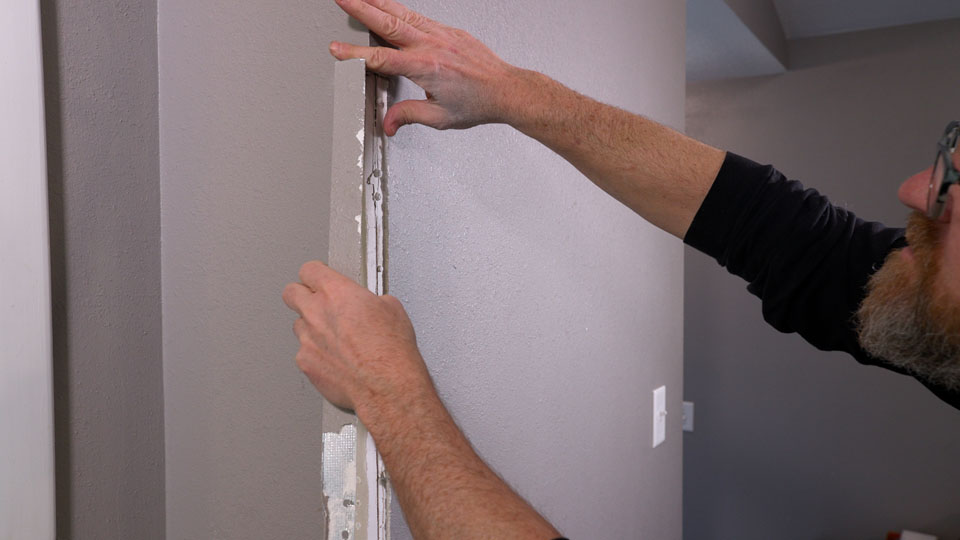
Step 3: Prep the Opening
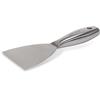
Using your WAL-BOARD TOOLS Joint Knife, scrape away loose joint compound and flatten the repair area. The drywall underneath should be solid and smooth.
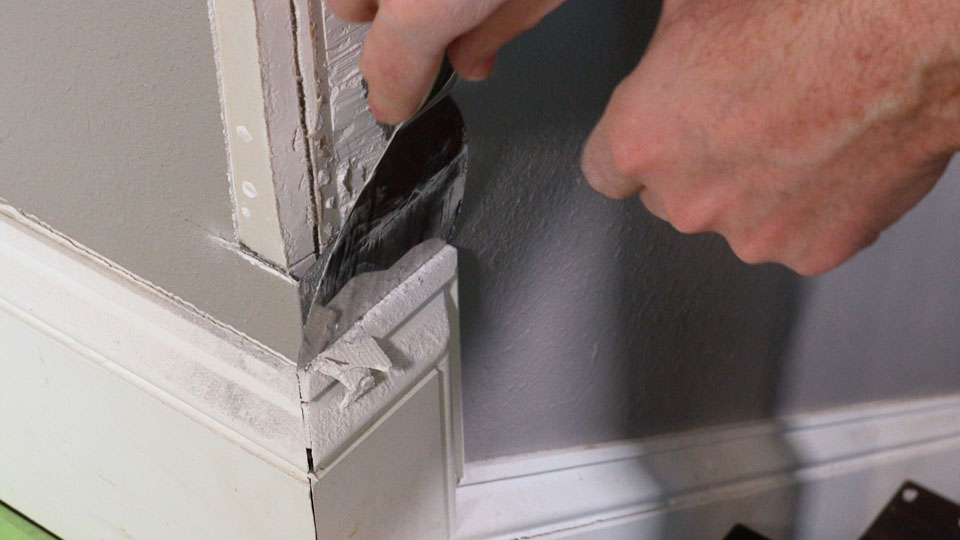

A properly prepared surface helps the new cornerbead sit tight and straight against the existing bead.
Step 4: Cut and Dry Fit the New Cornerbead
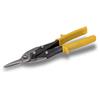
Measure the opening and with our QLT Aviation Snips (or tin snips), cut the new paperfaced cornerbead slightly shorter than the space. Dry fit the piece between the existing metal bead. Make sure it sits straight and fits tightly against both sides of the existing bead.
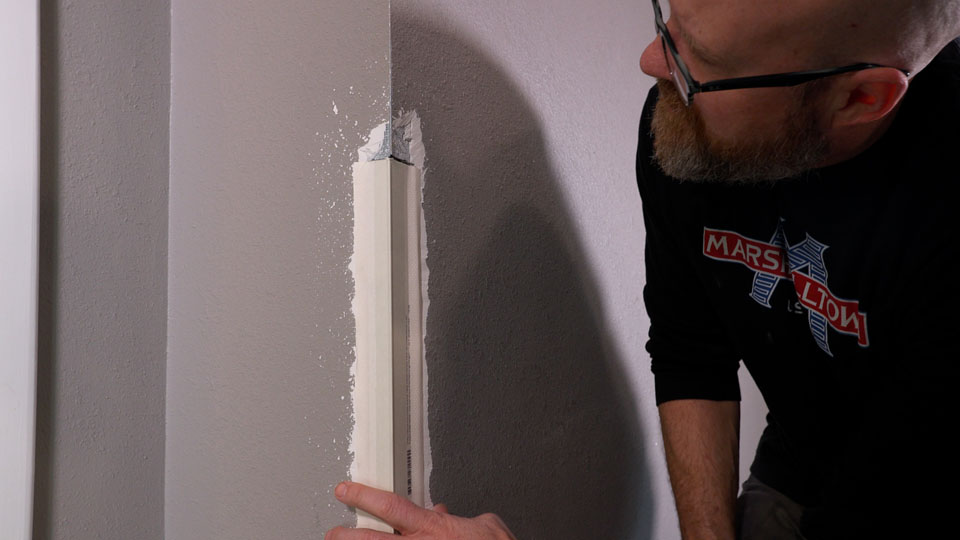
Step 5: Apply Mud and Embed the Cornerbead
Apply an even coat of setting-type joint compound to both sides of the corner. Apply compound to the inside of the paperfaced cornerbead as well.
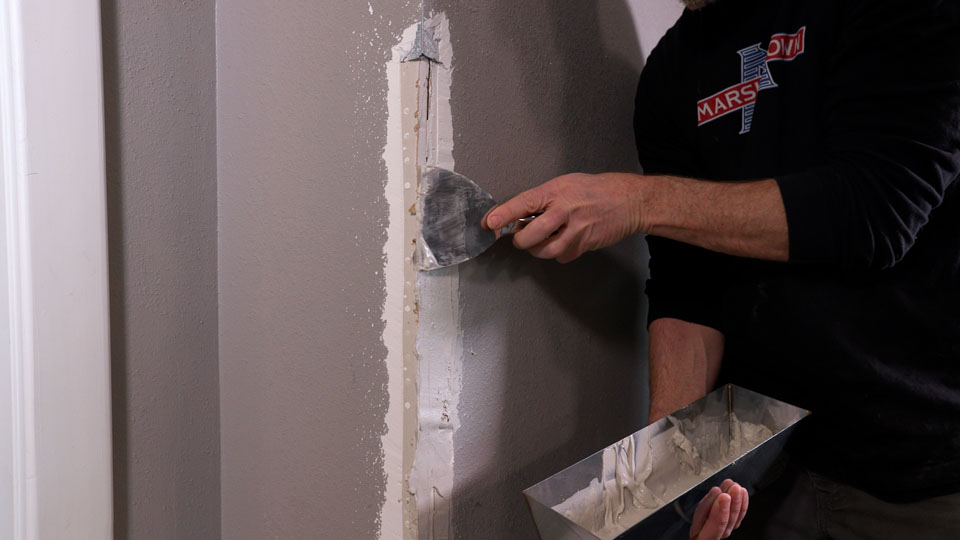
Press the corner bead firmly into the mud. Use your joint knife to embed it, squeezing out excess compound as you work. The goal is solid contact between the bead and drywall with no voids underneath.
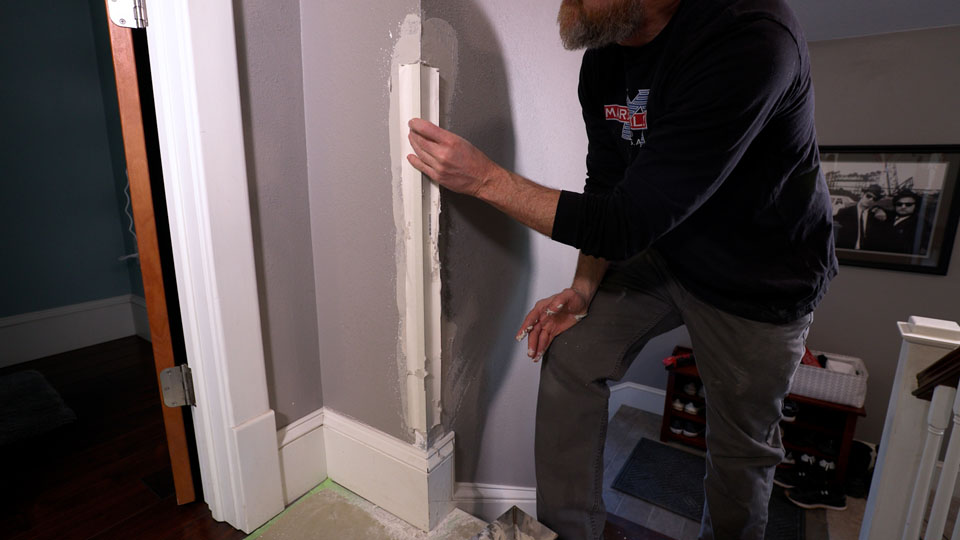
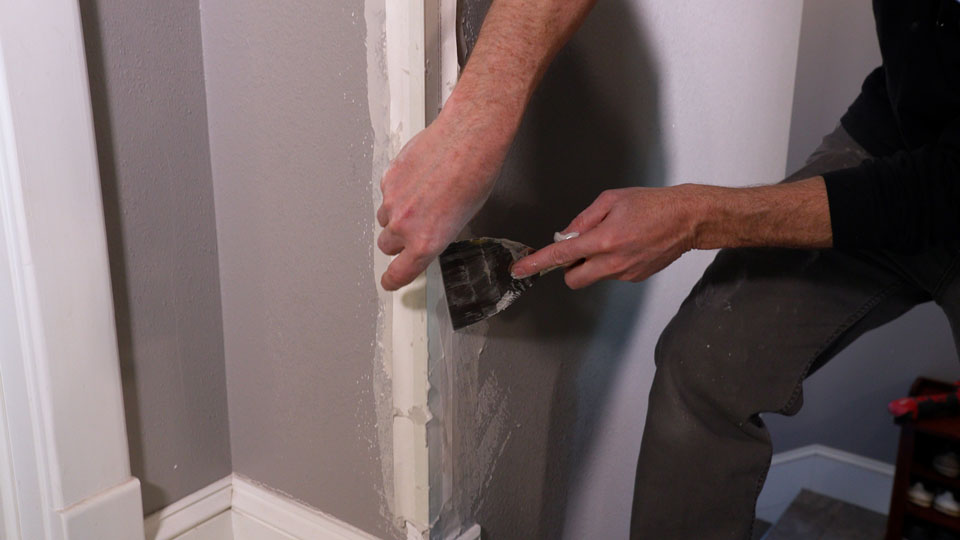
Step 6: Apply the First Coat of Joint Compound
Once the corner bead is embedded, apply a light coat of Easy Sand™ joint compound over the repair. Feather the edges several inches beyond the corner bead to help blend the repair into the existing wall.
Avoid overworking the compound, then allow it to dry completely.
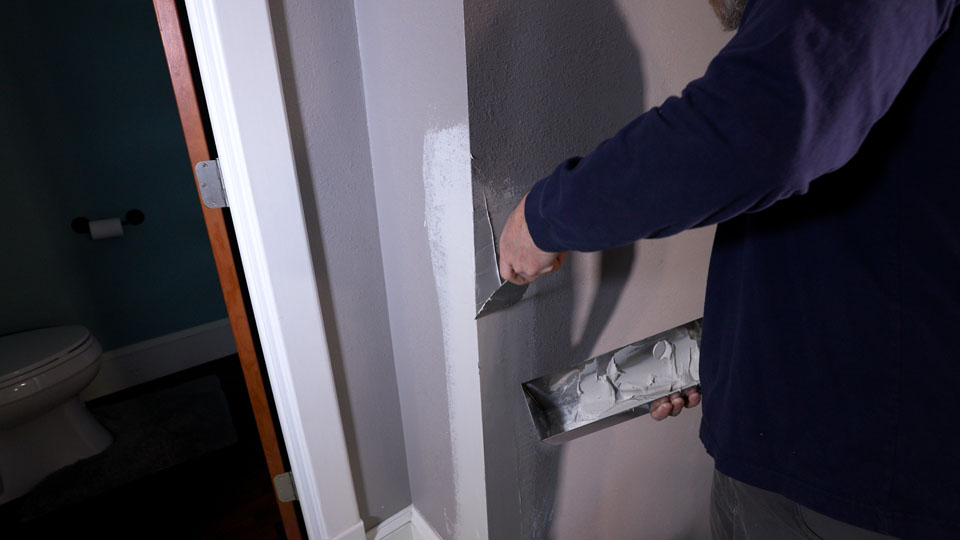
Step 7: Apply Second Coat and Feather
After the first coat has dried, scrape away any high spots. Then, apply a second coat of joint compound, widening your feather to blend the repair into the surrounding wall. Take your time here. You want the repair to disappear into the existing surface.
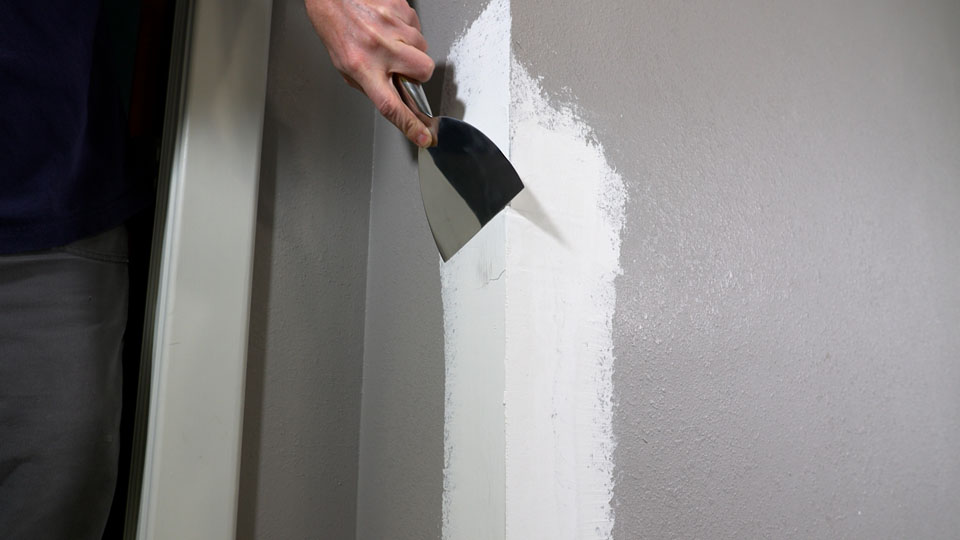
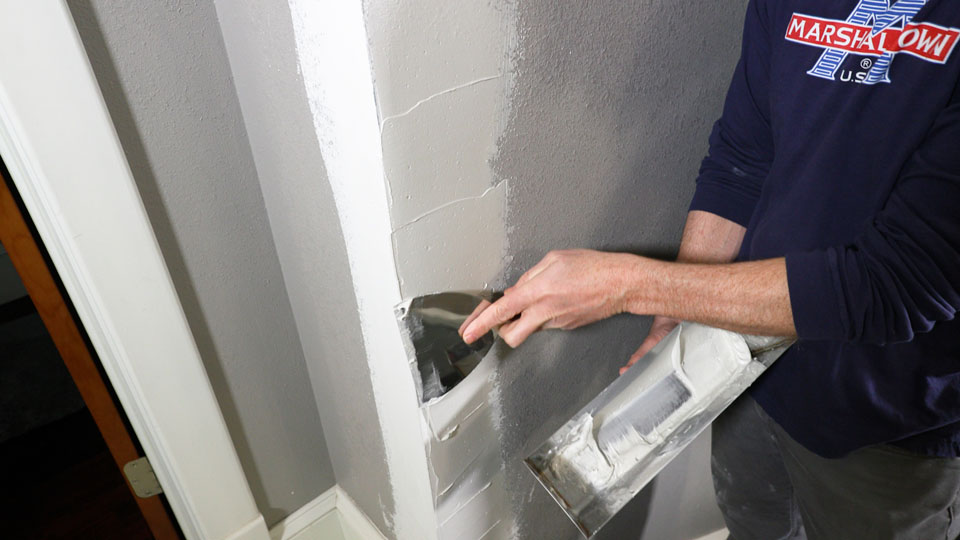
Step 8: Match the Existing Texture
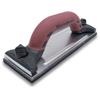
Lightly sand the repaired area with the MARSHALLTOWN Hand Sander before applying the final coat of compound. Remove any drywall dust before adding texture.
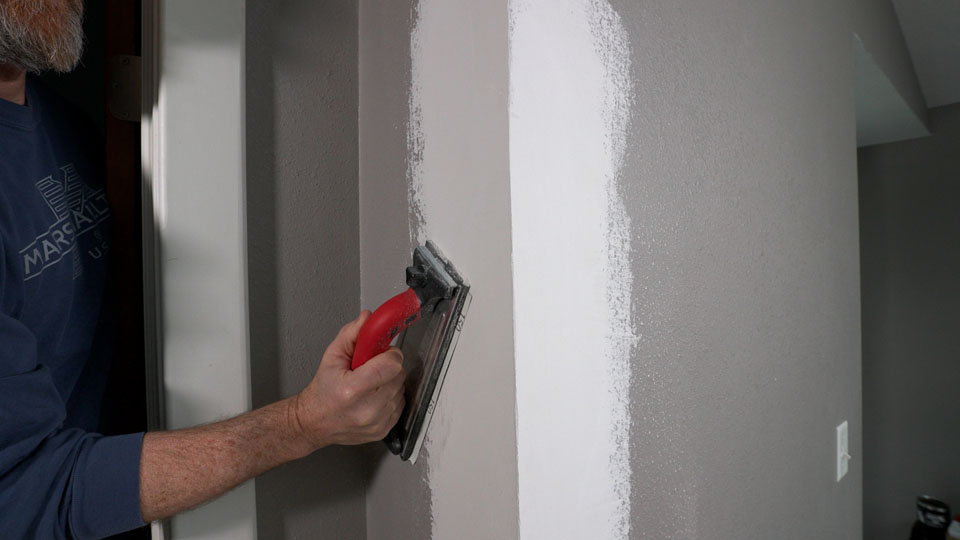
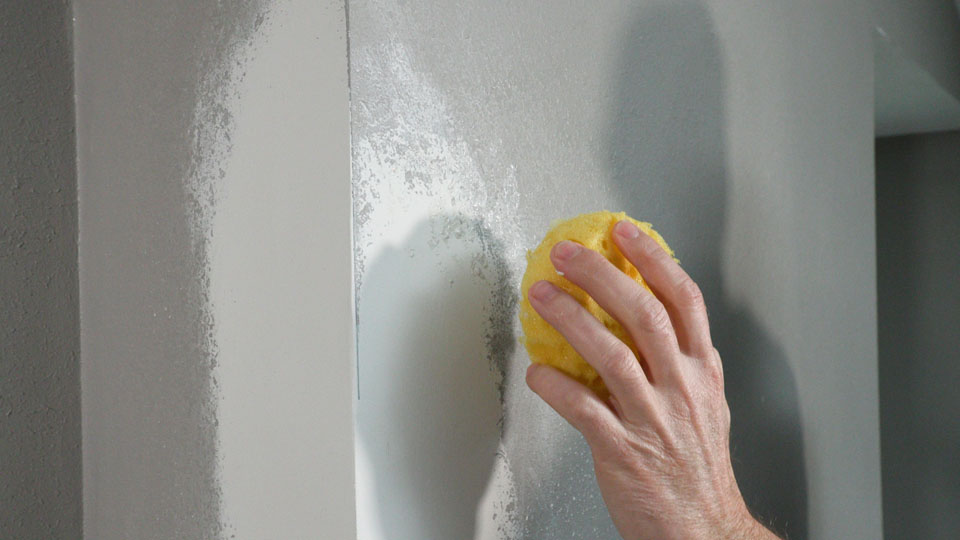
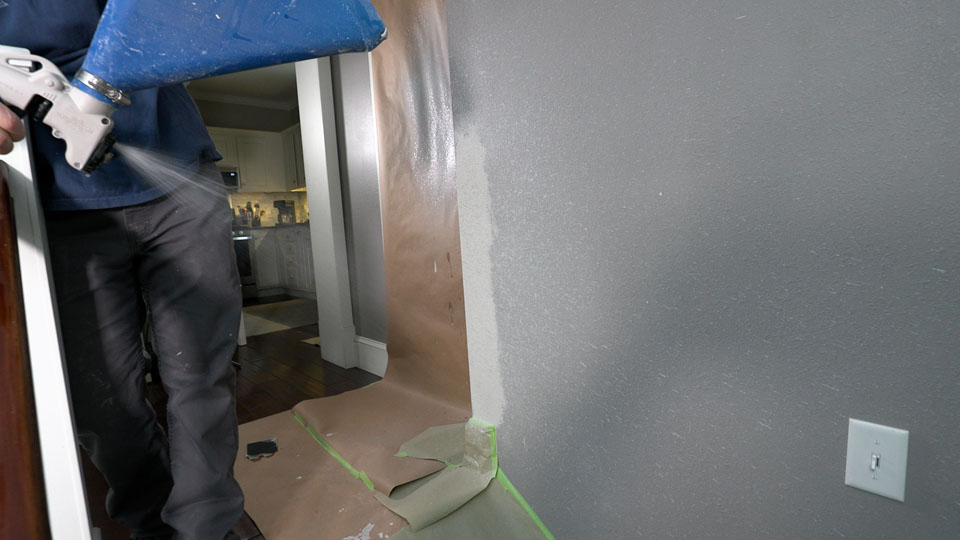
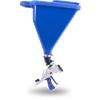
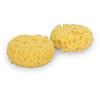
If the existing wall has an orange peel texture, use a texturing sponge for smaller areas or a hopper gun like the MARSHALLTOWN SharpShooter® 2.1 for larger repairs. Apply quick, even passes and feather the texture into the surrounding wall to avoid creating a hard edge.
Step 9: Prime and Paint
Fresh joint compound should always be primed before painting. Once the primer has dried, apply your matching finish coat. With the right technique, the repaired section should blend seamlessly into the existing wall.
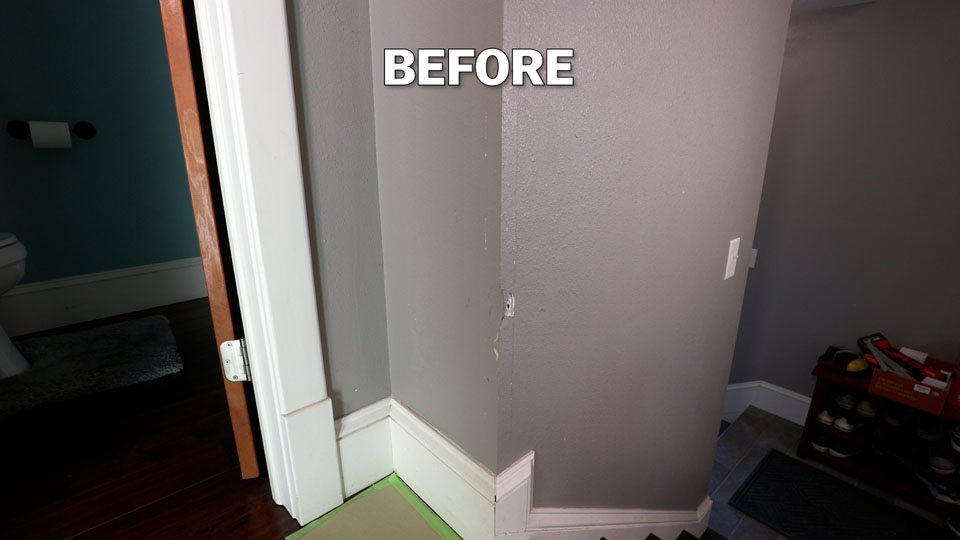
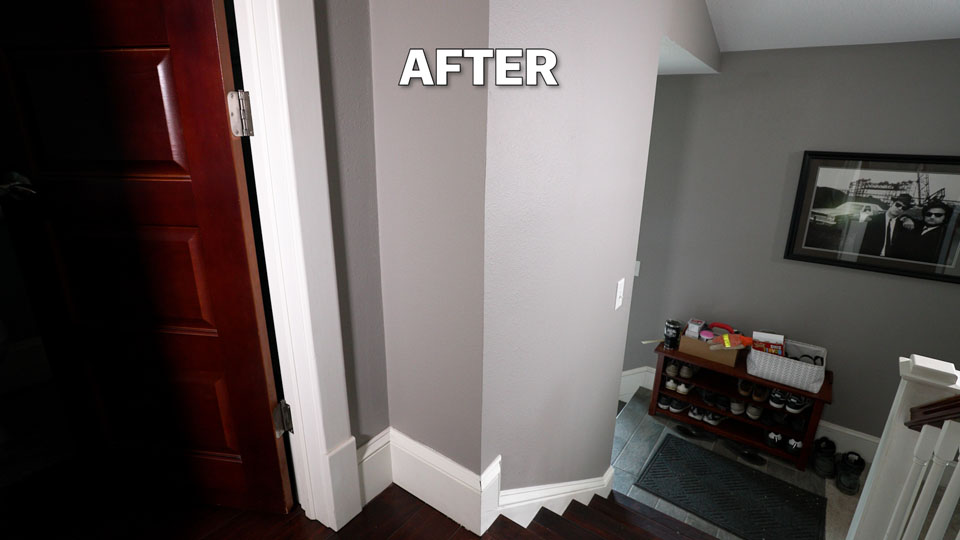
Replacing only the damaged section of corner bead can save time and prevent unnecessary work. By leaving the baseboard in place, you can complete the repair with fewer steps while still achieving a professional-looking finish.
Featured Products
-
Part #: 022-094 | Item ID: 40093Stainless Steel Handle Tools
 View Details
$28.52
View Details
$28.52- Blade Width : 4 in.
- Tool Type : Joint Knife
-
Part #: TAPEMEASURE25' | Item ID: 10516Tape Measure
 View Details
$17.61
View Details
$17.61- Tape Measure Type : Standard Tape Measure
-
Part #: 16714 | Item ID: 16714QLT Aviation Snips
 View Details
$21.34
View Details
$21.34- Cut Type : Straight Cut
-
Part #: 6396 | Item ID: 16396Heli-Arc Mud Pans
 View Details
$21.72
View Details
$21.72- Size : 14 in.
-
Part #: 20D | Item ID: 16320Hand Sanders
 View Details
$19.37
View Details
$19.37- Brand : MARSHALLTOWN
- Style : Knob
- Handle Material : DuraSoft®
-
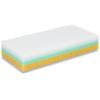
Part #: 038-035 | Item ID: 40160Sanding Sponges
 View Details
$9.25
View Details
$9.25- Type : Premium Drywall Sanding Sponge
-
Part #: SS21 | Item ID: 28295SharpShooter® 2.1
 View Details
$126.53
View Details
$126.53- Kit : Hopper Gun
-
Part #: HDT | Item ID: 29267Heavy-Duty Paint Tray
 View Details
$13.03
View Details
$13.03- Description : Heavy-Duty Paint Tray
-
Part #: TSKOKW | Item ID: 40683Texture Sponges
 View Details
$17.39
View Details
$17.39