Spalling concrete is a common issue in areas with freeze-thaw cycles. Over time, moisture penetrates the concrete, freezes, and causes the surface to flake or chip away.
If left untreated, spalling can worsen and lead to costly repairs. Fortunately, you can repair spalling concrete yourself with the right tools, materials, and a handful of steps. In this guide, we’ll walk you through a professional-grade repair process for spalling concrete—ideal for garage floors, driveways, and sidewalks.
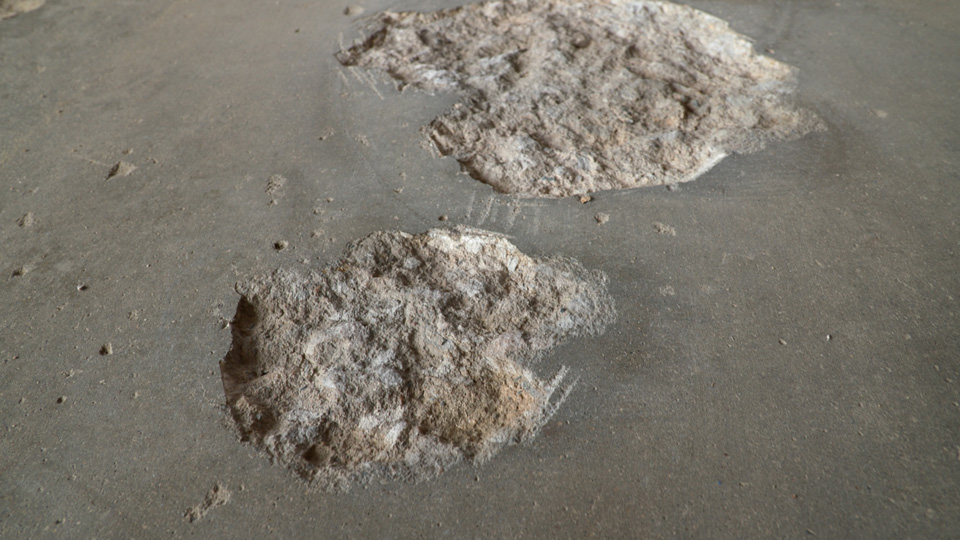
What Is Spalling Concrete?
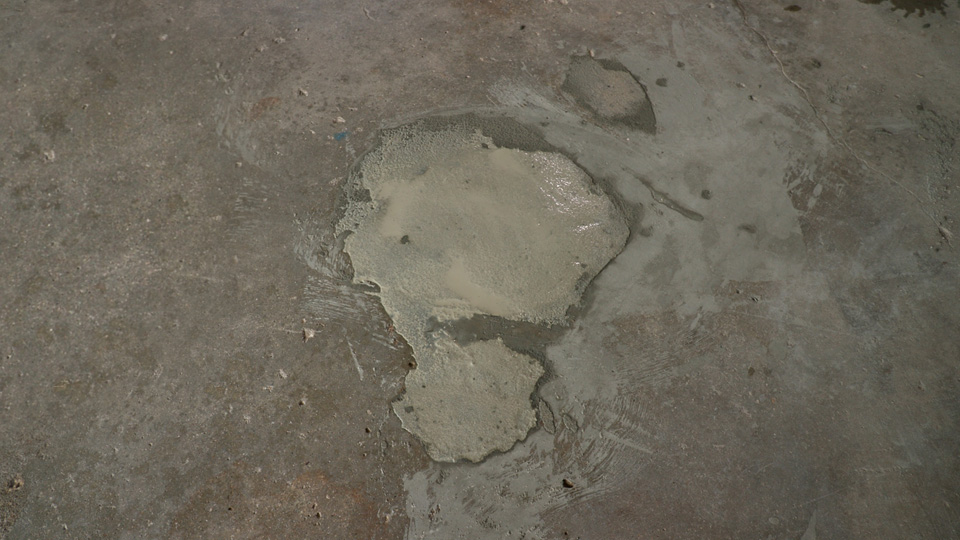
Concrete spalling is when the surface of concrete deteriorates, which can look like flaking, chipping, or crumbling of the surface. It is caused by several factors like freeze-thaw cycles, poor installation techniques, de-icing chemicals, or water intrusion. If your concrete is flaking or cracking at the surface, it’s time to repair it before it gets worse.
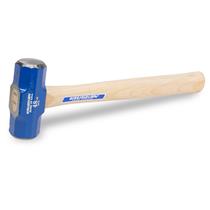
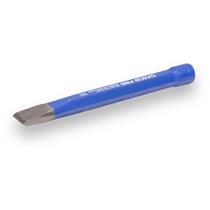
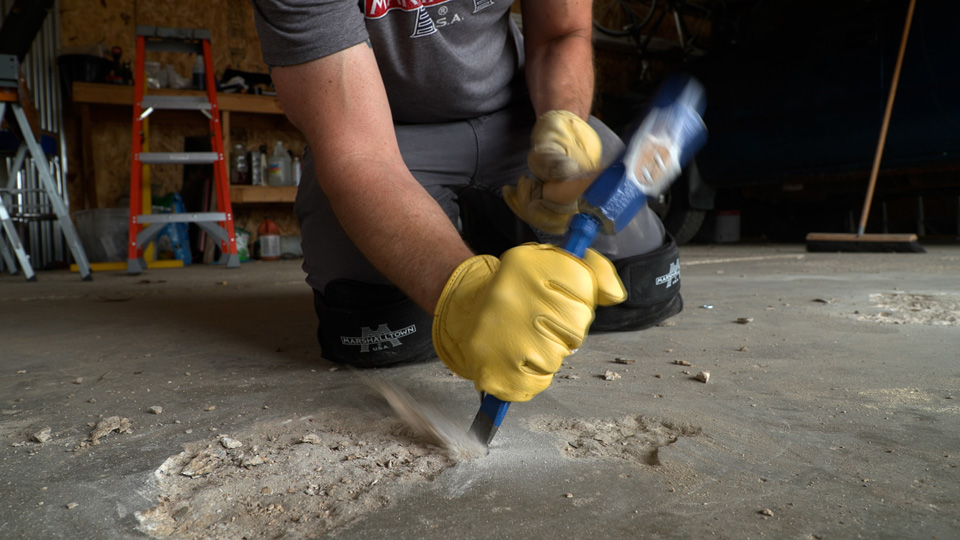
Step 1: Remove Damaged Concrete
Start by tapping a hammer across the surface. Listen for hollow sounds, indicating loose concrete.
Using a cold chisel and hammer, chip away all the flaking and loose areas. Stop this step once you reach solid concrete.
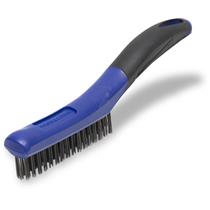
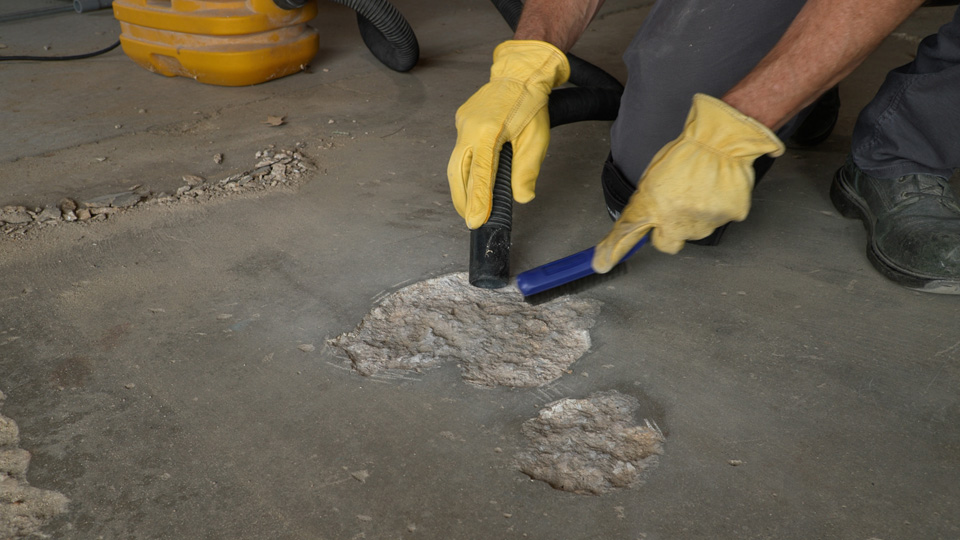
Step 2: Clean the Surface
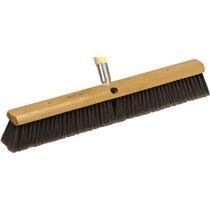
To ensure proper bonding for the new concrete, you need to make sure you’re working with a clean surface. Sweep away large debris with a broom. Then, use a wire brush and vacuum to remove dust, dirt, and any remaining particles.
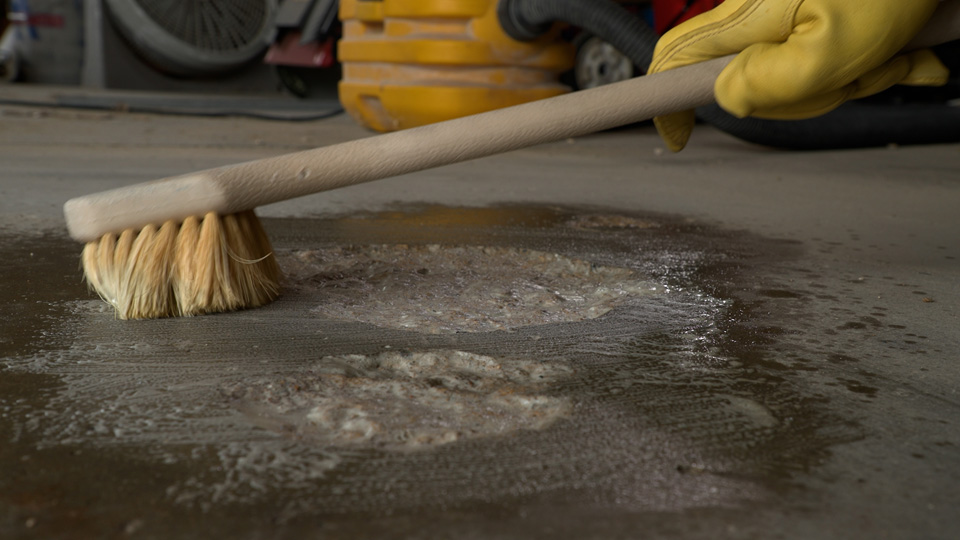
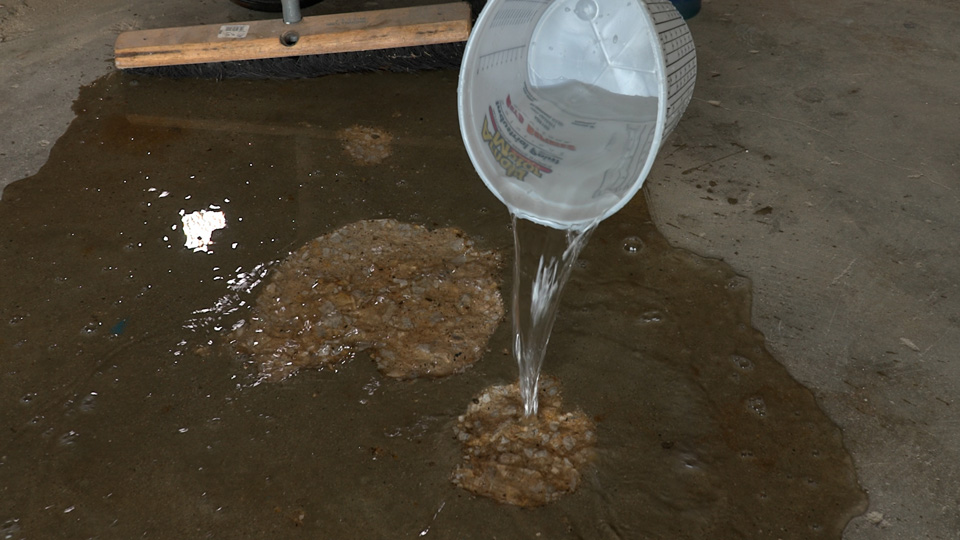
Step 3: Wash and Rinse
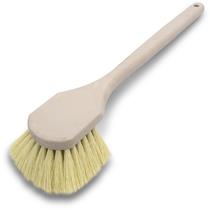
Next, spray the area with a solution of water and mild detergent and scrub away with a stiff scrub brush, like the MARSHALLTOWN Utility Scrub Brush. Rinse thoroughly and remove excess water with a clean broom. Make sure to let the surface dry for up to 24 hours.
Step 4: Apply a Cement Slurry Base
Mix equal parts of water, acrylic fortifier, and cement to form a cement slurry.
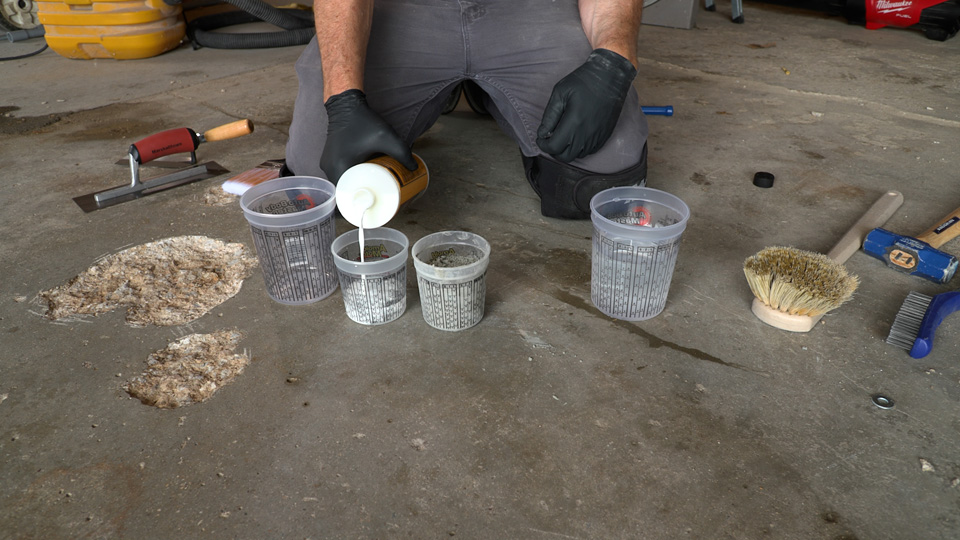

Fortifier enhances the bond between the old and new concrete.
Lightly dampen the area with water and apply the slurry using a paintbrush. This step helps improve bonding.

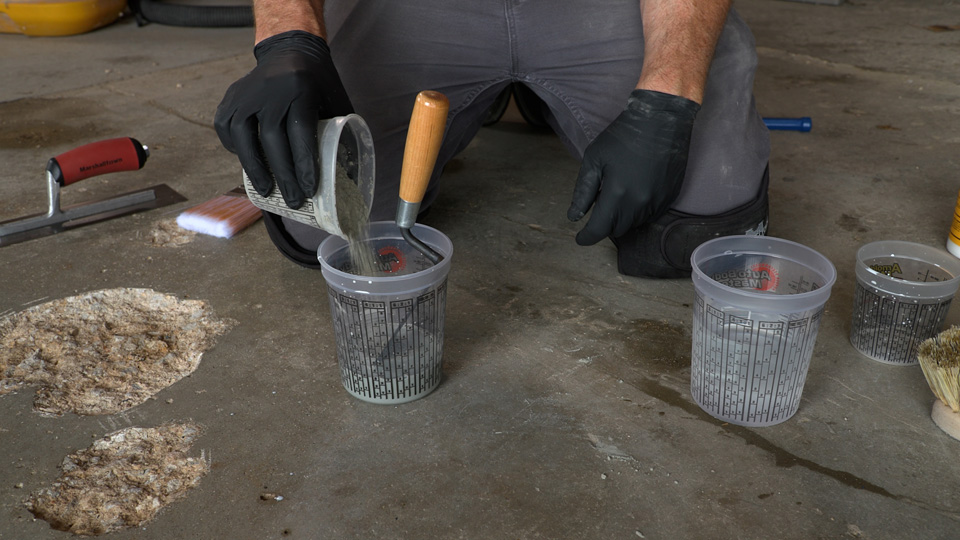
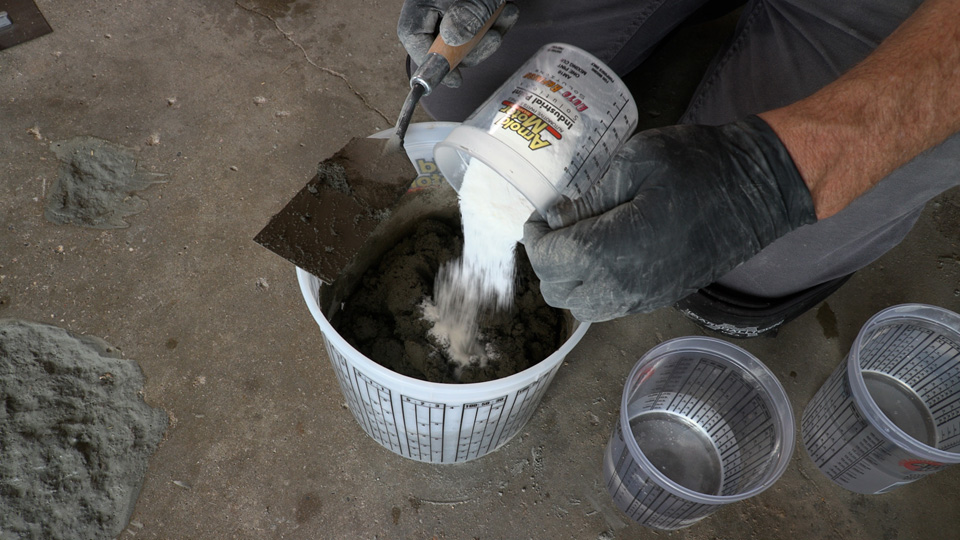
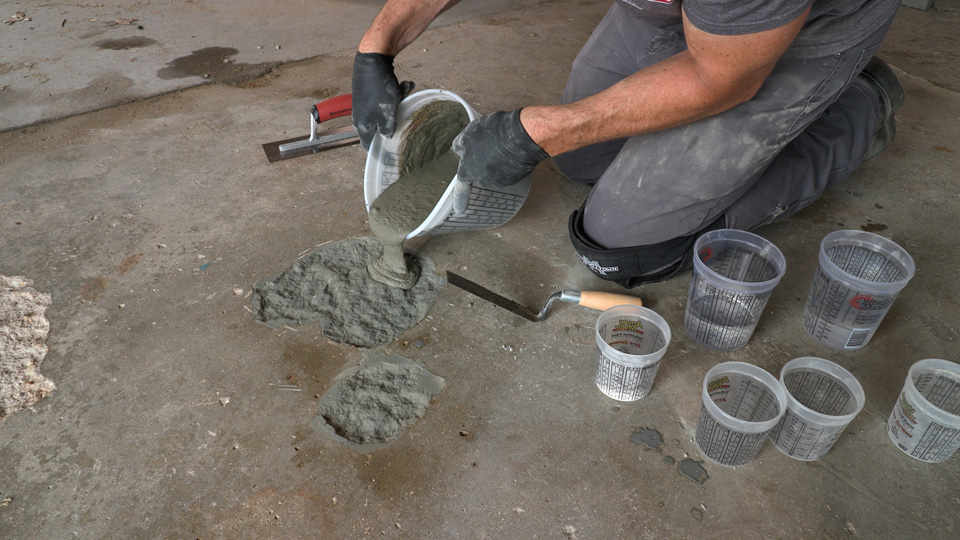
Step 5: Mix and Apply New Concrete
Mix 1 part water, 2 parts sand, and 1 part cement, slowly adding the water until the mix has a peanut butter-like consistency.
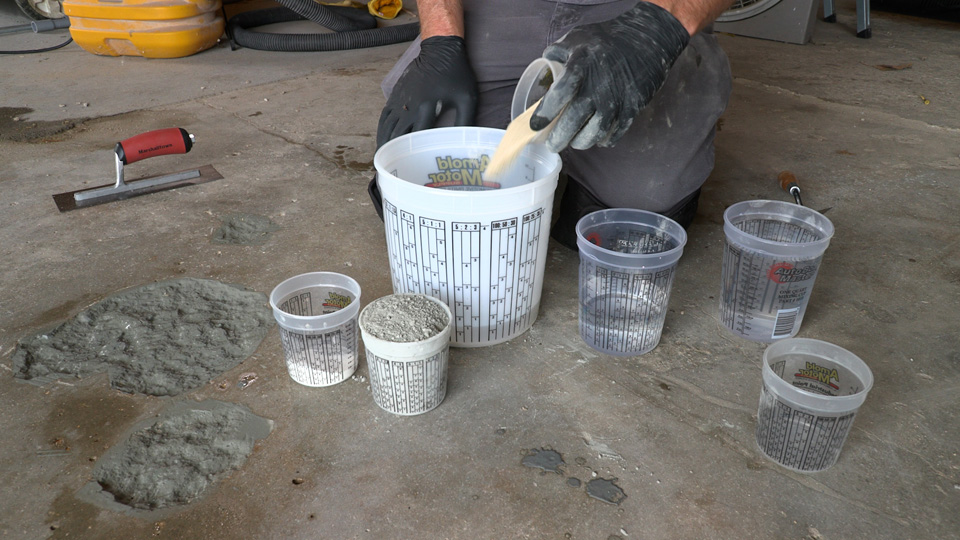
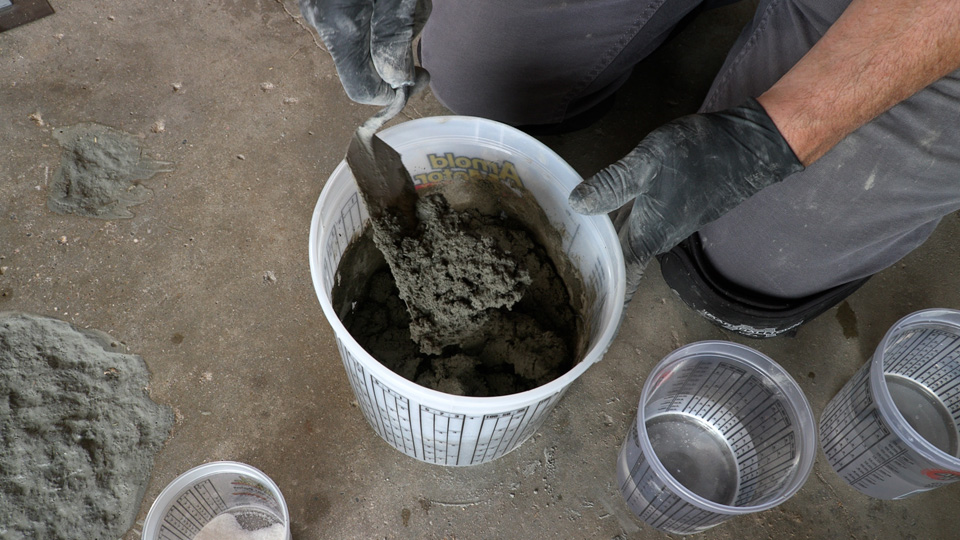
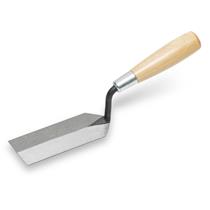
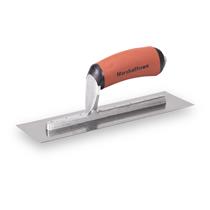
Add a small amount of plasticizer to make the mixture smoother and more workable. Then, apply the fresh mix to the damaged area using a margin trowel. Fill all edges and smooth the surface with a finishing trowel.
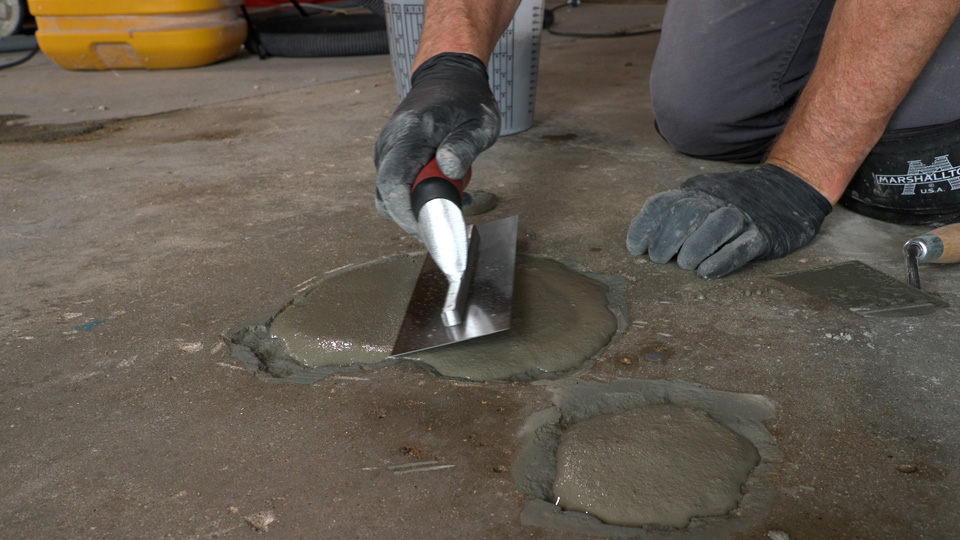
For a textured look, apply a broom finish once it begins to set. Lastly, let the concrete cure for 24 hours before walking or driving on it.
To avoid future spalling, seal concrete every 2–3 years, avoid de-icing salts in winter, and ensure proper drainage around concrete surfaces.
Repairing spalling concrete doesn't have to be complicated. With your MARSHALLTOWN tools, the right materials, and a few steps, you can restore your surface without hiring a pro!