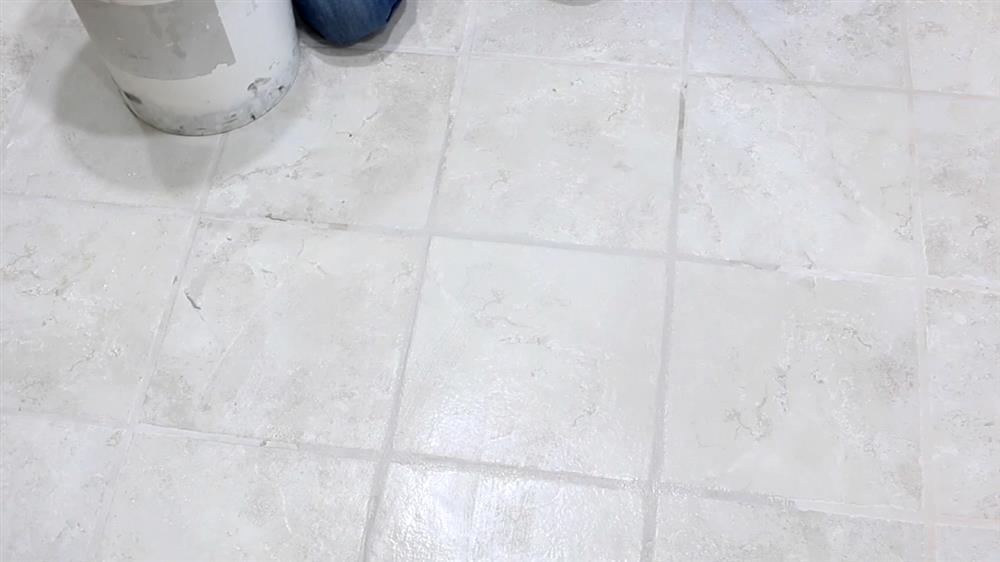
Sometimes all it takes to crack a tile is dropping a hairbrush or an aerosol can of deodorant in just the right way, but don’t worry - replacing a tile is easier than you think. All you need is a new tile, the right tools, and an hour of your time, and your floors will look as though no damage occurred. Plus, you will avoid the high price a professional would charge.

If you aren’t sure how a tile was damaged or you have several damaged tiles in one area, this may be an indication of incorrect tile installation or that the surface underneath the tile is unstable. You may want to call in a pro to fix the underlying problem.
Note: If you’re only replacing one or two broken tiles, I recommend using a pre-mixed thin-set mortar and pre-mixed grout to cut down on the time needed to complete the repair. All buckets have a “recommended for” or “use with” list of tile types, so be sure to check the label to match your tile type with the pre-mixed thin-set before you purchase.
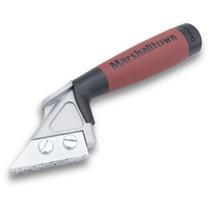
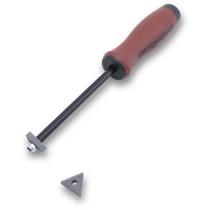
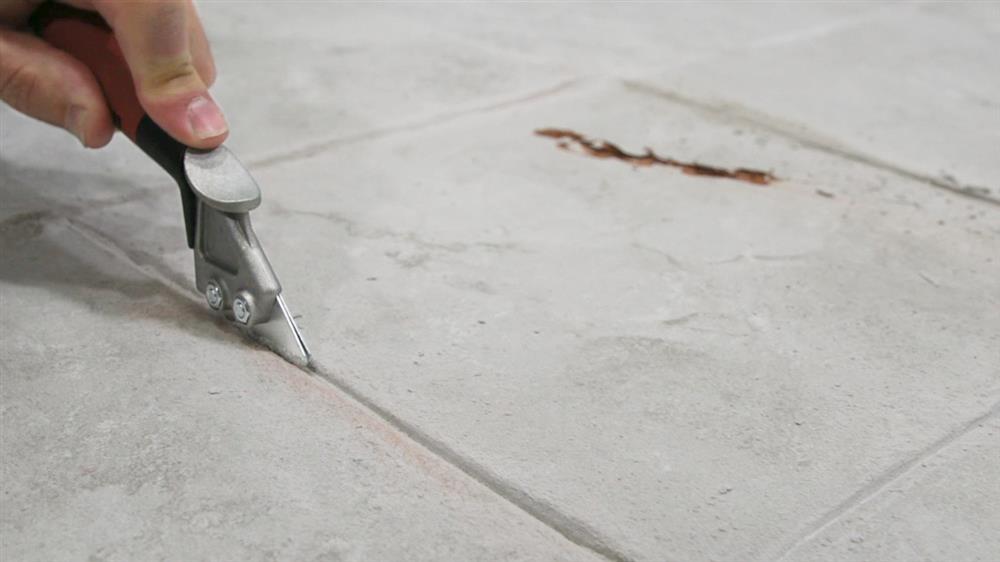
Step 1: Remove the Grout
Start by scraping away the old grout with a back-and-forth motion along all sides of the broken tile with a grout saw or grout remover tool.
Step 2: Remove the Tile
For this step, you will need to put on safety glasses and durable gloves because it is about to get messy. Use your hammer to break up the tile into smaller pieces. Carefully remove the pieces and discard them. You want the surface under the tile to be as smooth as possible before setting the new tile. Use a hammer and chisel to remove the old thin-set from the floor. Once your area is thoroughly chiseled off, use a vacuum to clean up the remaining dust and debris.
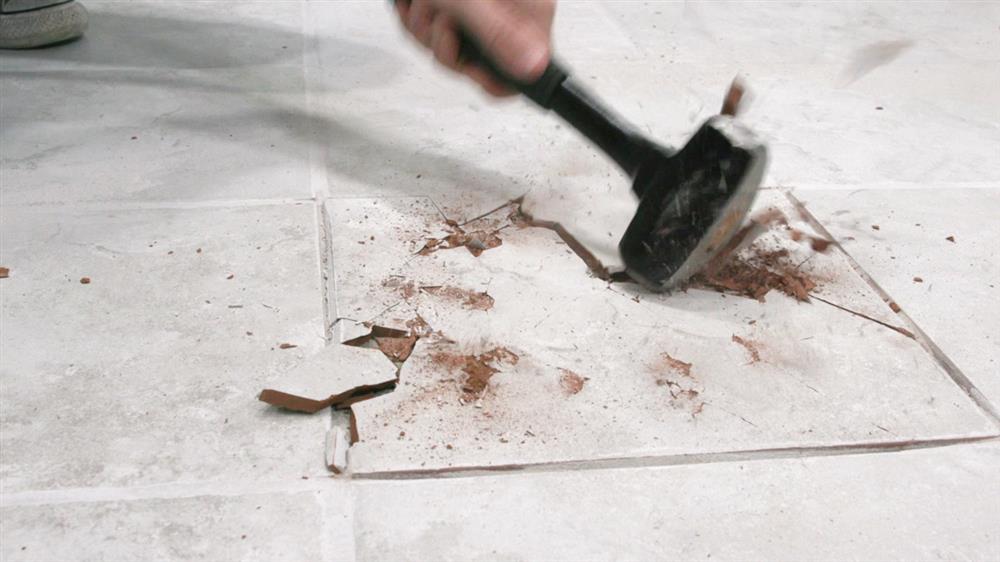
Be gentle here, you don’t want to crack any adjacent tiles or grout joints!
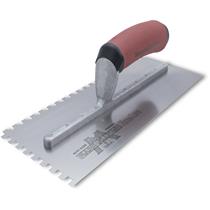
Step 3: Lay New Thin-Set
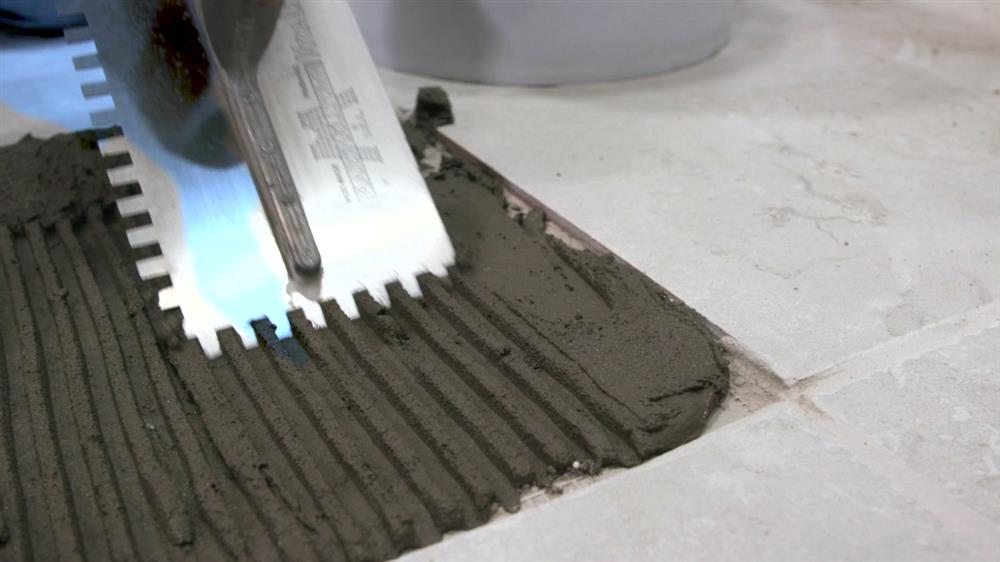
Using the flat edge of a notched trowel, scoop a liberal amount of pre-mixed thin-set and spread it onto the bare, clean floor. Notching tile allows air to escape when you lay down the tile. If there are pockets of air under the tile, water and mold can gather. Notches ensure complete coverage and stronger bonds between the tile and the floor.
Now use the edge of the notched trowel to create evenly spaced, parallel ridges in the thin-set. For most tiles, you will need a 1/4" square or U-Notched trowel to make a good bond between the new tile and the floor. For the best adhesion to your floor, always spread thin-set on the back of the tile for the maximum coverage and stability.
If you are laying mosaics, slate, or marble tile, the notch size and shape will vary. Check out Tiling 101: Notched Trowels and Their Uses to figure out which type of trowel will suit your tiling needs.
Step 4: Place New Tile
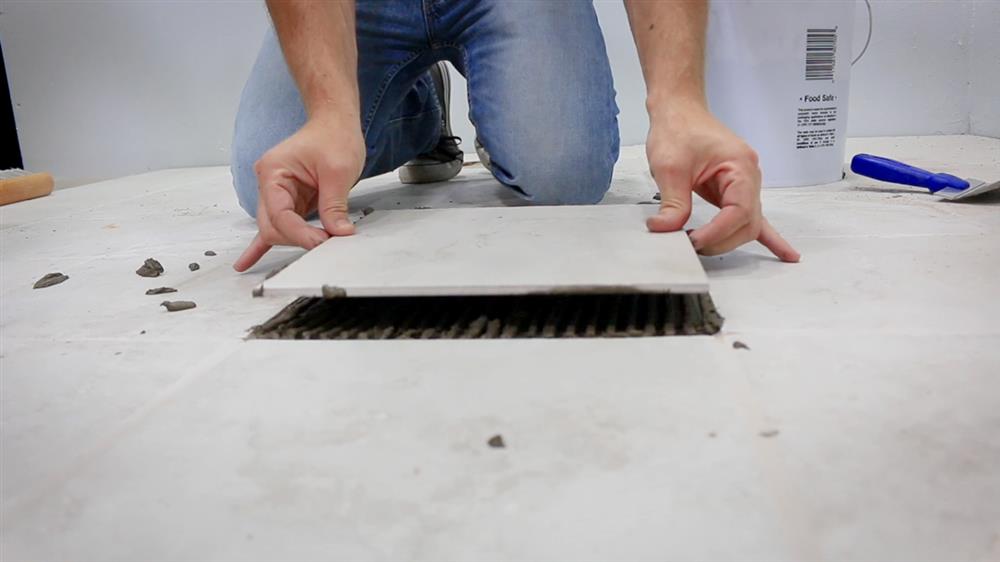
While holding the edges of the tile, position it flat above the notched thin-set and gently drop it into place. Do not angle the tile in any way during the process to avoid shifting the ridges and negatively affecting the strength of the bond between the tile and floor. Once the tile is set, apply even pressure over the surface and lightly wiggle it into place. Make sure the tile is level and lined up with all the edges. Now, allow it to dry for 24 hours. While it’s drying, use a damp sponge to wipe away excess thin-set.
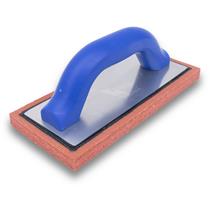
Step 5: Grout
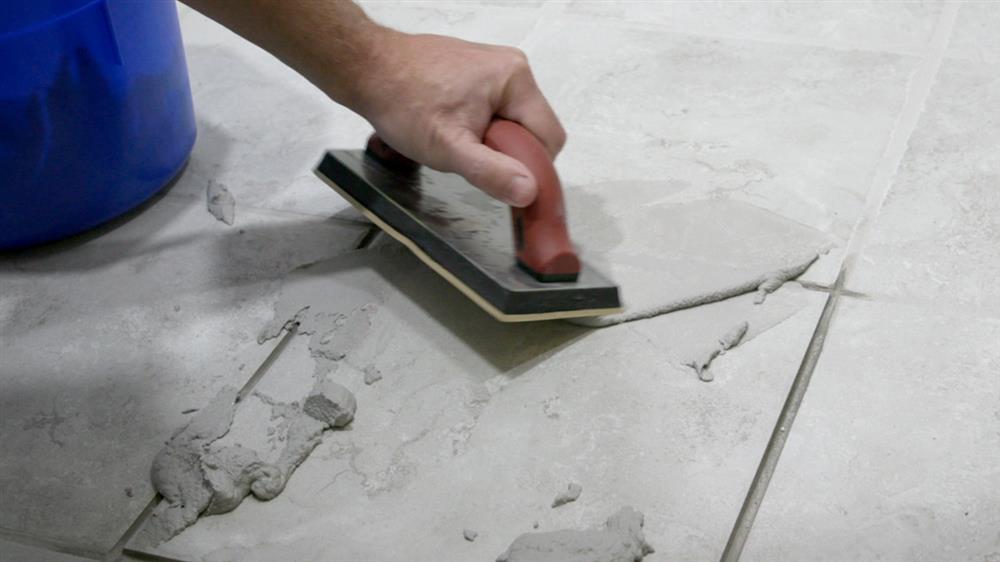
Now the thin-set is dry and you are ready to grout the joints around your new tile. Using a rubber hand float, scoop a good amount of pre-mixed grout and work it into the joints using a sweeping arc motion. Always approach the tile diagonally at a 45° angle to ensure an even spread across the joints and prevent the float from digging into the joint.
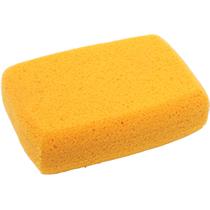
Step 6: Clean Up and Dry
Clean off the excess grout with a damp grout sponge, then let the grout sit for about 15 minutes. It is completely normal to see a film or haze appear on the tile. To clear it, lightly wipe the surface with a damp sponge or towel. Wait at least 24 hours before applying pressure to the tile and you’re set! Your tile has been completely replaced and shows no signs of any previous damage. Not only did you learn a new skill, but you saved yourself money and time!