Over the years, the mortar joints in your brickwork can crumble and deteriorate. When researching how to repair or repoint these joints, most advice suggests hiring a professional, which can be costly. Why hire it out when repointing is something you can accomplish with a bit of time and the right tools? In this guide, we will walk you through the necessary steps to keep your brickwork in its best condition.
Step 1: Remove Old Mortar
How you decide to "rake" out joints depends on two things: the type of mortar used and the amount of surface area needing repointed. We will start by going through the three tools you can choose from.
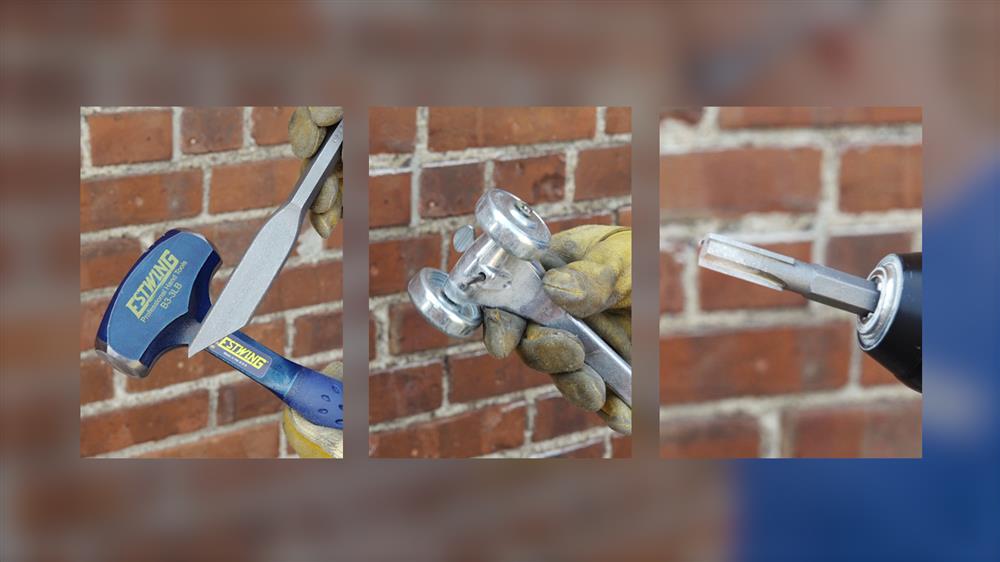
1. Hammer and Plugging Chisel
This is a classic combination that can handle any raking job. Hold the chisel nearly parallel to the joint that needs repointed and hammer the end to rake out the old mortar. Be sure to strike lightly – you can easily destroy bricks by hammering the chisel as you would a nail.
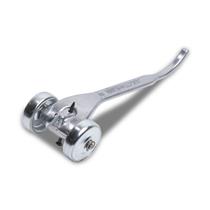
2. Joint Raker
Joint Rakers have wheels that allow it to roll along the joint while the nail in the head of the tool rakes out the old mortar. It works quickly with soft mortar that has lime in it. Depending on your joint raker, the nail in the head is often adjustable, allowing you to set the raking depth for a uniform finish.
3. Grinder with Raking Bit
If the old mortar is still stubborn (which typically means there is cement in it), try using a grinder with a raking bit. The bit attaches to most standard drills to dig out the joint – just be sure not to cut into the brick as you work.

Always work in sections—removing old mortar compromises the integrity of your brickwork. And, as always when dust and debris is involved, make sure to wear your Safety Goggles.
Regardless of which tool you choose to use, you'll need to rake out about ½" to ¾" (or 15-20 centimeters) of material to give the new mortar some space to grip.
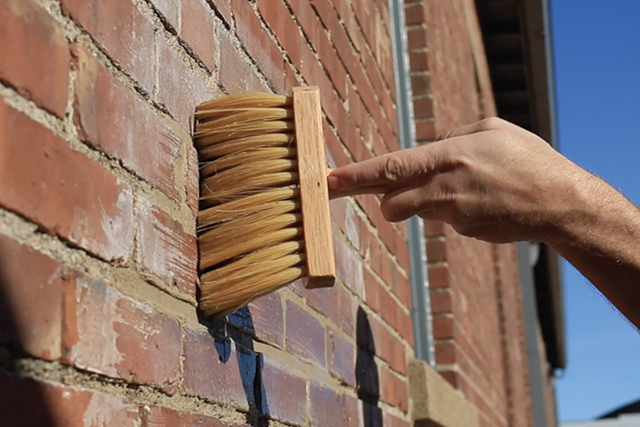
Step 2: Dust Off and Wet Bricks
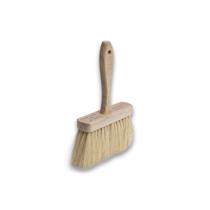
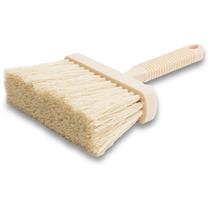
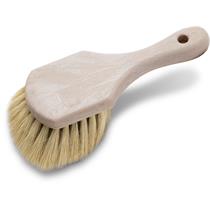
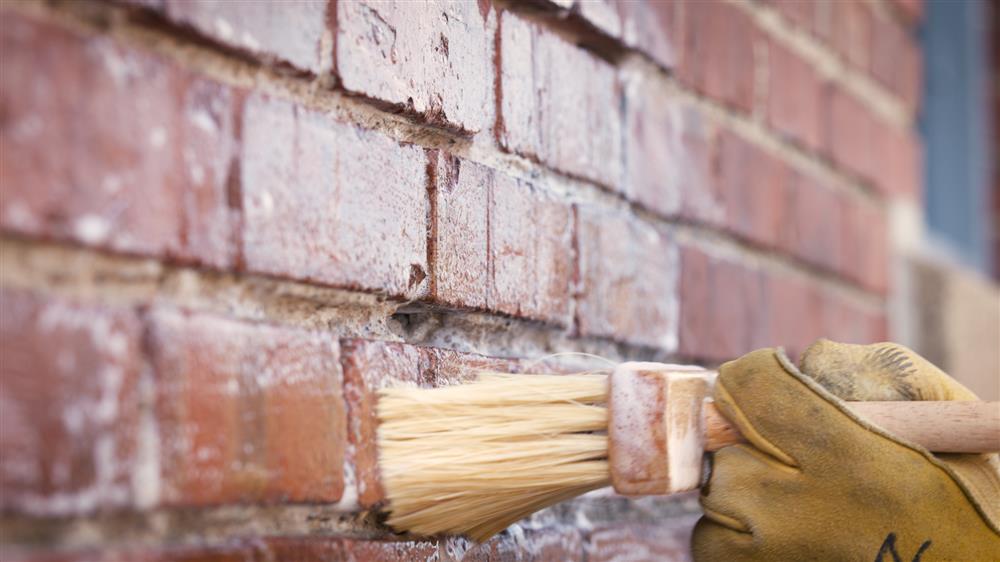
Use a Masonry Brush to remove any remaining dust and debris before dipping that same brush in water and going over the area again to dampen the bricks and joints. For the best finish, the new mortar needs to be able to retain its moisture to prevent it from becoming brittle—this is also why you shouldn't repoint brick on a scorching hot day. New mortar sets best between 50 to 80 degrees Fahrenheit (or about 10 to 26 degrees Celsius).
Step 3: Prepare Mortar
Follow all mixing instructions as written on the bag. It's best to work in small batches as mortar tends to harden quickly. Colorants can also be added to the mixture to achieve certain looks when finished.
It's always best to use the same type of mortar (which includes its physical makeup and color) when repointing. Chip off a small section of old mortar, bring it with you to the store, and ask a professional for help finding the right type of mortar and colorant for your project.
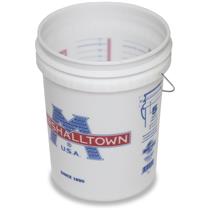
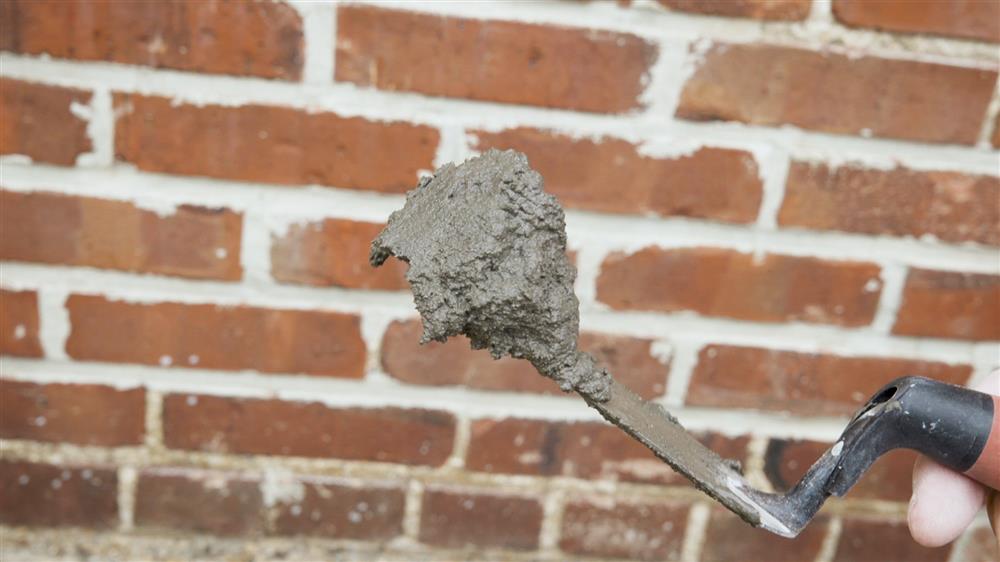
Mix everything together in a 5-gallon bucket until it has reached an oatmeal-like consistency that holds its peaks when you draw it upward with a trowel.
Step 4: Insert New Mortar
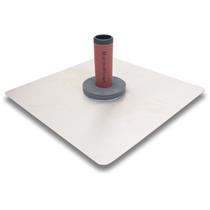
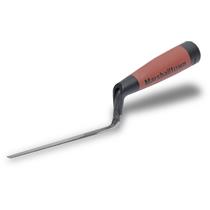
Scoop a generous amount of mortar onto the edge of a small magnesium hawk or a wide trowel (like a brick trowel). Hold the edge up to the joint and use a tuck pointer to press the new mortar into the joint. If mortar gets on the brick, don't sweat it. Wait for the mortar to dry a bit before gently scraping it away with a stiff margin trowel.
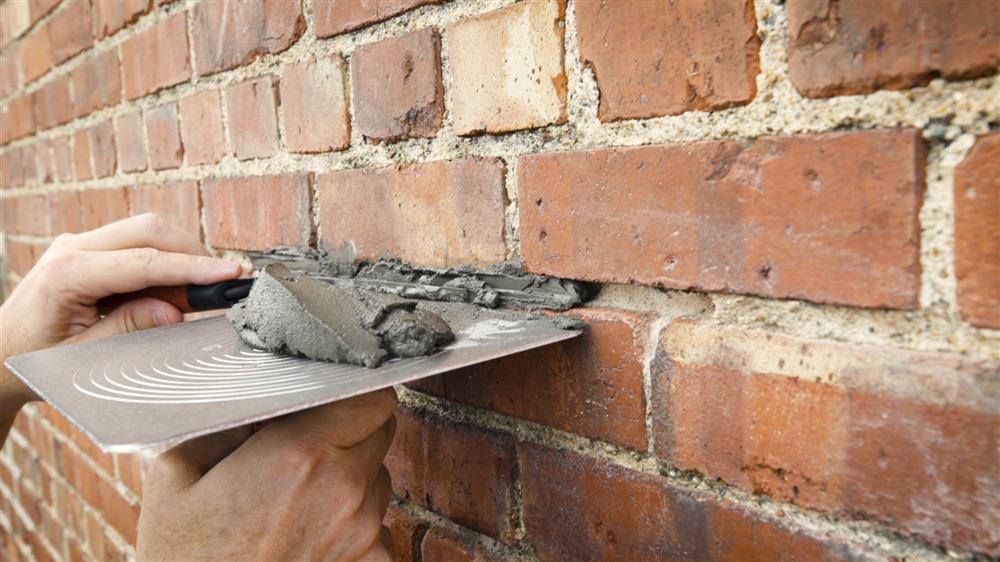
Step 5: "Slick" the Joints
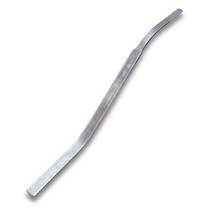
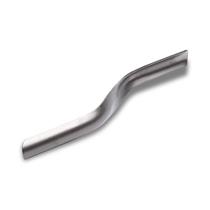
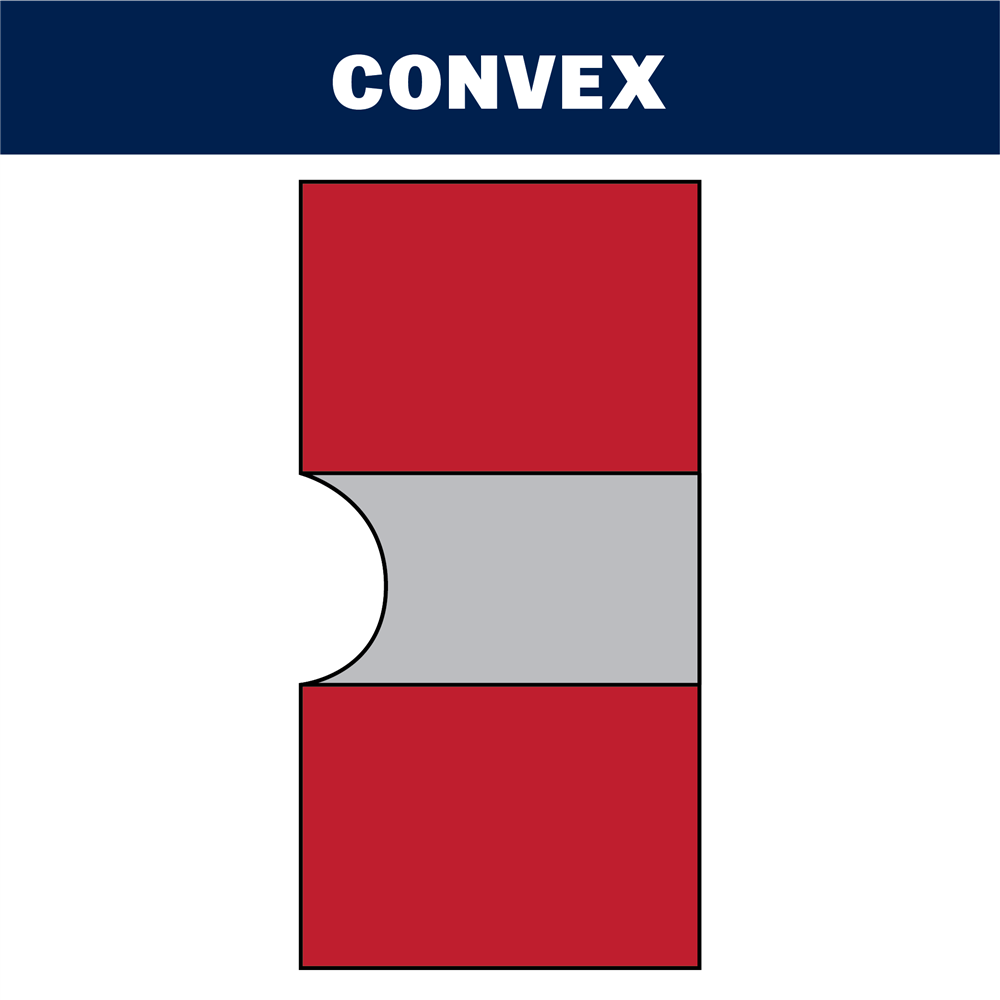
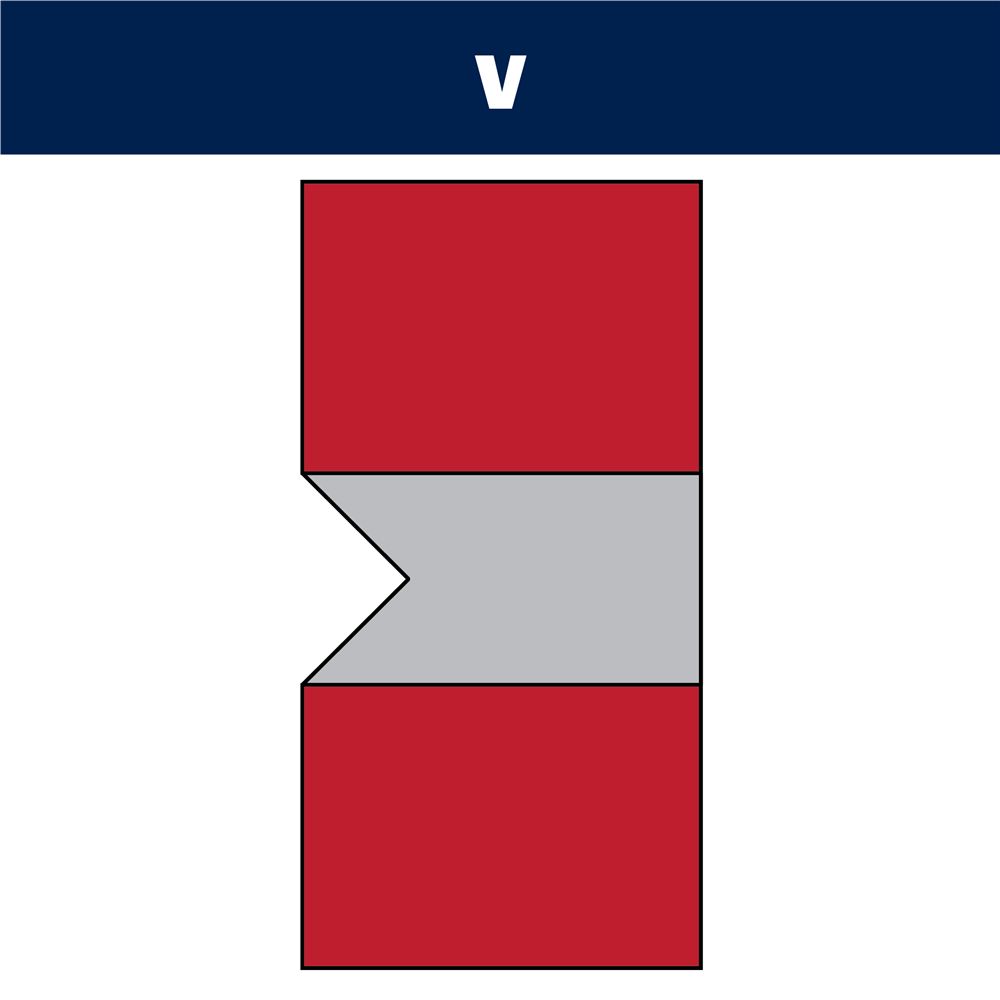
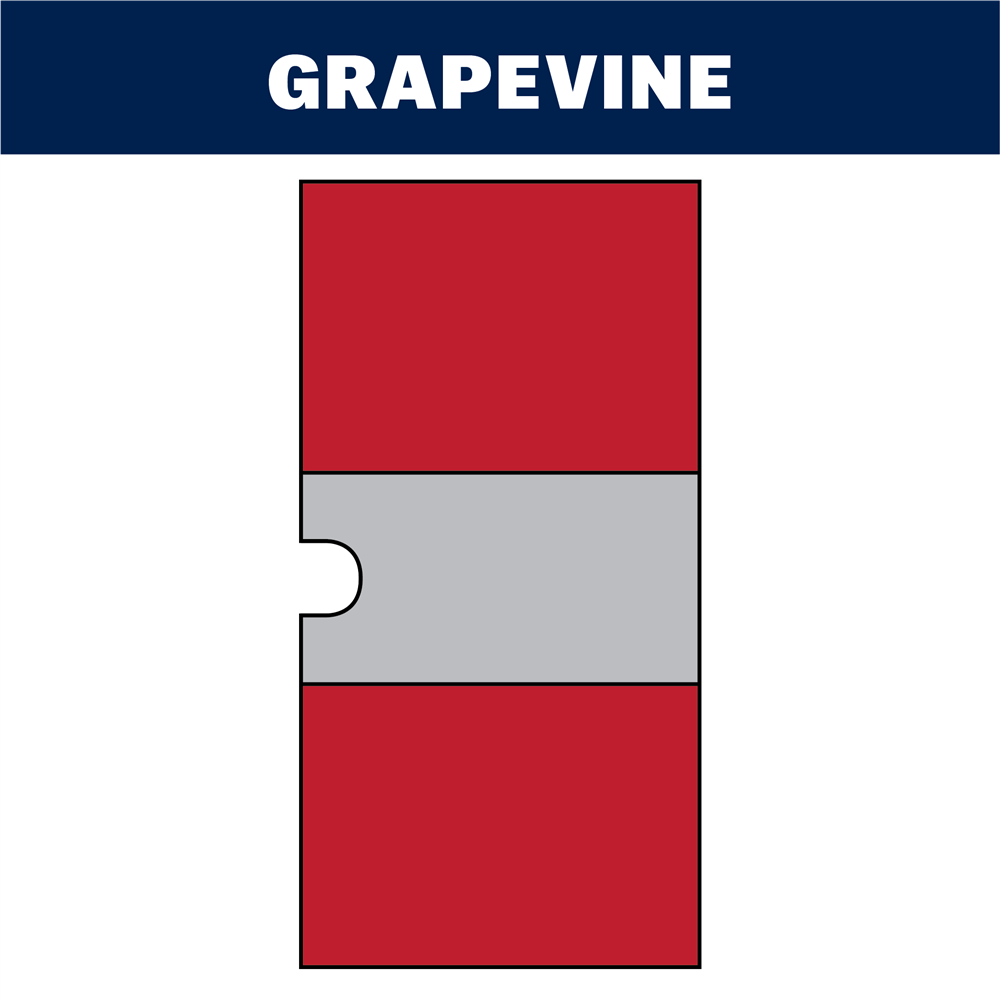
Once that section is completely repointed, use a slicker to "slick" or flatten the joints between the brick to give it a smooth, finished look that blends in with the rest of your wall. There are also a variety of brick jointers to choose from. Below are examples of convex, v-shaped, and grapevine joints below. Click the image that best matches your exisiting wall to find the corresponding Jointer on our website.
Step 6: Clean and Blend
Using a wet bucket brush make horizontal sweeping motions over the finished patch job to clean away excess mortar and blend the new mortar with the old, giving it a seamless finish. Remember, you are only lightly brushing – not scrubbing. Scrubbing can pull out the new mortar, ruining your hard work.
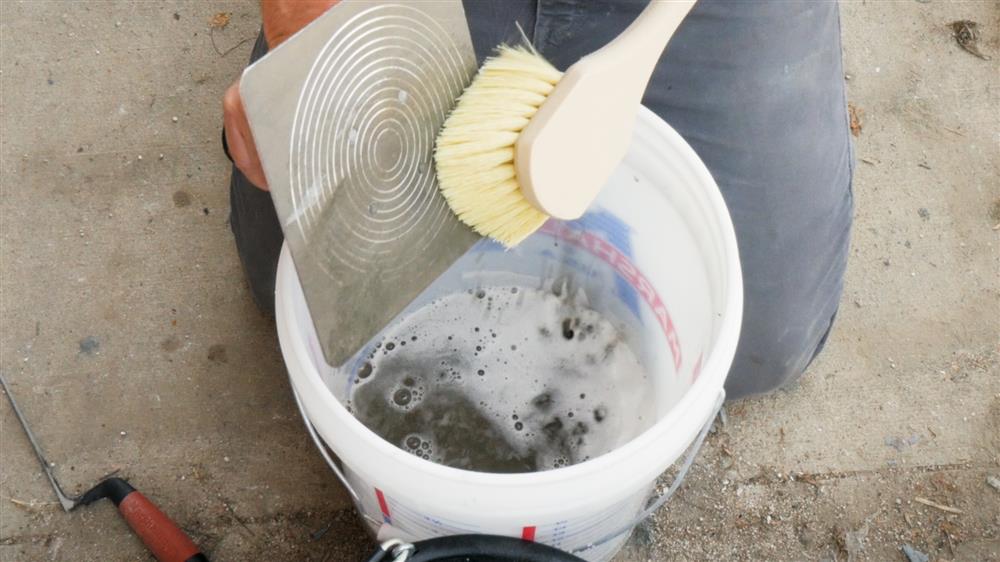
Step 7: Clean Tools
Clean your tools as soon as you are done working. It isn't easy washing dried, stuck-on mortar off your tools. Use soapy water and a heavy-duty scrub brush to make this a quick task.
Step 8: Mist and Clean Bricks
Over the next three to four days, give the patch a daily mist of water to allow the mortar to dry slowly. This will reduce the risk of cracking.
It may also be necessary to clean the bricks with a brick and stone cleaner if you notice a film developing over the patch. Follow the manufacturer's mixing instructions and scrub the area with a long-handle acid brush. Do NOT apply this solution more than two times and make sure to wear rubber gloves and eye protection.
After a few days, your brickwork will look fresh and new once again!