Earn points on every order
 FREE shipping on orders over $49.99
 Share Post
Tiling an entryway is a practical way to upgrade both durability and appearance in a high-traffic area. Like most successful tile jobs, it starts with proper planning, the right materials, and dependable tools.
Gather Tools and Materials
Here are the essential tools you'll need for a successful tile installation:
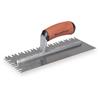
- Notched Trowel
- Knee Pads
- Tape Measure
- Chalk Lines
- 5-Gallon Bucket
- Eggbeater Mixer
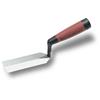
- Margin Trowel
- Tile Cutter
- Tile Leveling System
- Grout Float
- Tile Grout Sponge
- Floor Scraper
- Pry Bar
- Recommended: Ultra Grouting System
- Recommended: DustPro 360™
Step 1: Evaluate the Substrate
For this project, we are working directly over concrete that is unsealed and unpolished, so we can bond the tile directly to the concrete. Sealed or polished concrete requires additional steps to ensure proper adhesion.
Step 2: Plan Your Layout
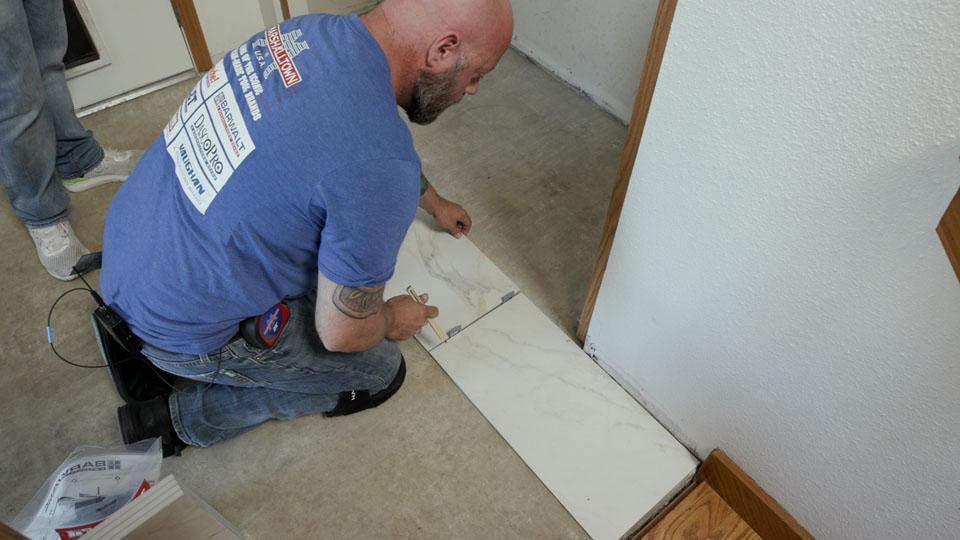
Before mixing any materials, it's best to start with a solid layout plan. For this project, we used a 50/50 offset (half bond) pattern, beginning from the stairs and working outward. Follow these steps when planning your layout:
- Establish a straight reference line, typically off a doorway or wall
- Find the center of the room by marking wall midpoints, then snap Chalk Lines to form a center cross
- Adjust the layout for equal cuts on opposite walls when possible
- Plan an exit path so you never step on freshly laid tile

Dry-lay a few rows if needed to comfirm your spacing before committing.
Step 3: Mix Thinset Properly
Thinset is the foundation of your tile installation. When mixing thinset, it's important to always follow the manufacturer's instructions. Once it's mixed, you should let it slake (or rest) for about 5 minutes and then remix before you use it.
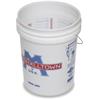
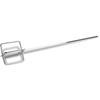
Using a MARSHALLTOWN Eggbeater Mixer and 5-gallon bucket will help you achieve a smooth, consistent thinset texture. We also recommend using the MARSHALLTOWN DustPro 360™, to eliminate mixing dust and reduce the cleanup.
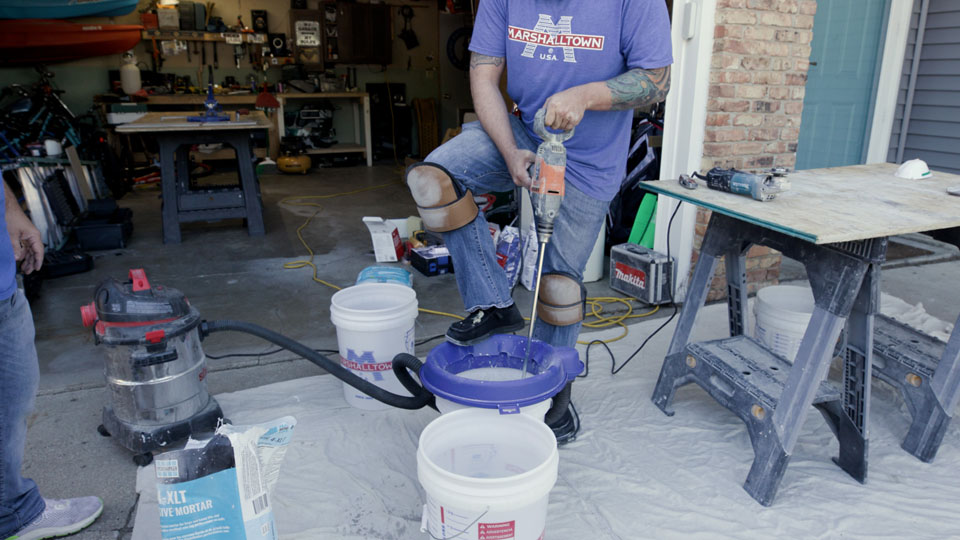
Only mix what you can use within the working window to avoid waste and prevent curing issues.
Step 4: Setting Tile
Cutting Odd Shapes
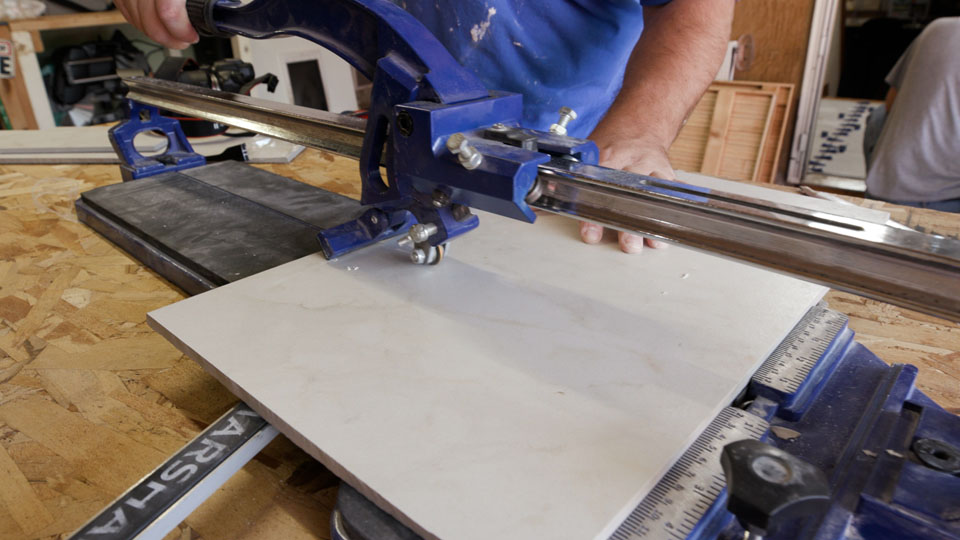
Tile cutting is where precision matters most. Using a reliable tile saw or cutter, along with careful measuring helps avoid breakage and ensures clean edges.
- Manual tile cutter: Best for making straight cuts; we recommend the MARSHALLTOWN 24" Pro Tile Cutter
- Wet saw: Ideal for porcelain, stone, and angled cuts
- Angle grinder with diamond blade: Good for irregular cuts
- Diamond hole saw: Used for plumbing penetrations; check out MARSHALLTOWN's full offering of Diamond Products
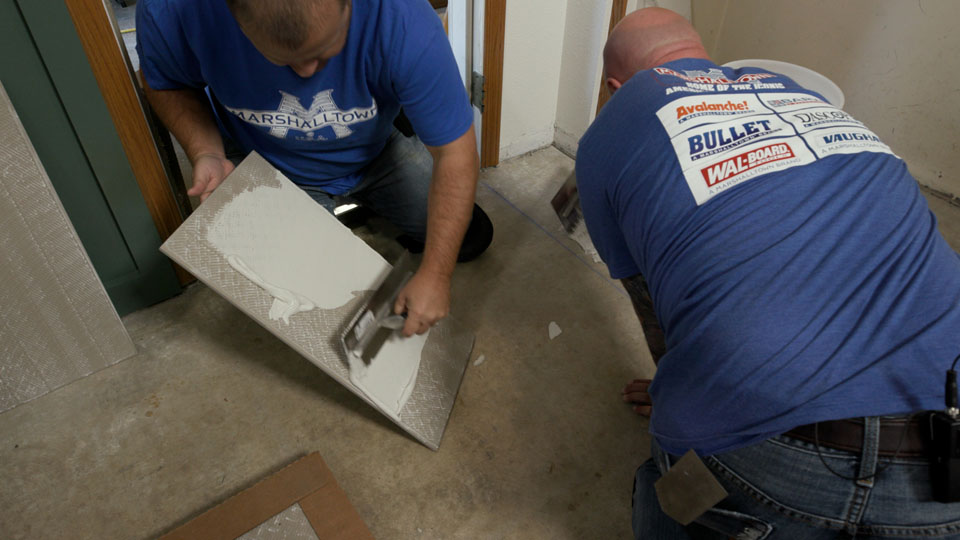
Thinset can lose tackiness if it sits too long. If this happens, rework it with your trowel before placing the tile to ensure a proper bond and prevent future adhesion issues.
Back Buttering
For best results, apply a thin layer of thinset to the back of each tile using the flat side of the trowel. This process is called back buttering, and it improves adhesion and helps reduce voids.
Using a Leveling System
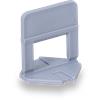
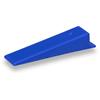
To keep tiles flat and aligned, using a tile leveling system with spacers and wedges is a major advantage, especially with large format tile. We used the BARWALT PLS Max™ and placed the spacers a few inches from each corner to help control lippage and maintain a consistent surface.
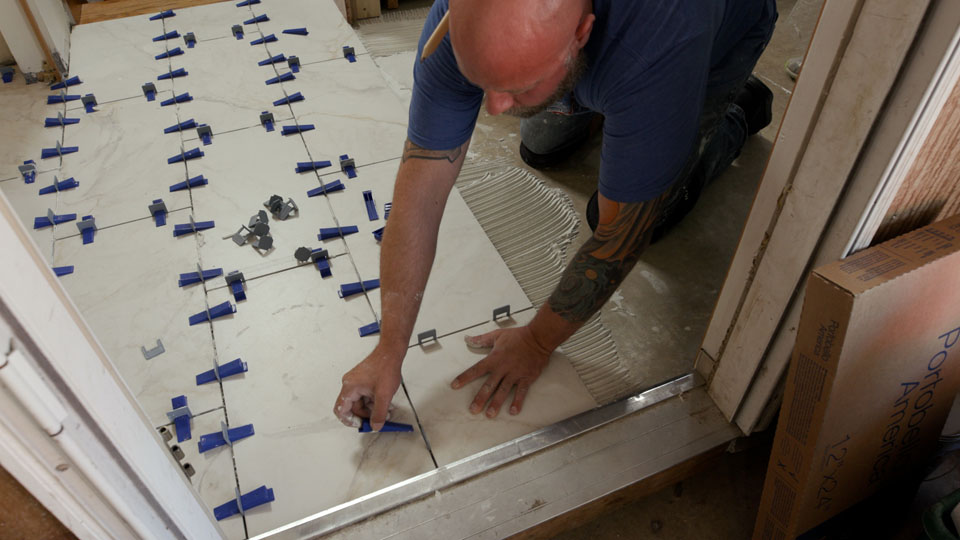
End of Day 1
By the end of Day 1, your tile should be set and aligned. With a solid foundation in place, you're ready to move on to grouting and finishing!

Stay tuned! Part 2 will be coming soon!
Featured Products
 View Details
- Package : Single
 View Details
- Length : 30 in.
 View Details
 View Details
 View Details
- Length : 5 in.
- Width : 2 in.
- Trowel Handle : DuraSoft®
 View Details
- Description : 1/8" PLS Max Straight Spacer Bases
 View Details
- Description : PLS Max Wedges