Earn points on every order
 FREE shipping on orders over $49.99
 Share Post
Welcome back to our two-part series on tiling an entryway. You ended day 1 with your tile set and aligned and the thinset curing. It will typically set in 24 hours and then grouting can begin.
Step 1: Remove Spacers and Prep the Joints
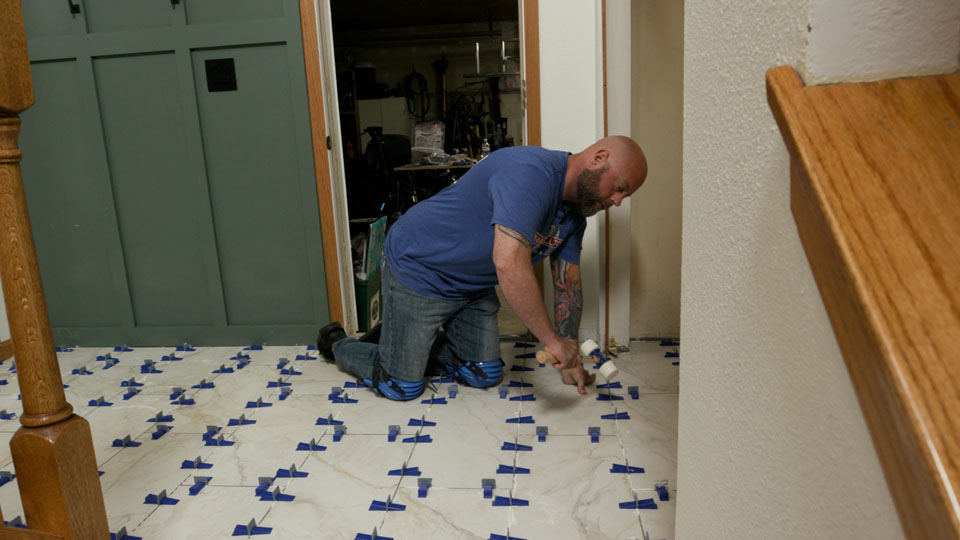
If you used the BARWALT PLS Max™, start by removing the spacers. Use a VAUGHAN Soft Face Rubber Mallet to remove the spacers along the grout joint. Make sure to save the reusable wedges for future projects.
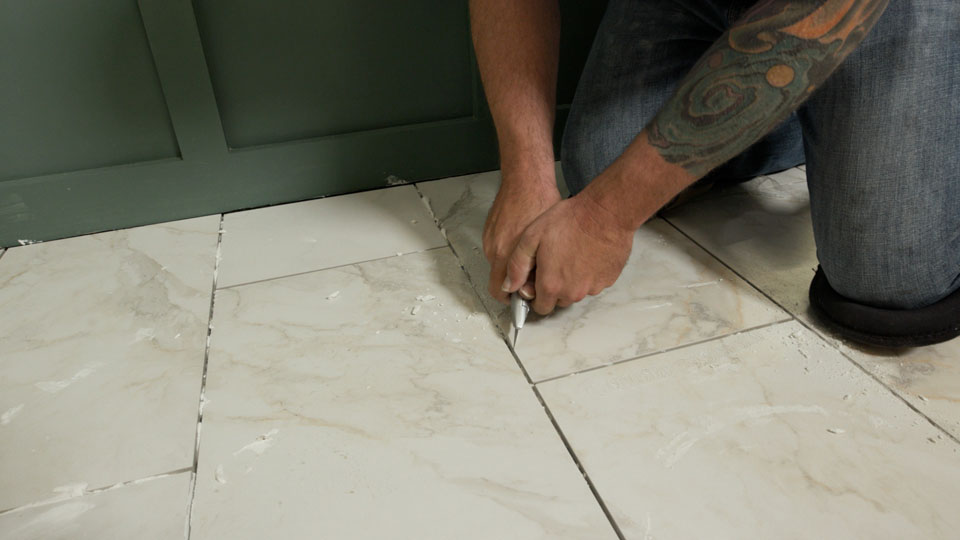
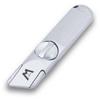
Next, clean out the grout joints. We recommend using a utility knife or grout saw to remove any excess thinset from the joints. This creates the proper depth for grout and ensures a strong, even fill.
Step 2: Clean the Tile Surface
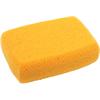
Remove leftover thinset or dust from the tile surface with a scrub pad or sponge. A clean surface prevents grout haze from sticking and ensures a crisp finish.
Step 3: Mix Grout to the Right Consistency
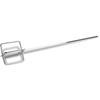
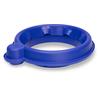
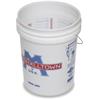
Once again, you will be using your MARSHALLTOWN 5-Gallon Bucket, Eggbeater Mixer, and DustPro 360™. Start by adding a little bit of water to your bucket to act as a lubricant so the dry grout doesn't stick to the bucket. Then add in the grout and water, mixing until the grout has a peanut butter-like consistency. Work in small batches to maintain control and prevent the grout from drying before application.
Step 4: Apply the Grout
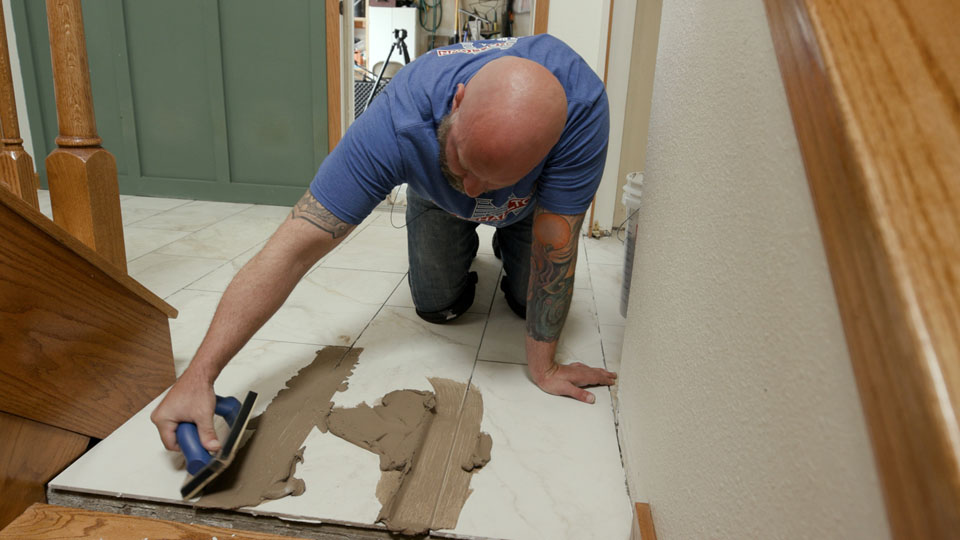
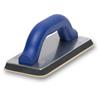
Using your MARSHALLTOWN Grout Float, press grout firmly into the joints. Work diagonally across the tile surface to ensure full coverage and remove excess grout from the tile face.
Step 5: Clean the Surface
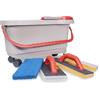
After a few minutes, perform your first rinse. We recommend using the BARWALT Ultra Grouting System to clean the tiles without removing grout from joints. Move the tile sponge in gentle circular motions. Avoid excess water, which can wash grout out of the joints. This step shapes the grout lines and removes the bulk of the surface grout residue. Once the grout begins to haze, do a second rinse. Wring out your sponge thoroughly and wipe at a 45-degree angle to avoid disturbing the grout lines.
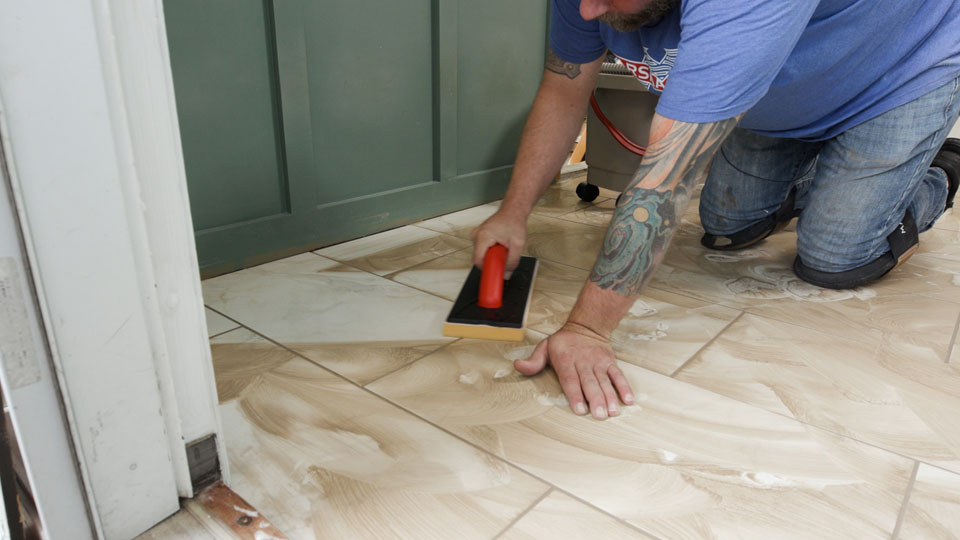
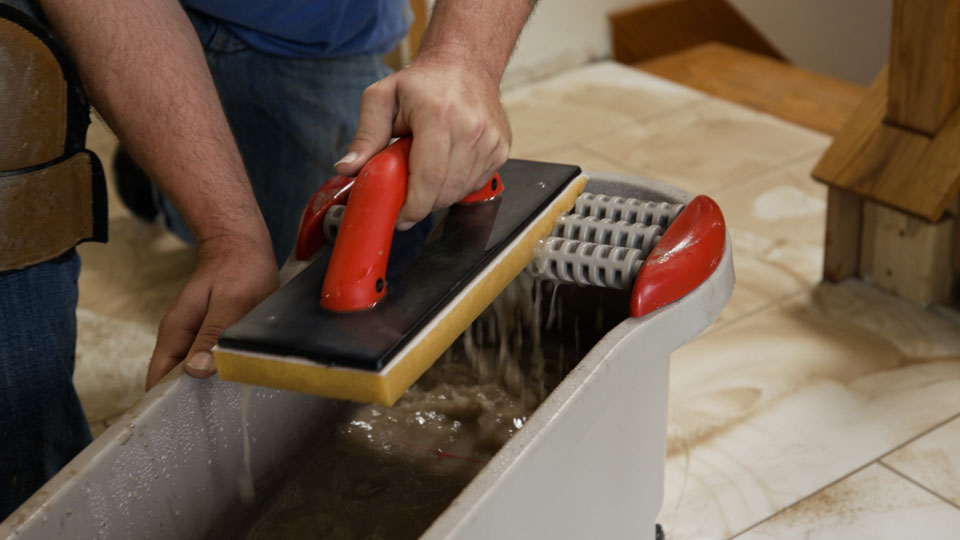

Inspect the grout lines for any low or hollow spots. Press extra grout into these areas with your grout float to ensure an even finish across the entire floor.
Step 6: Perform the Final Rinse and Dry
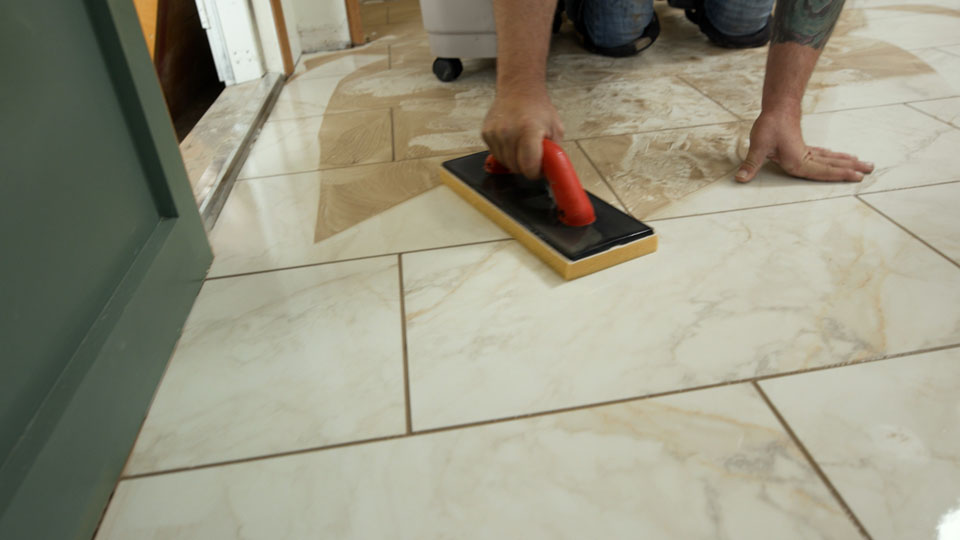
Allow the grout to set slightly, then do a final rinse with your slightly damp sponge. This removes remaining haze and reveals a clean, finished tile surface.
The Best Tools for Comfort and Precision
- Knee pads reduce strain during long grouting sessions
- A margin trowel is versatile for cleanup and scraping excess grout
- A rubber grout float and sponge are essential for smooth, consistent grout lines
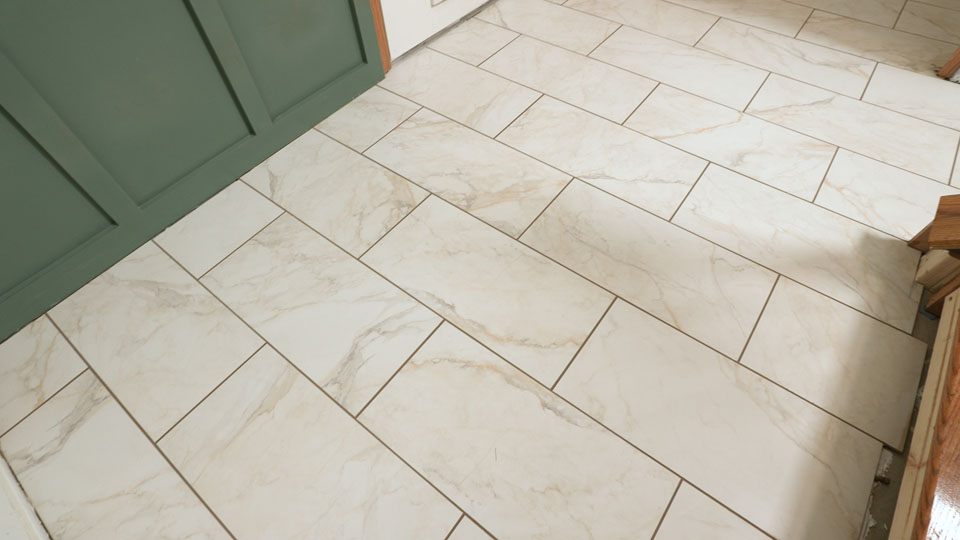
Once the grout has fully cured and the surface is clean, your entryway is complete. The result is a professional-looking, durable, and visually balanced tile floor. By following a step-by-step approach across Day 1 and Day 2, you can achieve excellent results while minimizing errors and frustration.
Featured Products
-
Part #: VN19515 | Item ID: 43248Soft Face Rubber Mallets
 View Details
$26.44
View Details
$26.44- Description : Non-Marring White Tips
- Legacy ID: RM24W
-
Part #: 998 | Item ID: 13998Fixed Blade Utility Knife
 View Details
$7.97
View Details
$7.97- Description : Fixed Blade
-
Part #: 897 | Item ID: 15445Eggbeater Mixers
 View Details
$35.00
View Details
$35.00- Length : 30 in.
-
Part #: DUST5G | Item ID: 33045DustPro 360™
 View Details
$16.75
View Details
$16.75 -
Part #: 5G | Item ID: 295445 Gallon Bucket
 View Details
$10.45
View Details
$10.45- Package : Single
-
Part #: 43 | Item ID: 14422Tile Floats
 View Details
$15.58
View Details
$15.58- Brand : MARSHALLTOWN
- Float Pad Material : Gum Rubber
- Length : 9 in.
- Width : 4 in.
- Handle Material : Plastic
-
Part #: TGSL | Item ID: 16462Sponges
 View Details
$4.06
View Details
$4.06- Sponge Types : Tile Grout Sponge
- X-Dimension : 6 in.
- Y-Dimension : 4 in.
- Z-Dimension : 2 in.
-
Part #: BWT81584 | Item ID: 41762Ultra Grouting System
 View Details
$172.78
View Details
$172.78