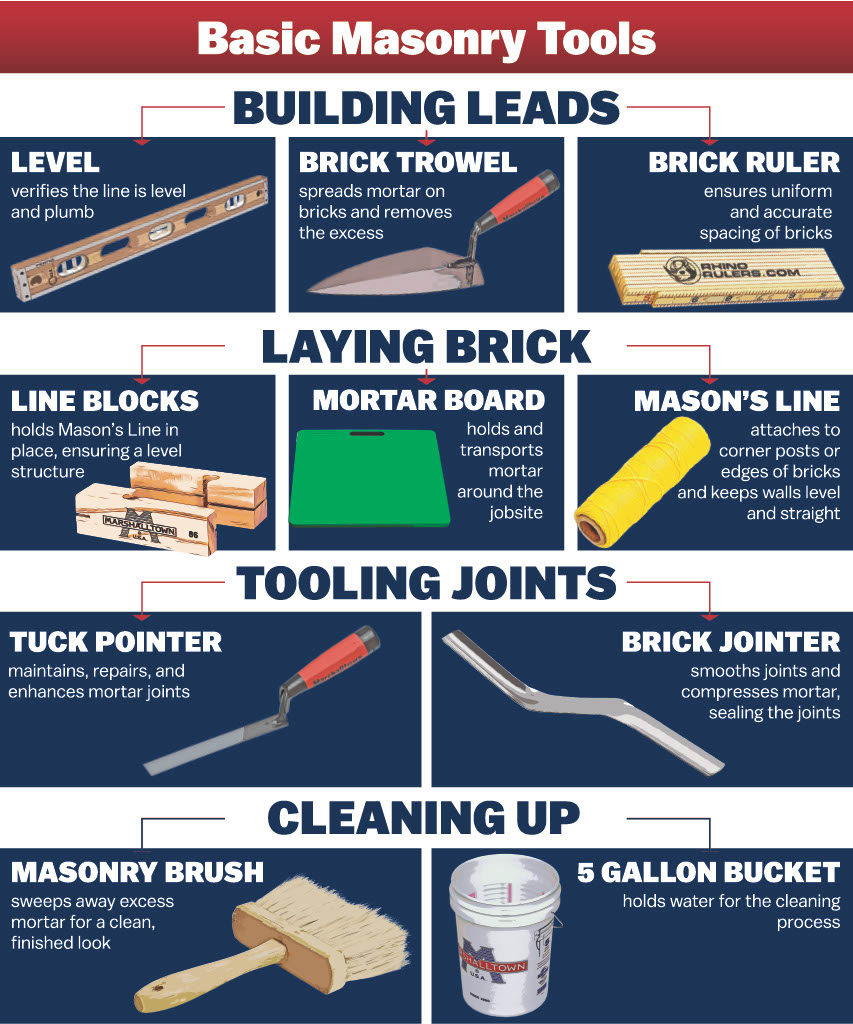
Before you start laying brick, block or stone, it’s important to understand which tools are needed each step of the way. From trowels to masonry brushes to mortar boards, here are 10 essential tools for any masonry job, each playing a crucial role in ensuring precision, efficiency, and quality in your work.
Building Leads
A lead is the first section of a wall. It needs to be plumb and level, serving as a guide for the rest of the wall. Lay the corners first, and then continue “pyramiding” the corner blocks, working toward the center of the wall. There are three important tools to use during this step.
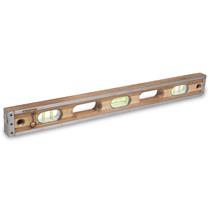
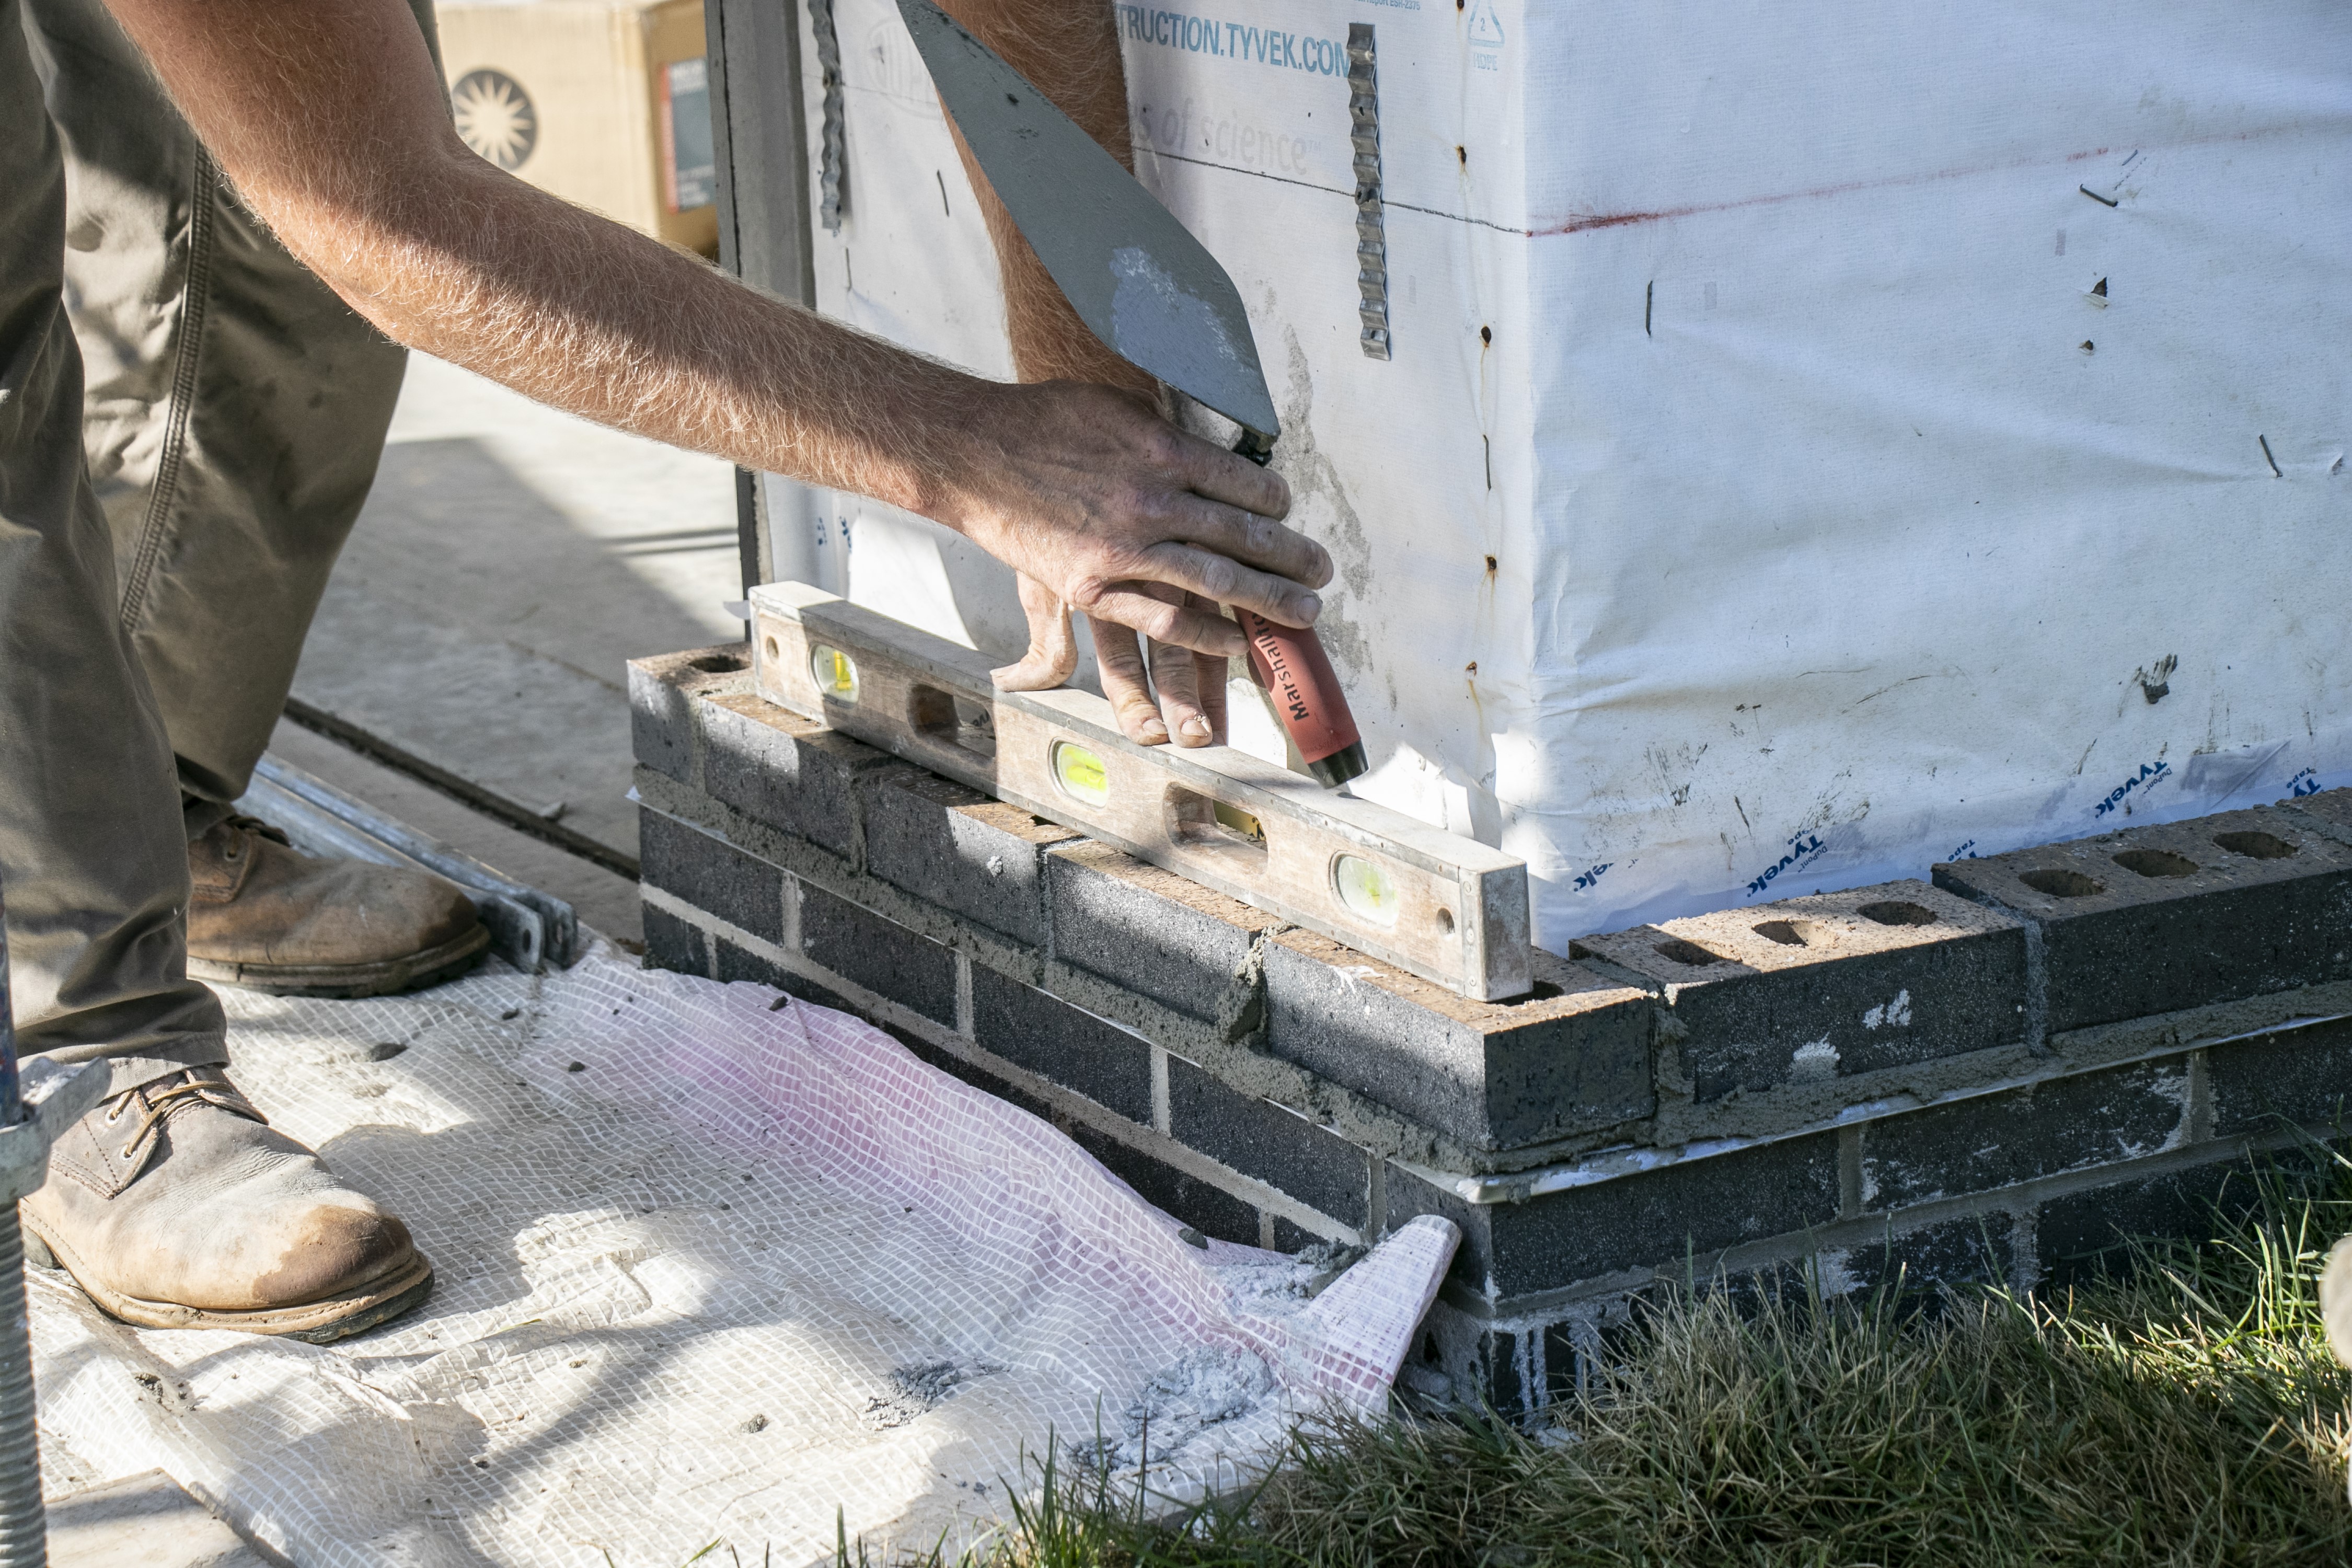
Level: As you lay each course of bricks, use a level to make sure your wall is level and plumb. This masonry tool comes in a variety of lengths and styles perfect for any job.
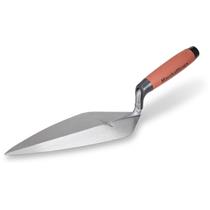
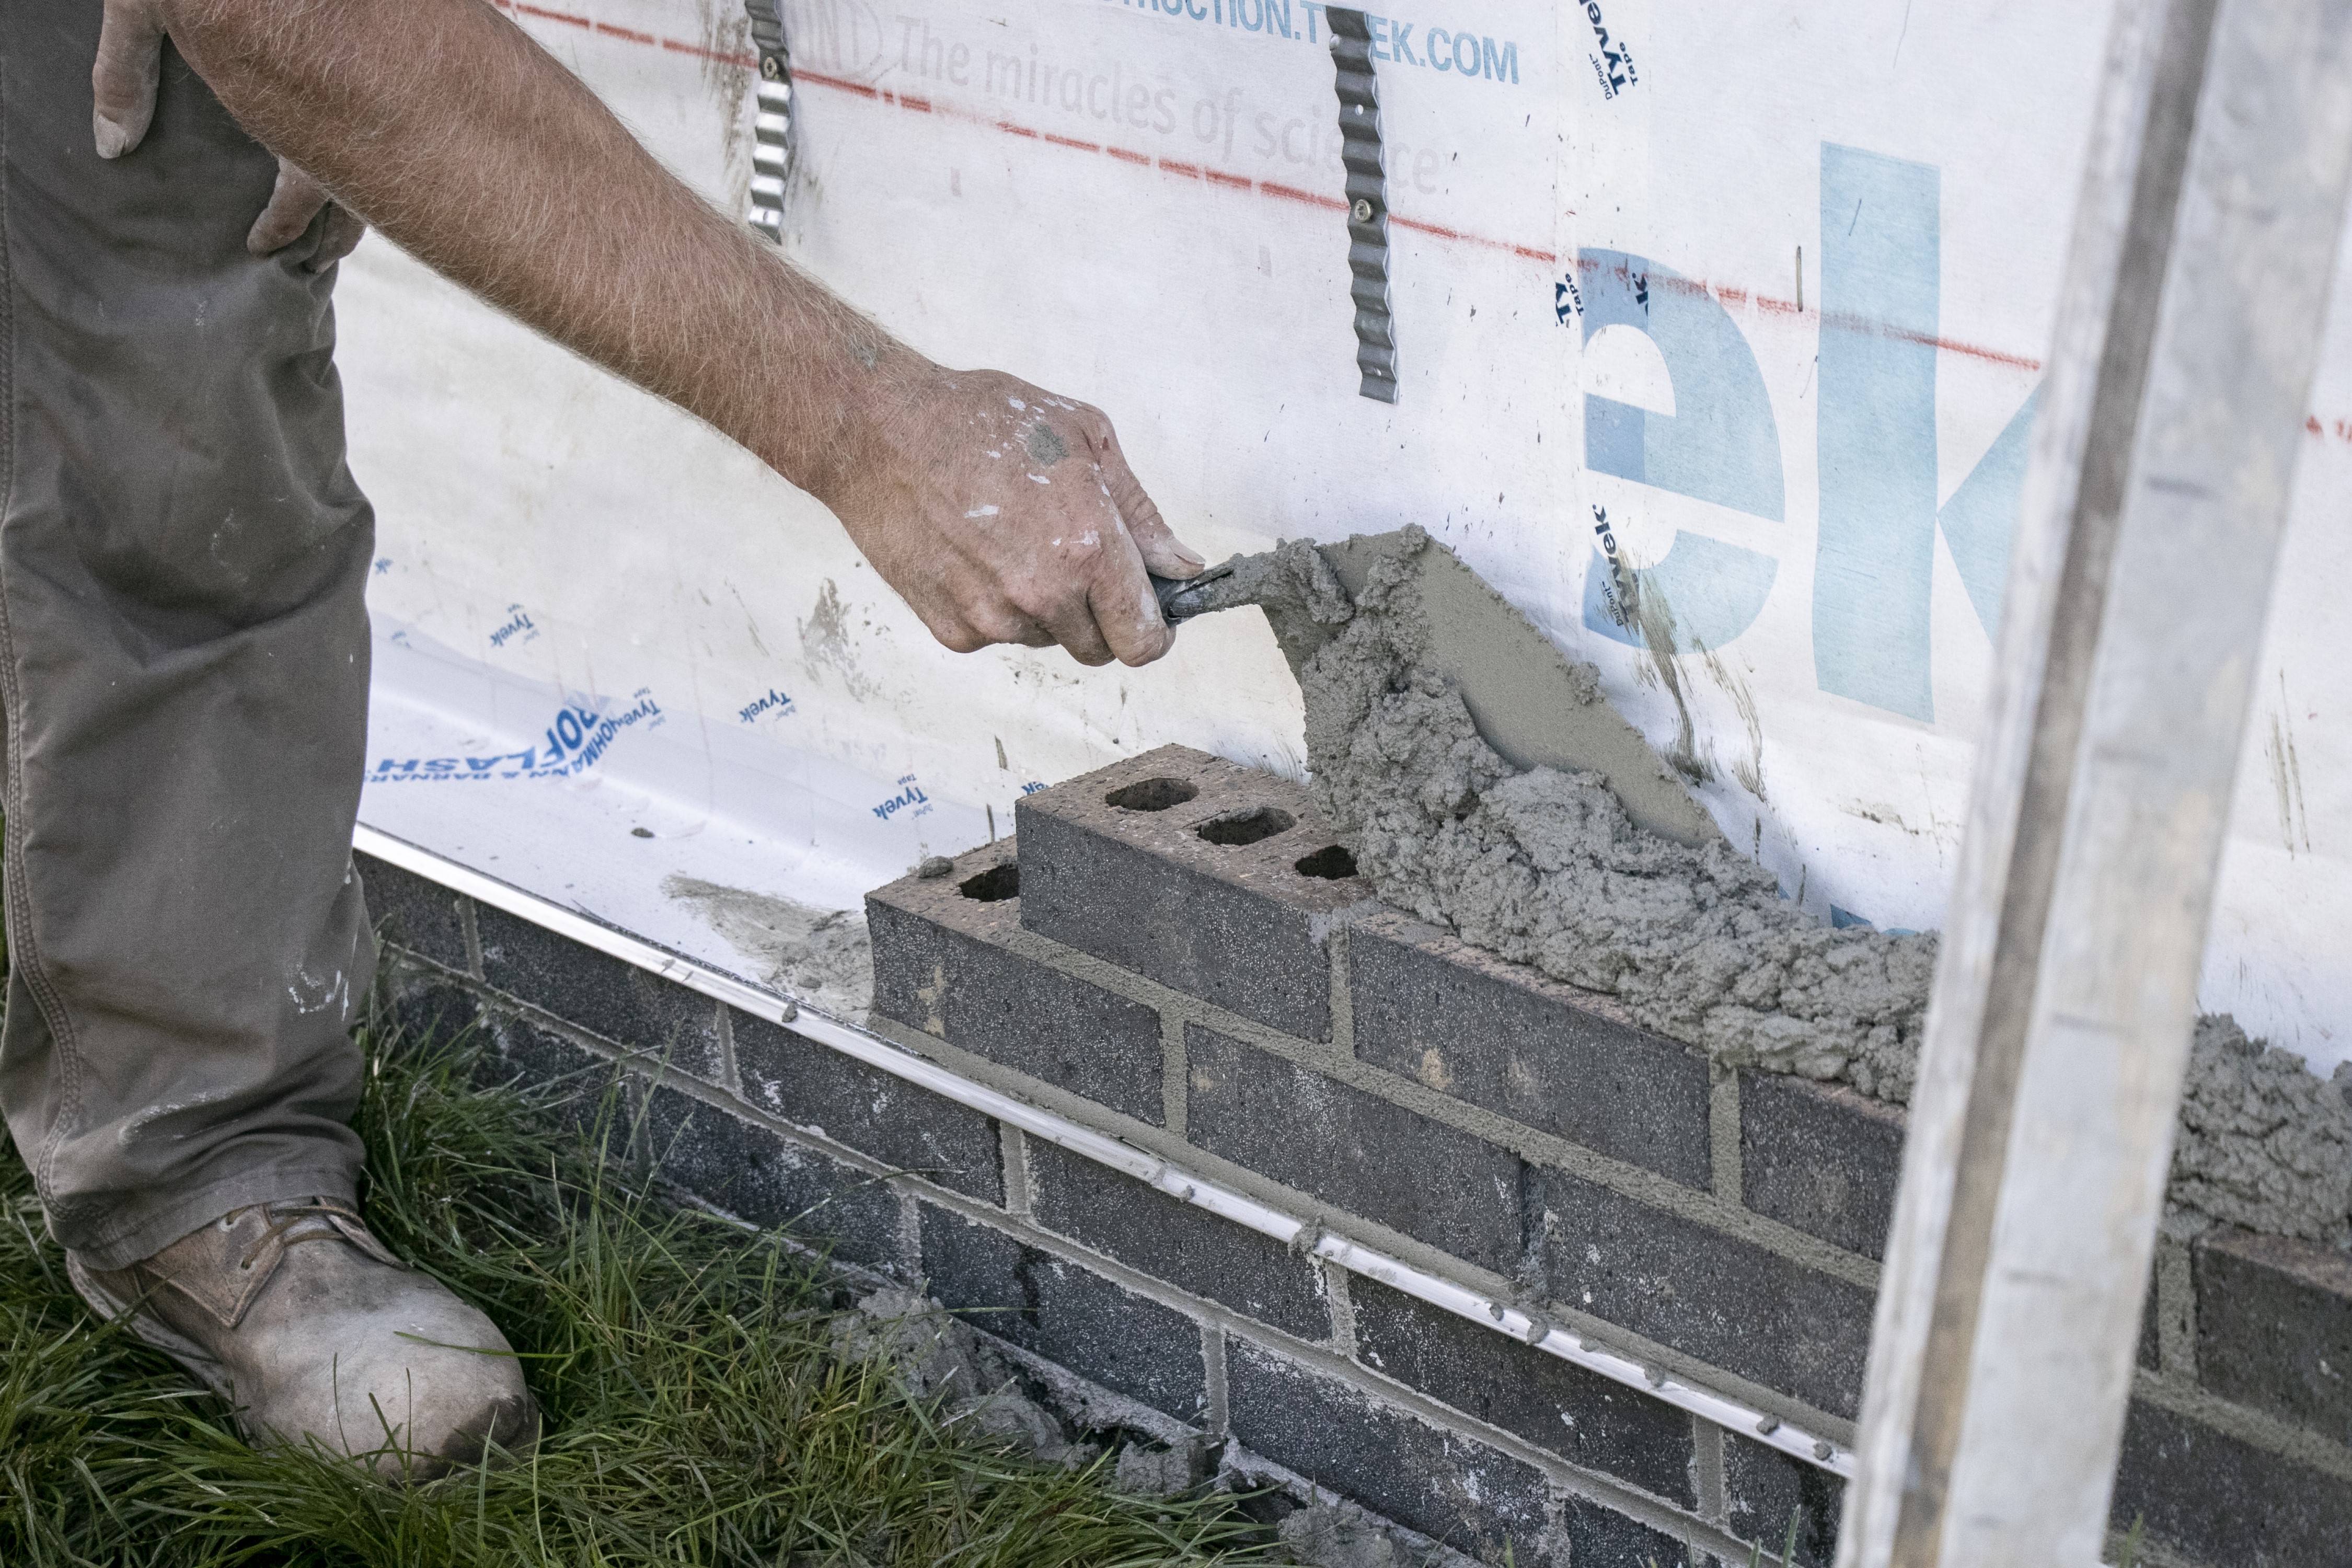
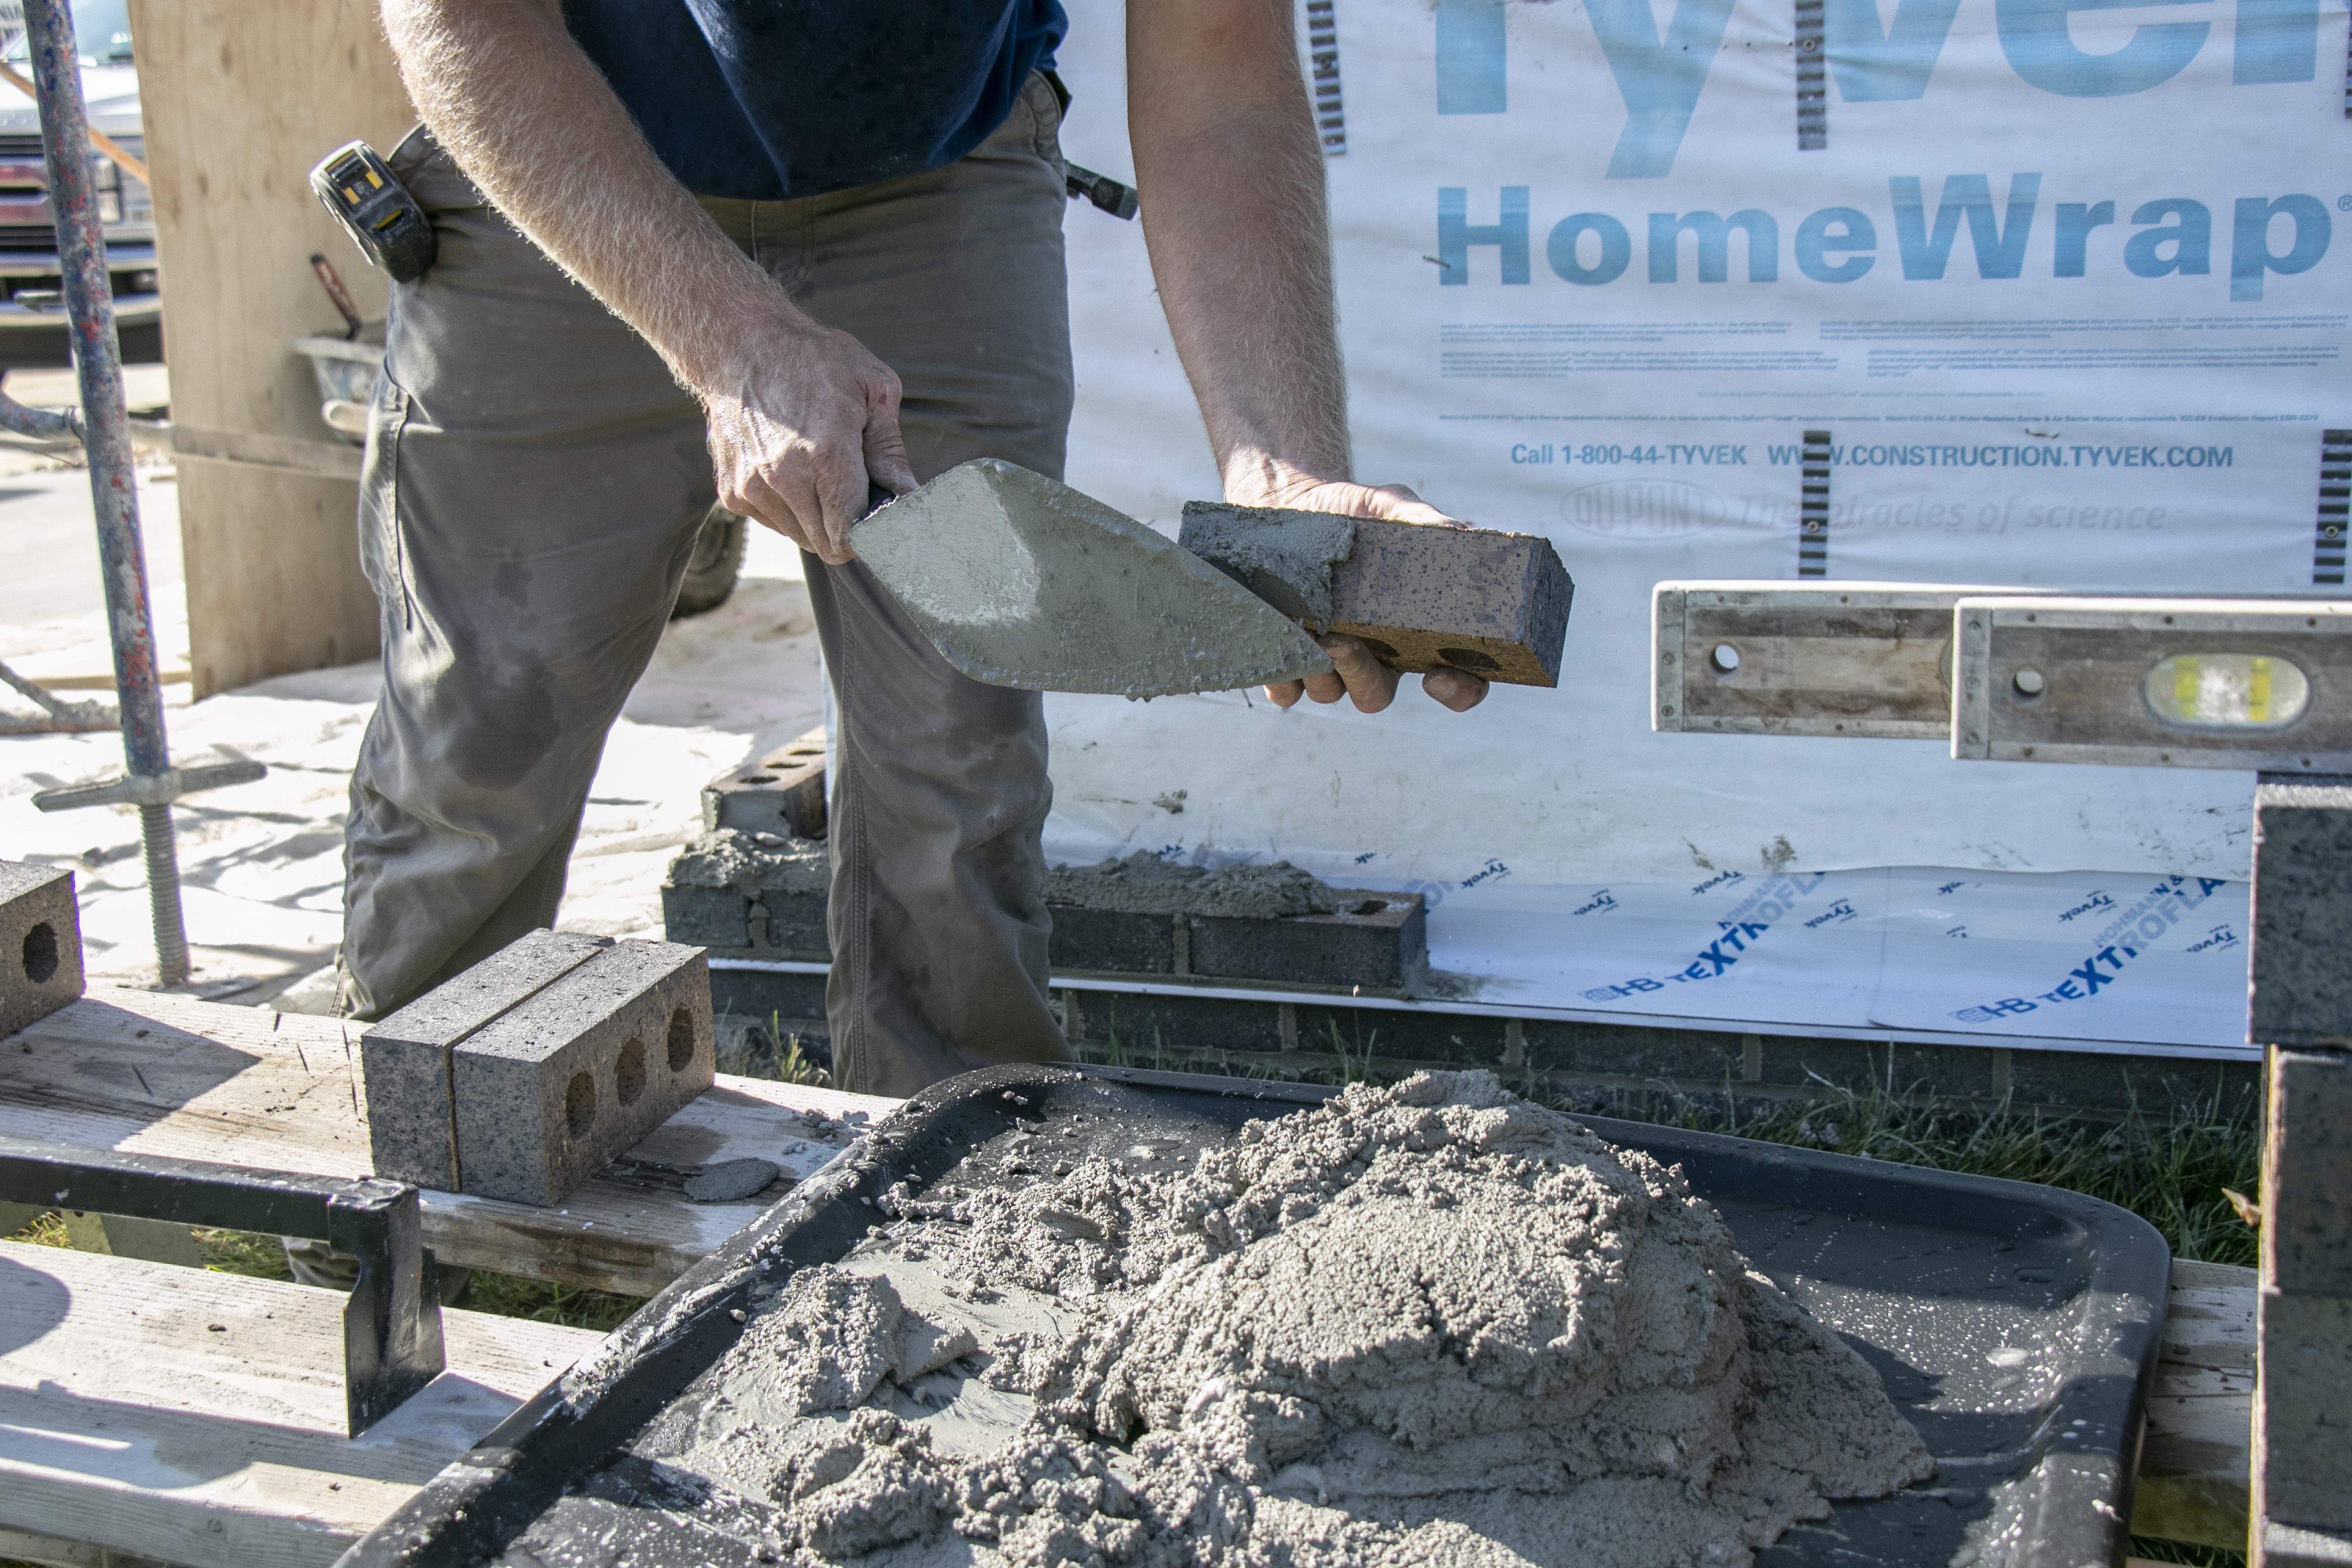
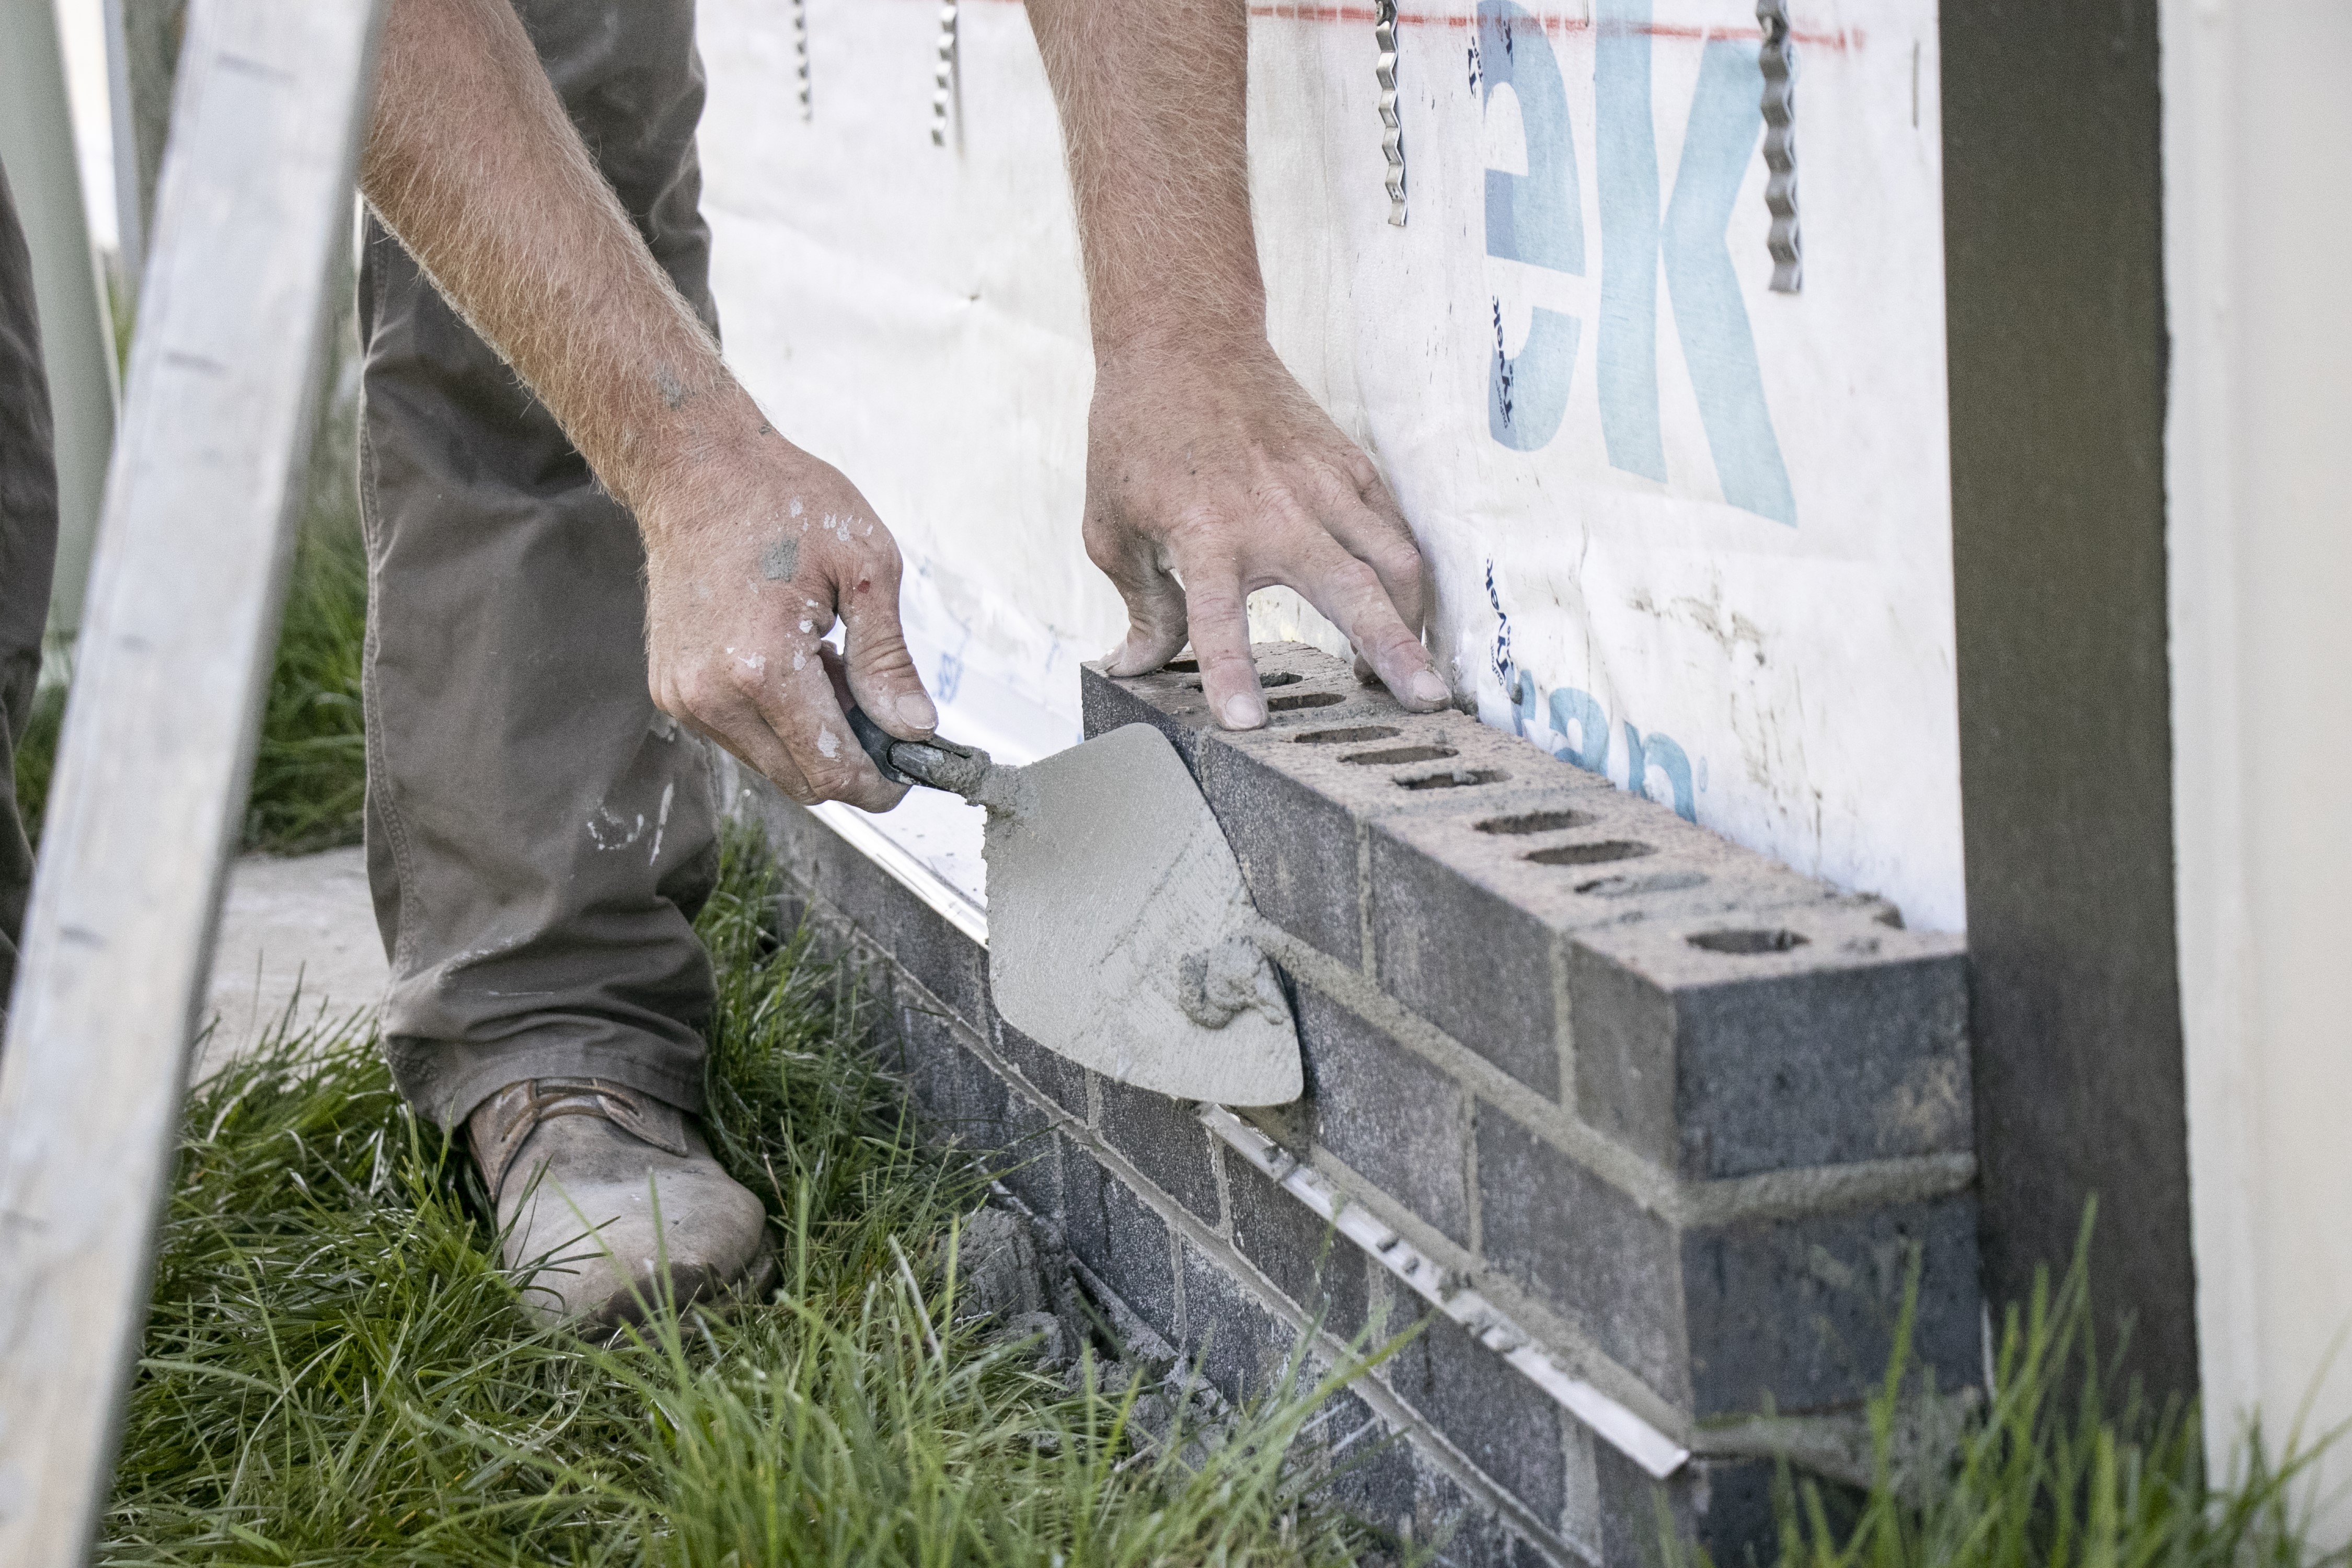
Brick Trowel: Scoop up the desired amount of mortar and spread it along the row of the previously laid bricks. Then, butter the ends of the brick and lay it down on the bed of mortar, tapping it into place with the bumper on the end of the handle so it’s level with the rest of the row. Lastly, use your brick trowel to scrape off the excess mortar.
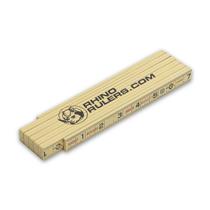
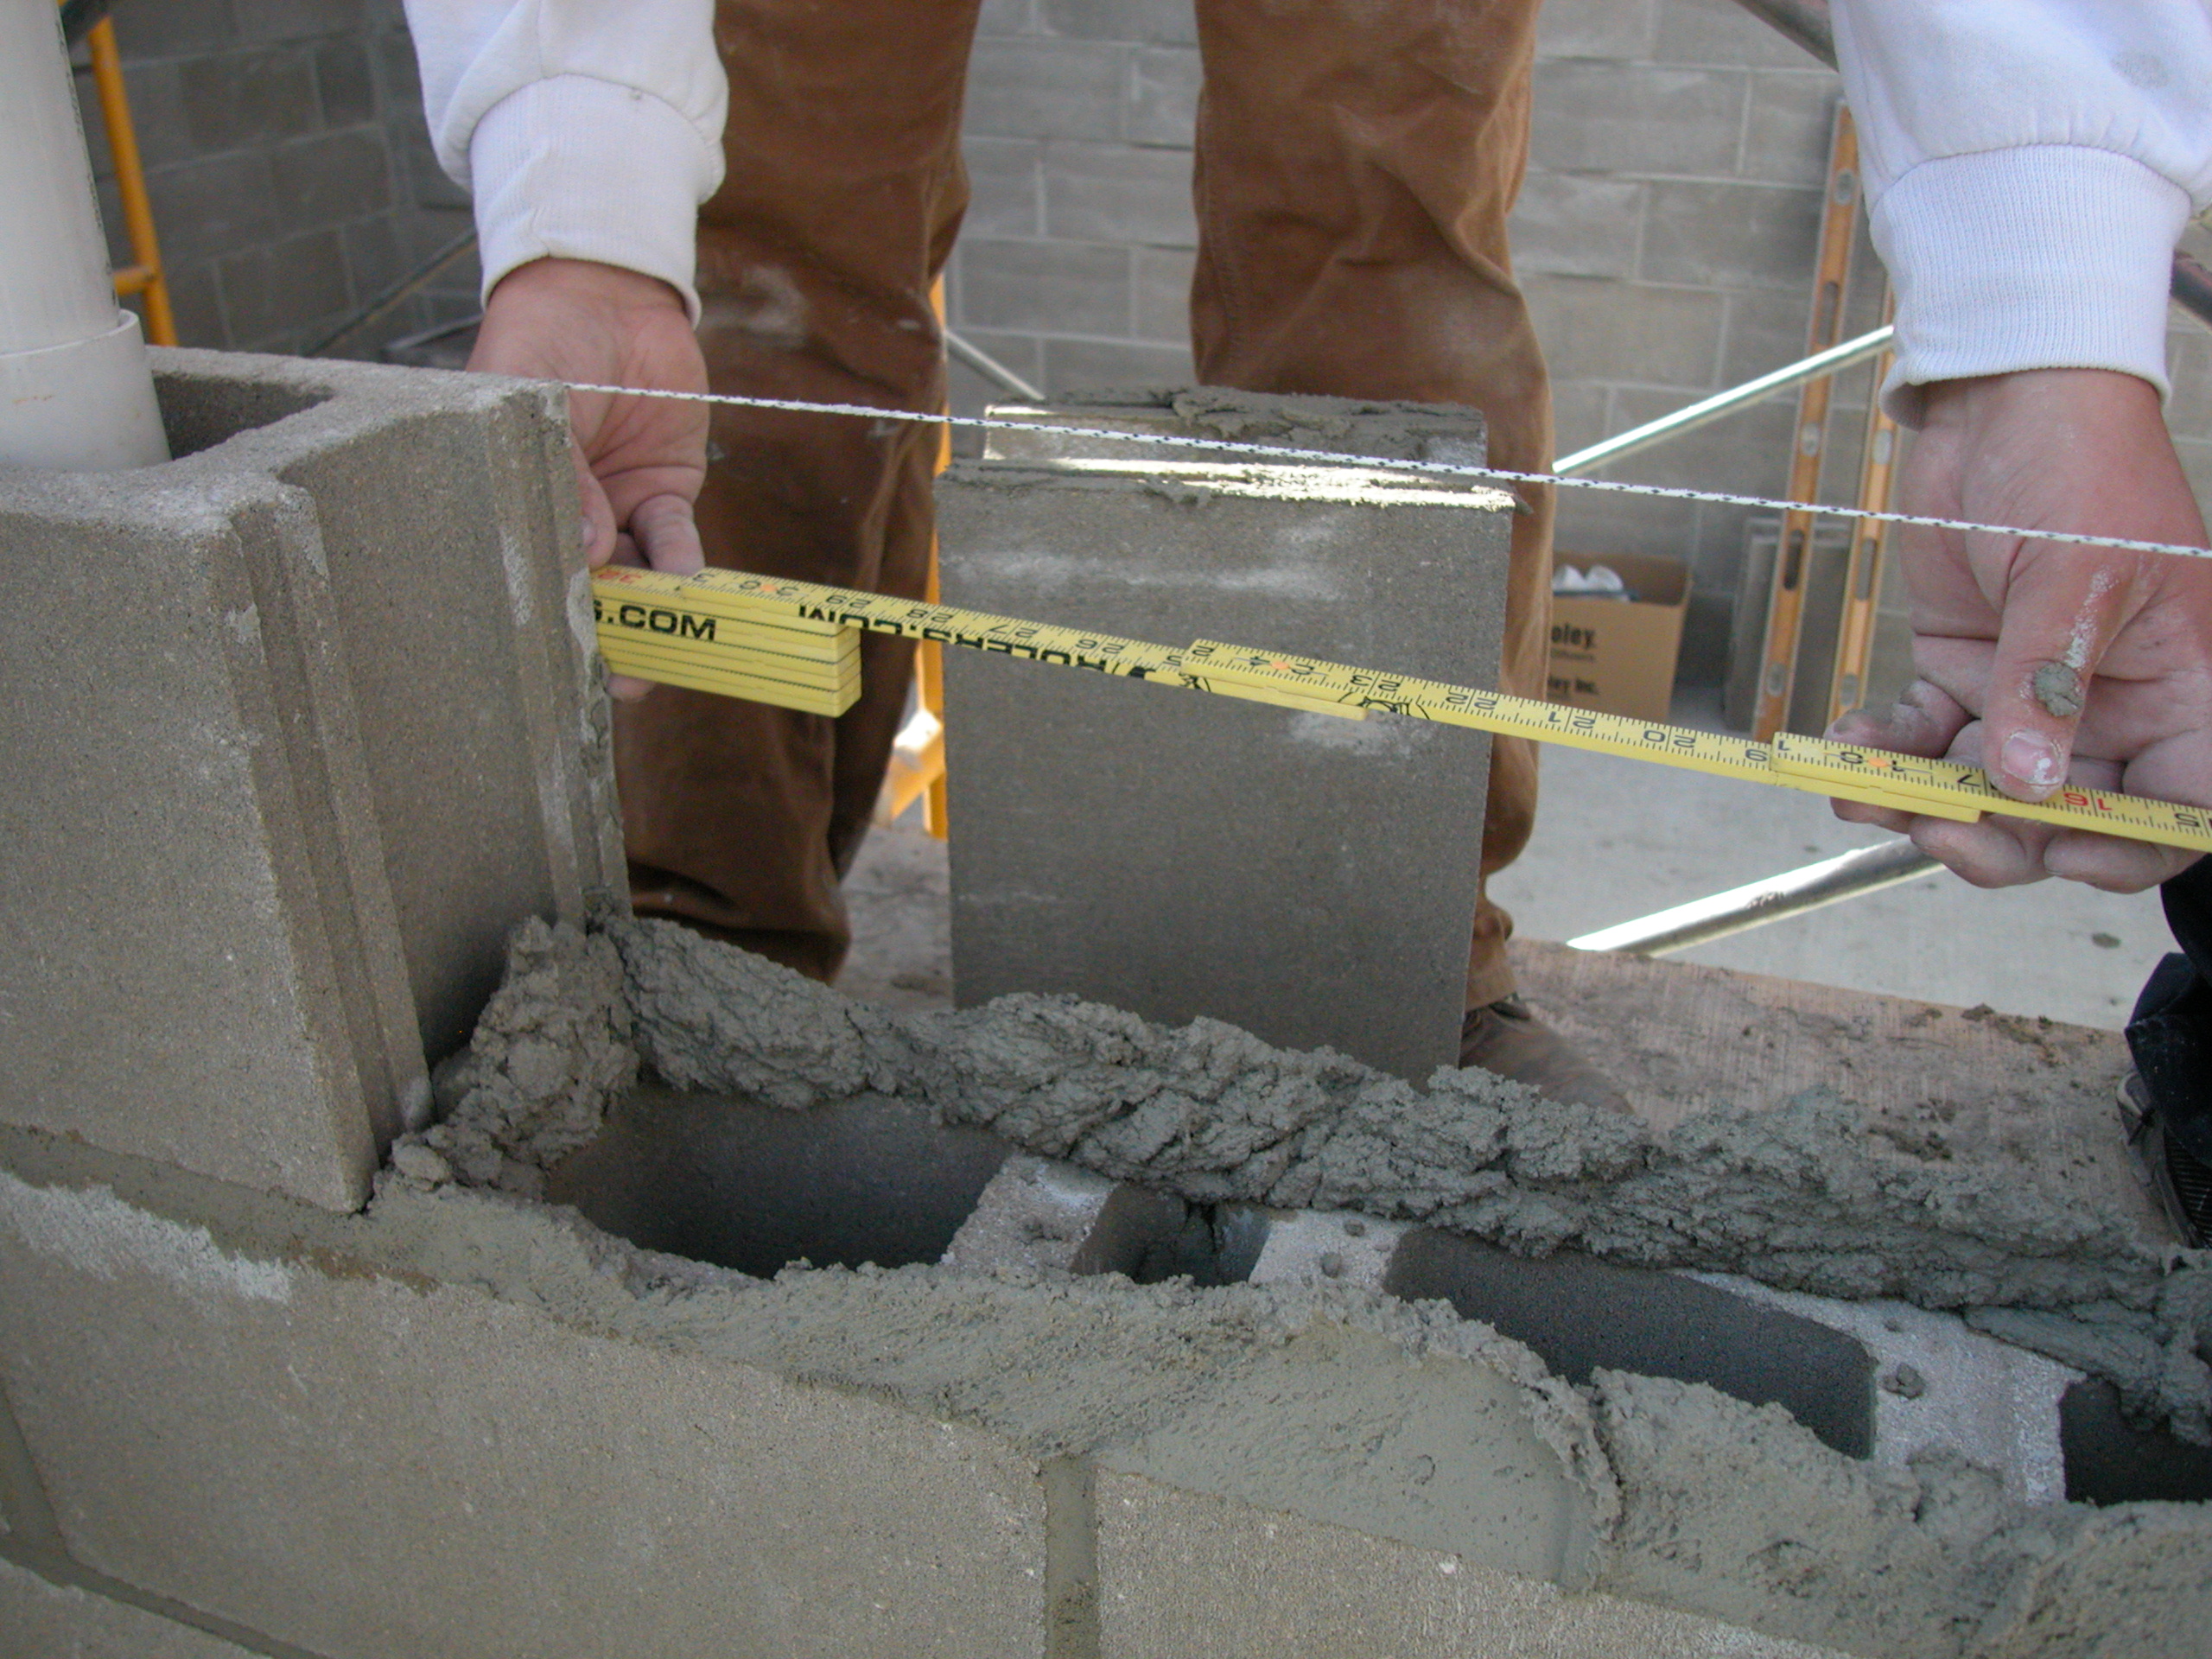
Brick Ruler: This handy tool will help you get accurate measurements and spacing between courses. It has the basic inch measurements like a regular ruler and the brick-spacing rule to help masons mark courses when laying brick.
Laying Bricks
Continue using your level, brick trowel, and brick ruler to build your wall. There are three other tools that have important jobs during this step.
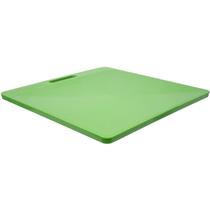
Mortar Board: To easily hold and transport mortar around the jobsite, use a mortar board. MARSHALLTOWN’s Gatorback® Mortar Board will keep the mortar at an optimal consistency. It’s also UV-, water-, and impact-resistant for durability.

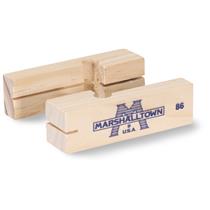
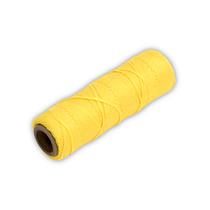
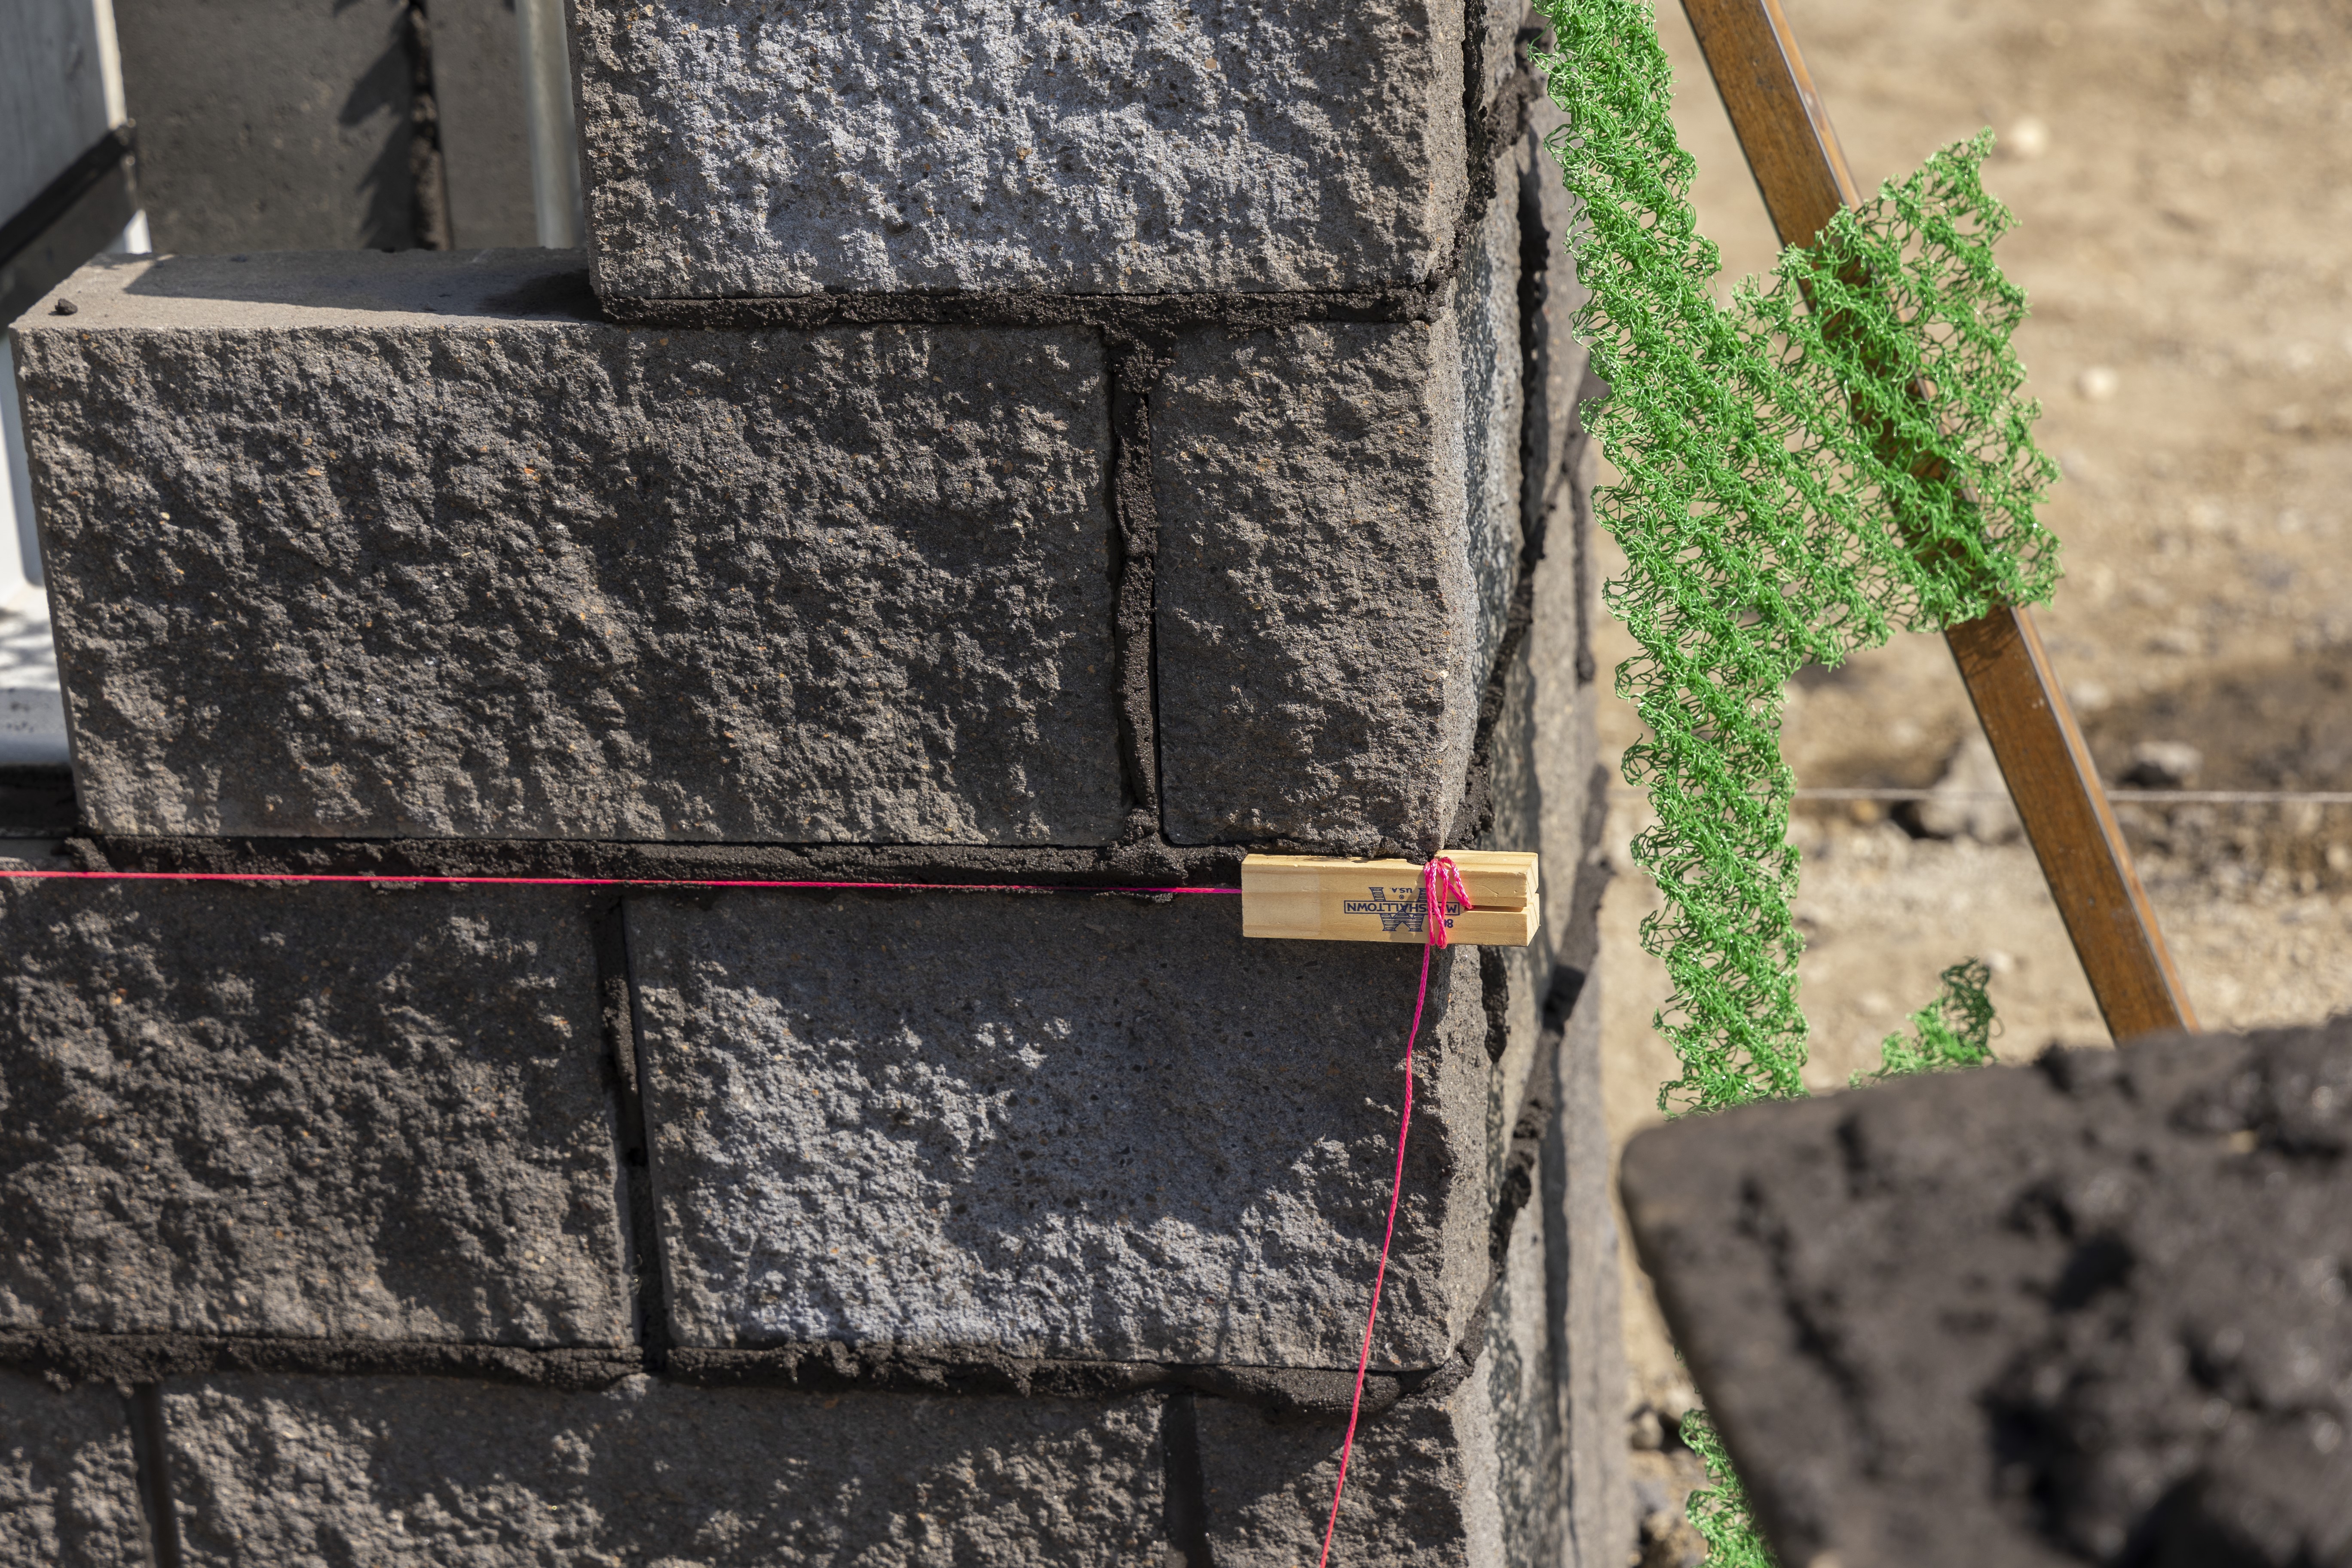
Line Blocks & Mason’s Line: To maintain a straight line, attach Mason’s Line to the edges of bricks with Line Blocks. These will keep the Mason’s Line taut and close to the bricks. Allow the line to guide you as you build the wall, moving it up as you finish laying each course of bricks.
Tooling Joints
All joints need to be tooled before the mortar sets. This seals the joints, lengthening their lifespan while adding visual appeal.
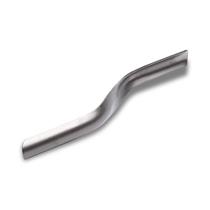
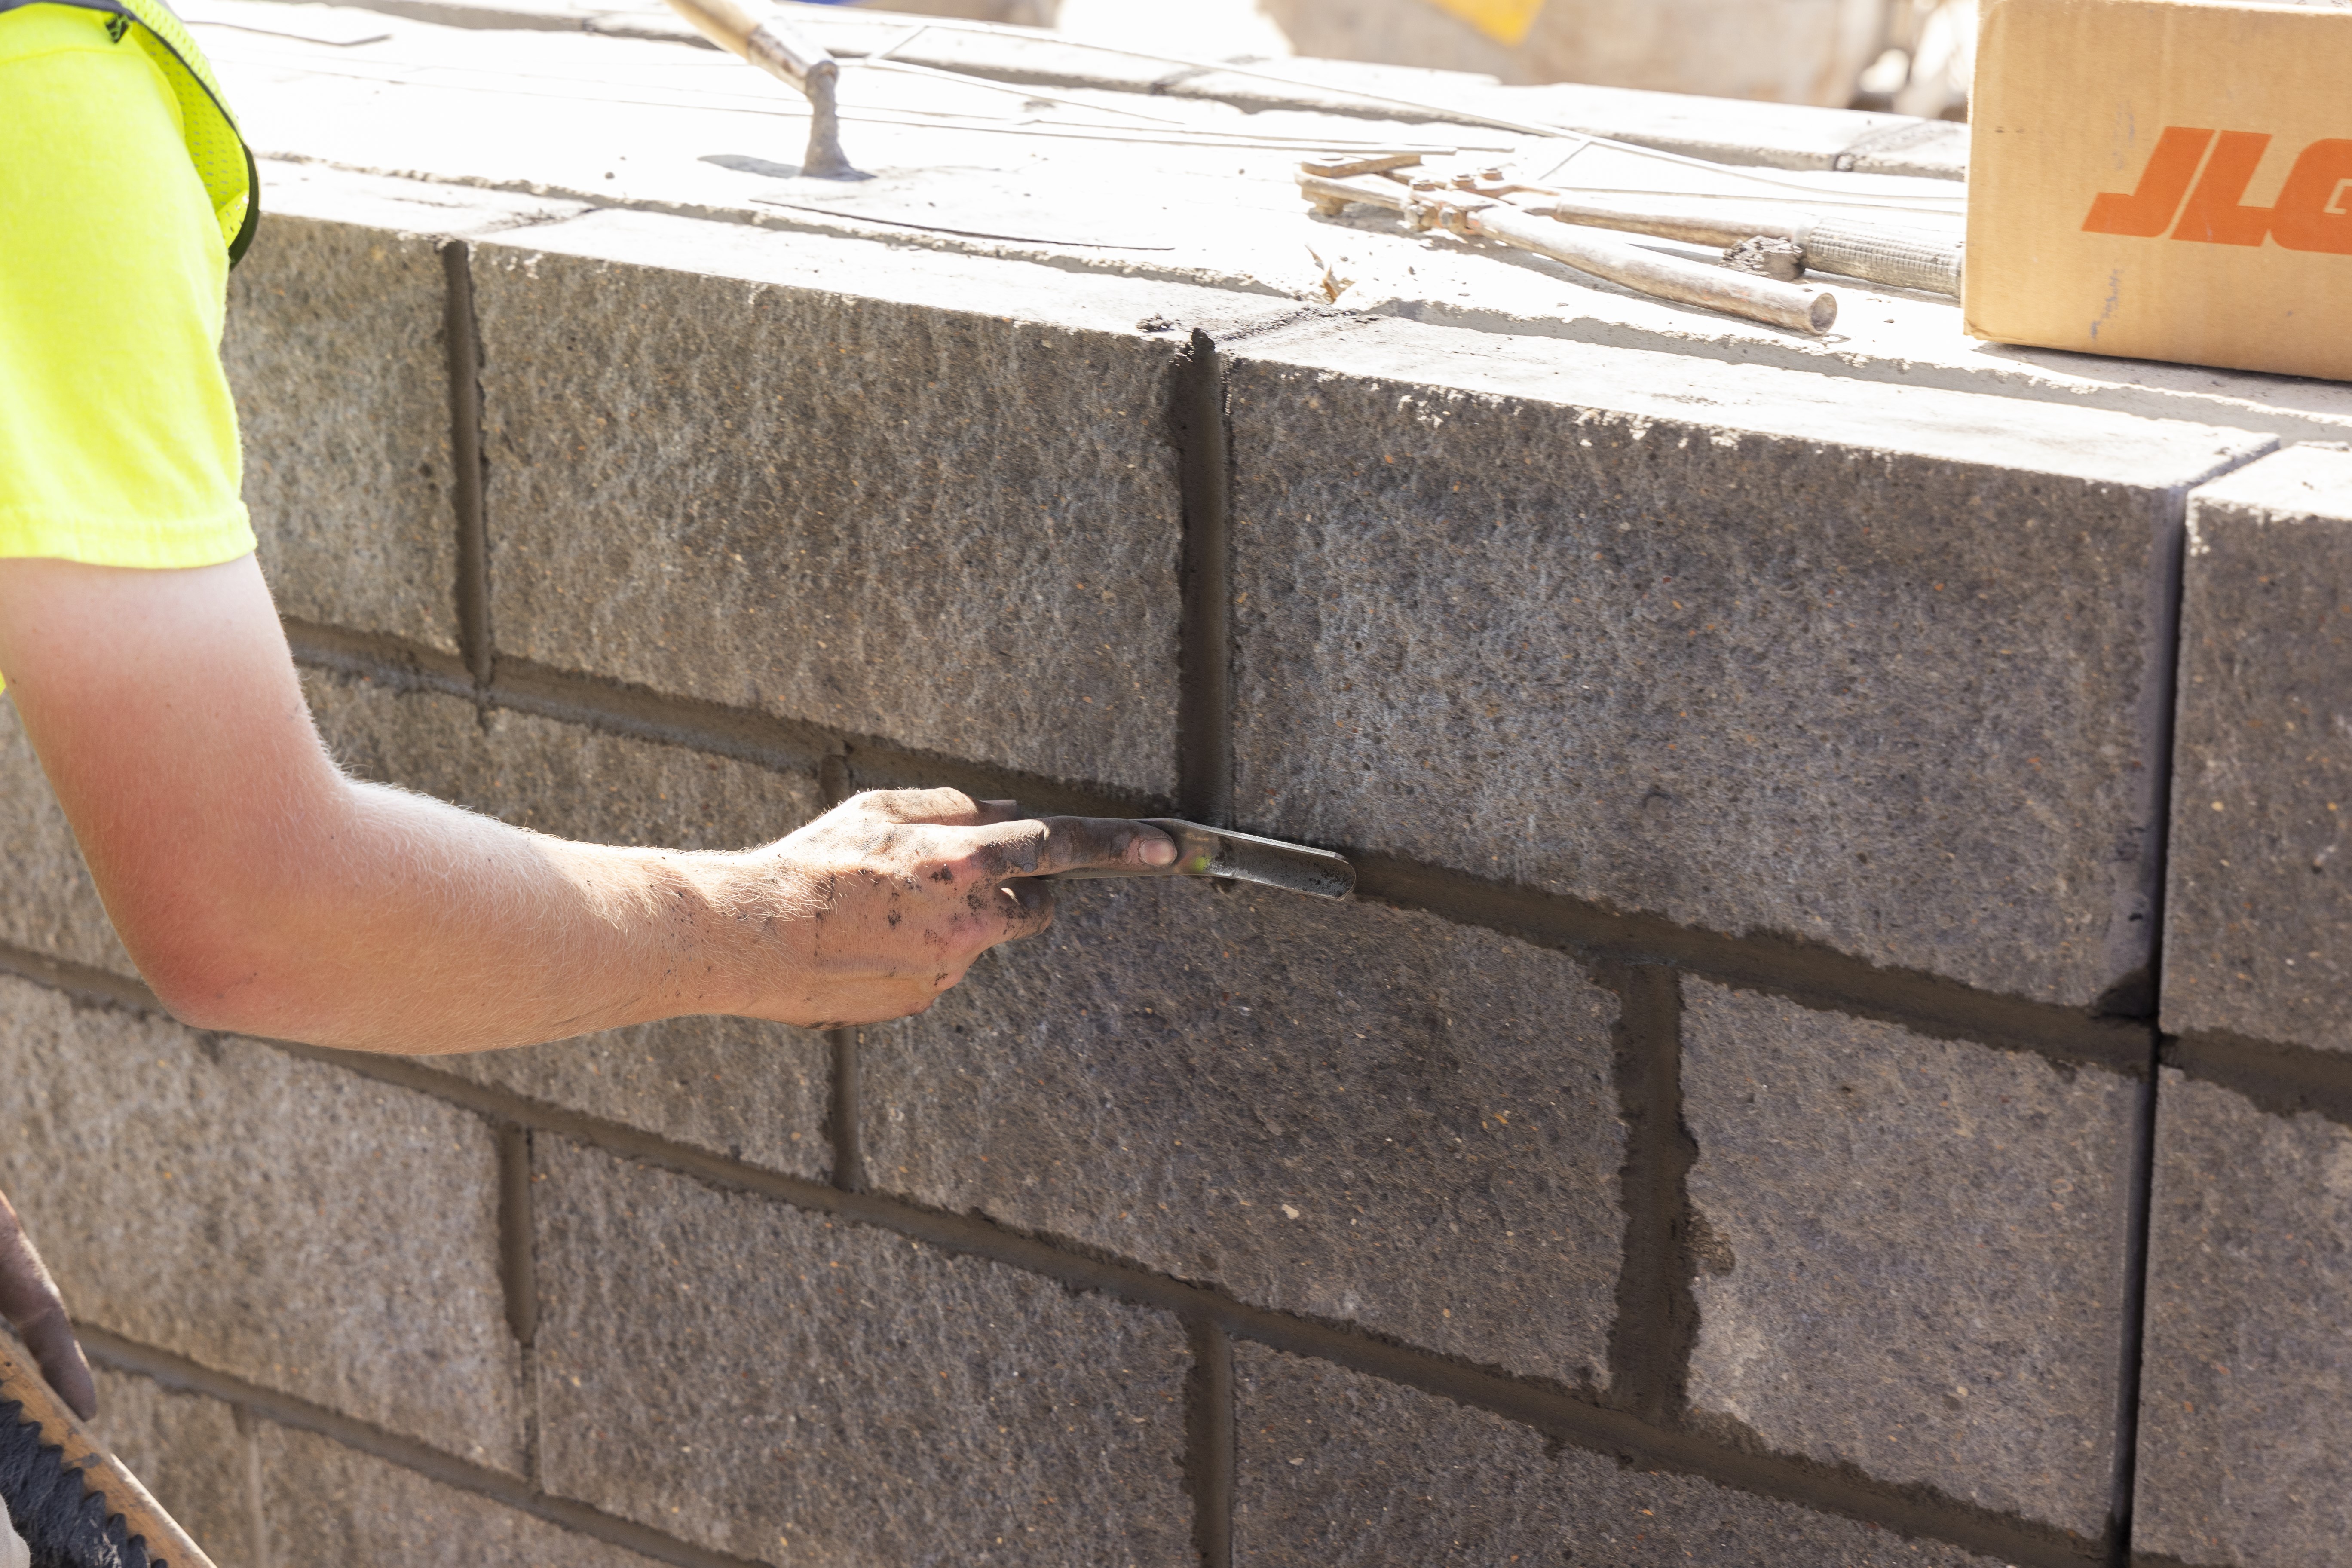
Brick Jointer: This tool is designed with different joint sizes on each end for variety. To use it, hold the handle and firmly “strike” the joint, then run it along the joint to compress it for a smooth, professional finish.
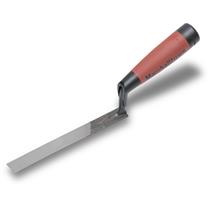
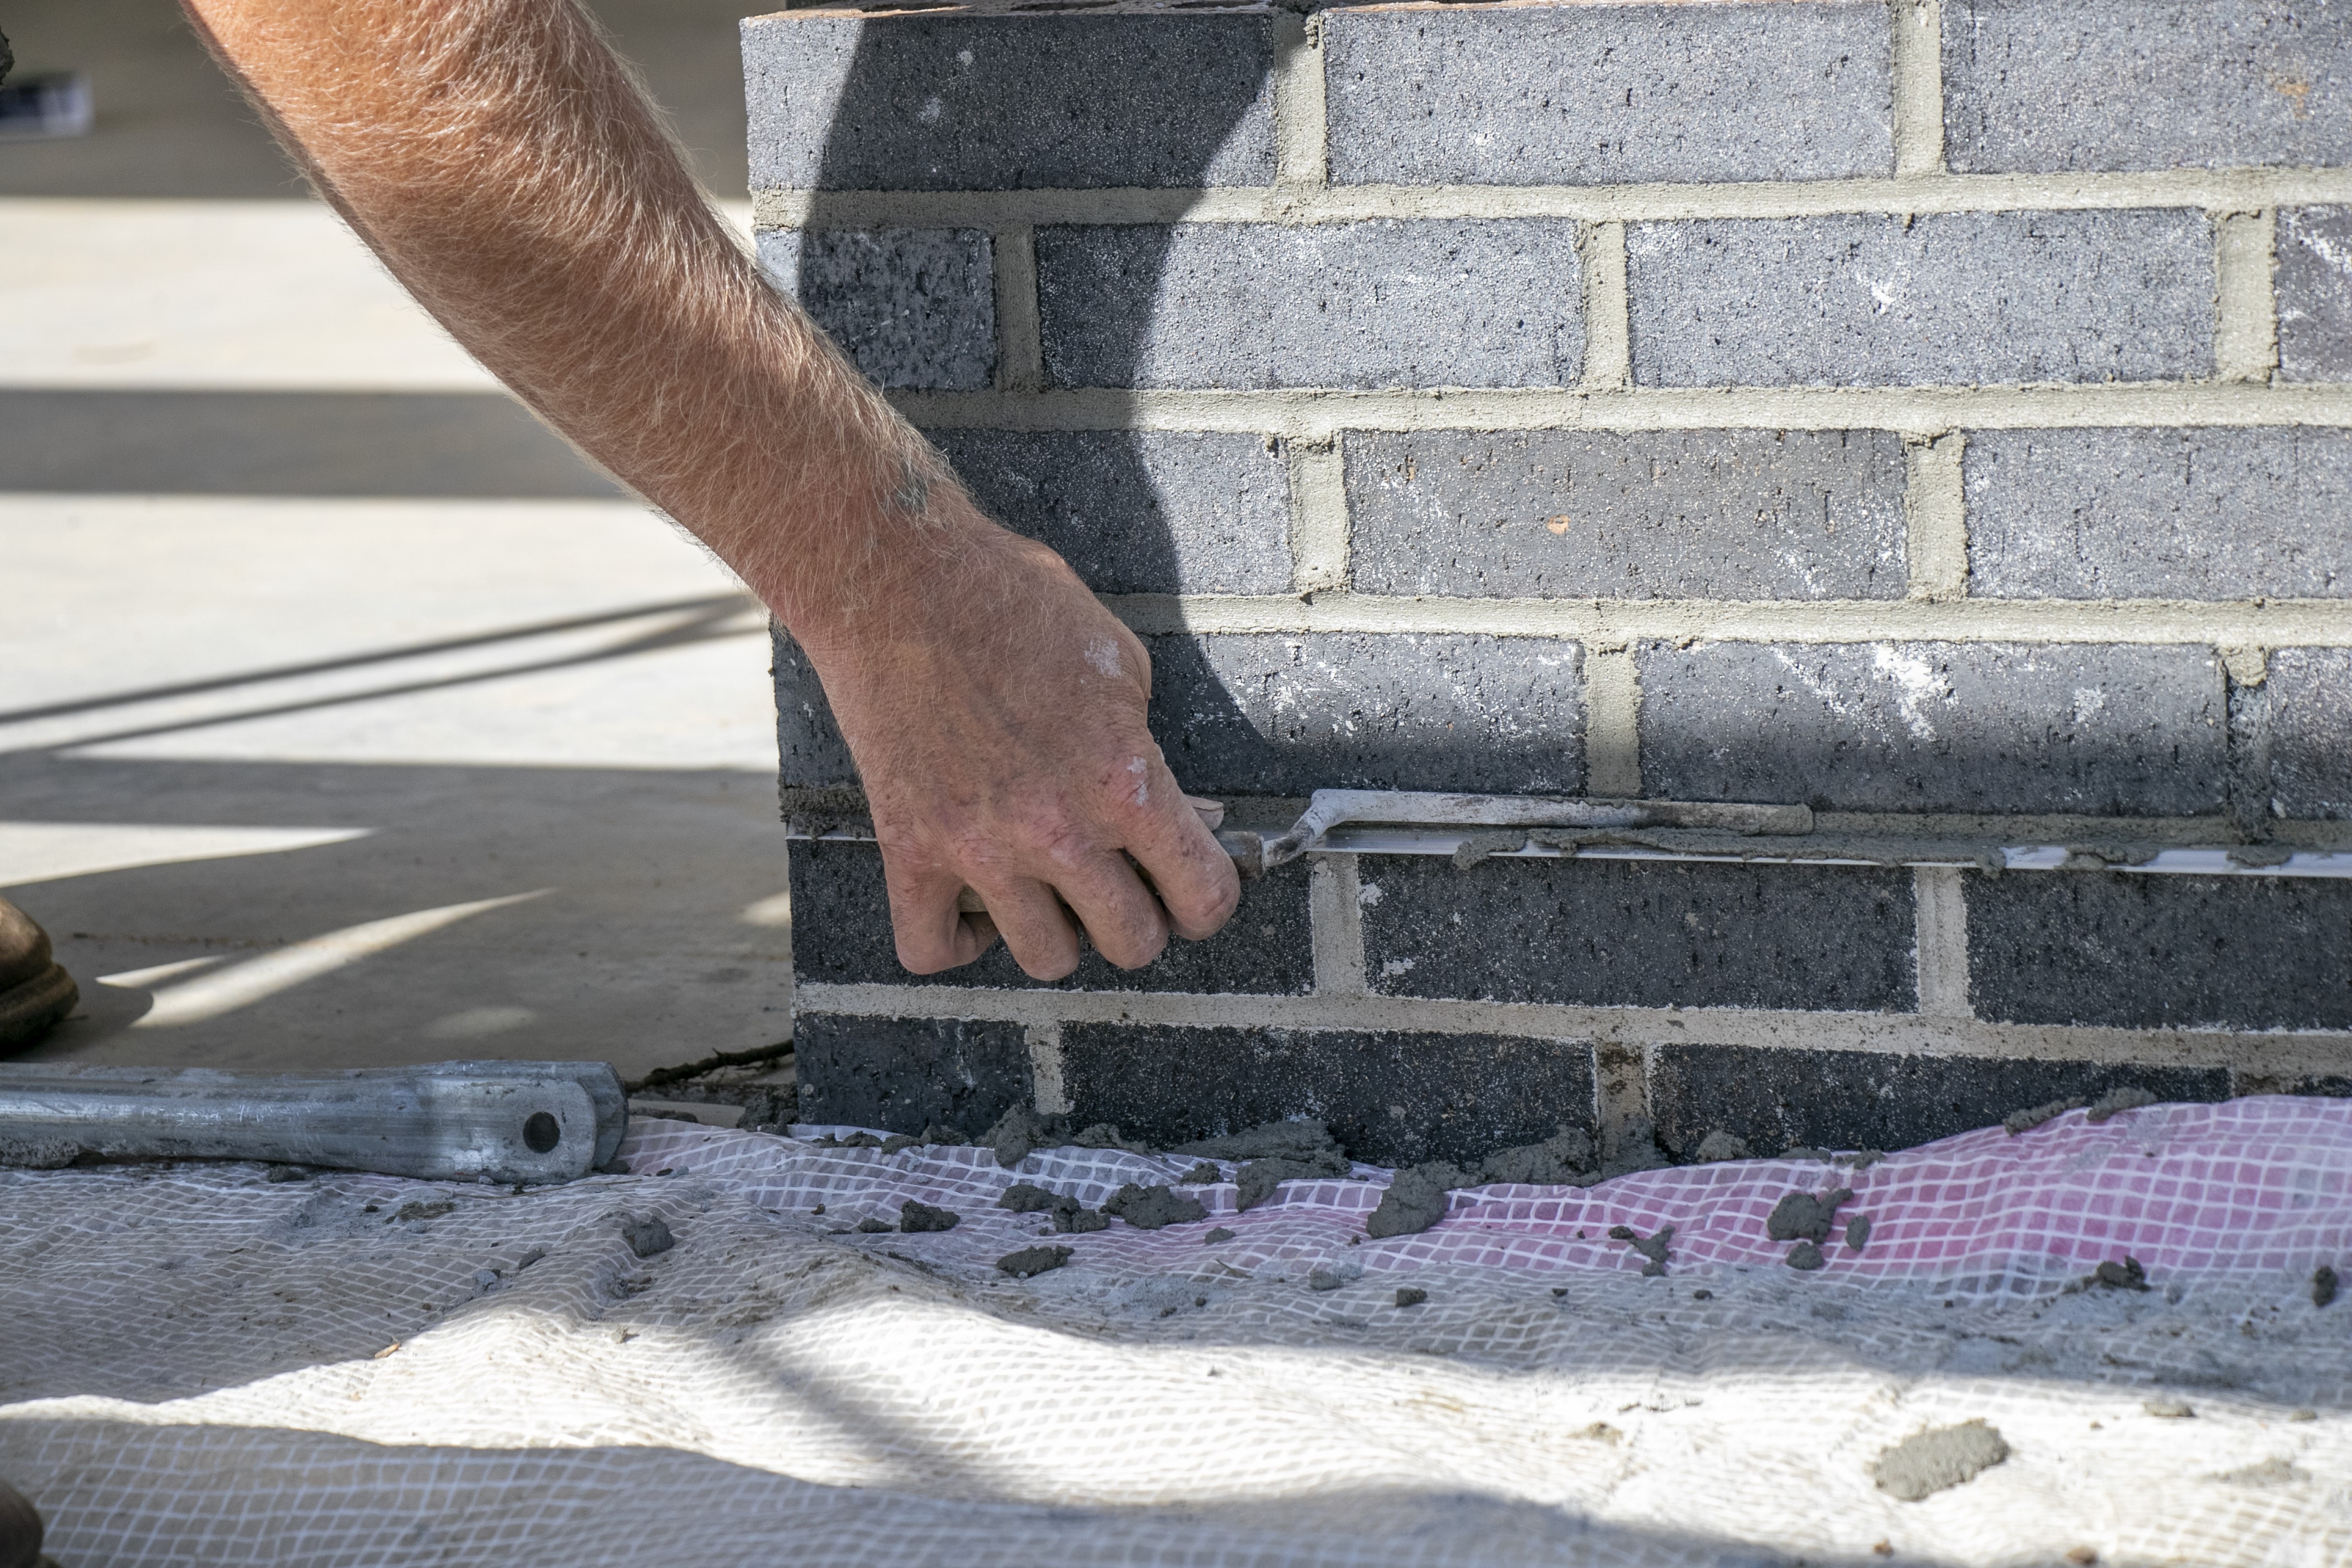
Tuck Pointer: A Tuck Pointer is especially important when caring for mortar joints. This tool is used to repair, maintain, and enhance joints. To use it, hold it horizontally and pack the joint with new mortar to fill any gaps.
Cleaning Up
The last step is to clean your wall, but make sure to wait at least one week after the wall is finished. With one-part hydrochloric acid and 10-parts water, lightly scrub the bricks to remove excess mortar. Rinse immediately to remove the acid.
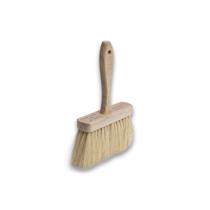
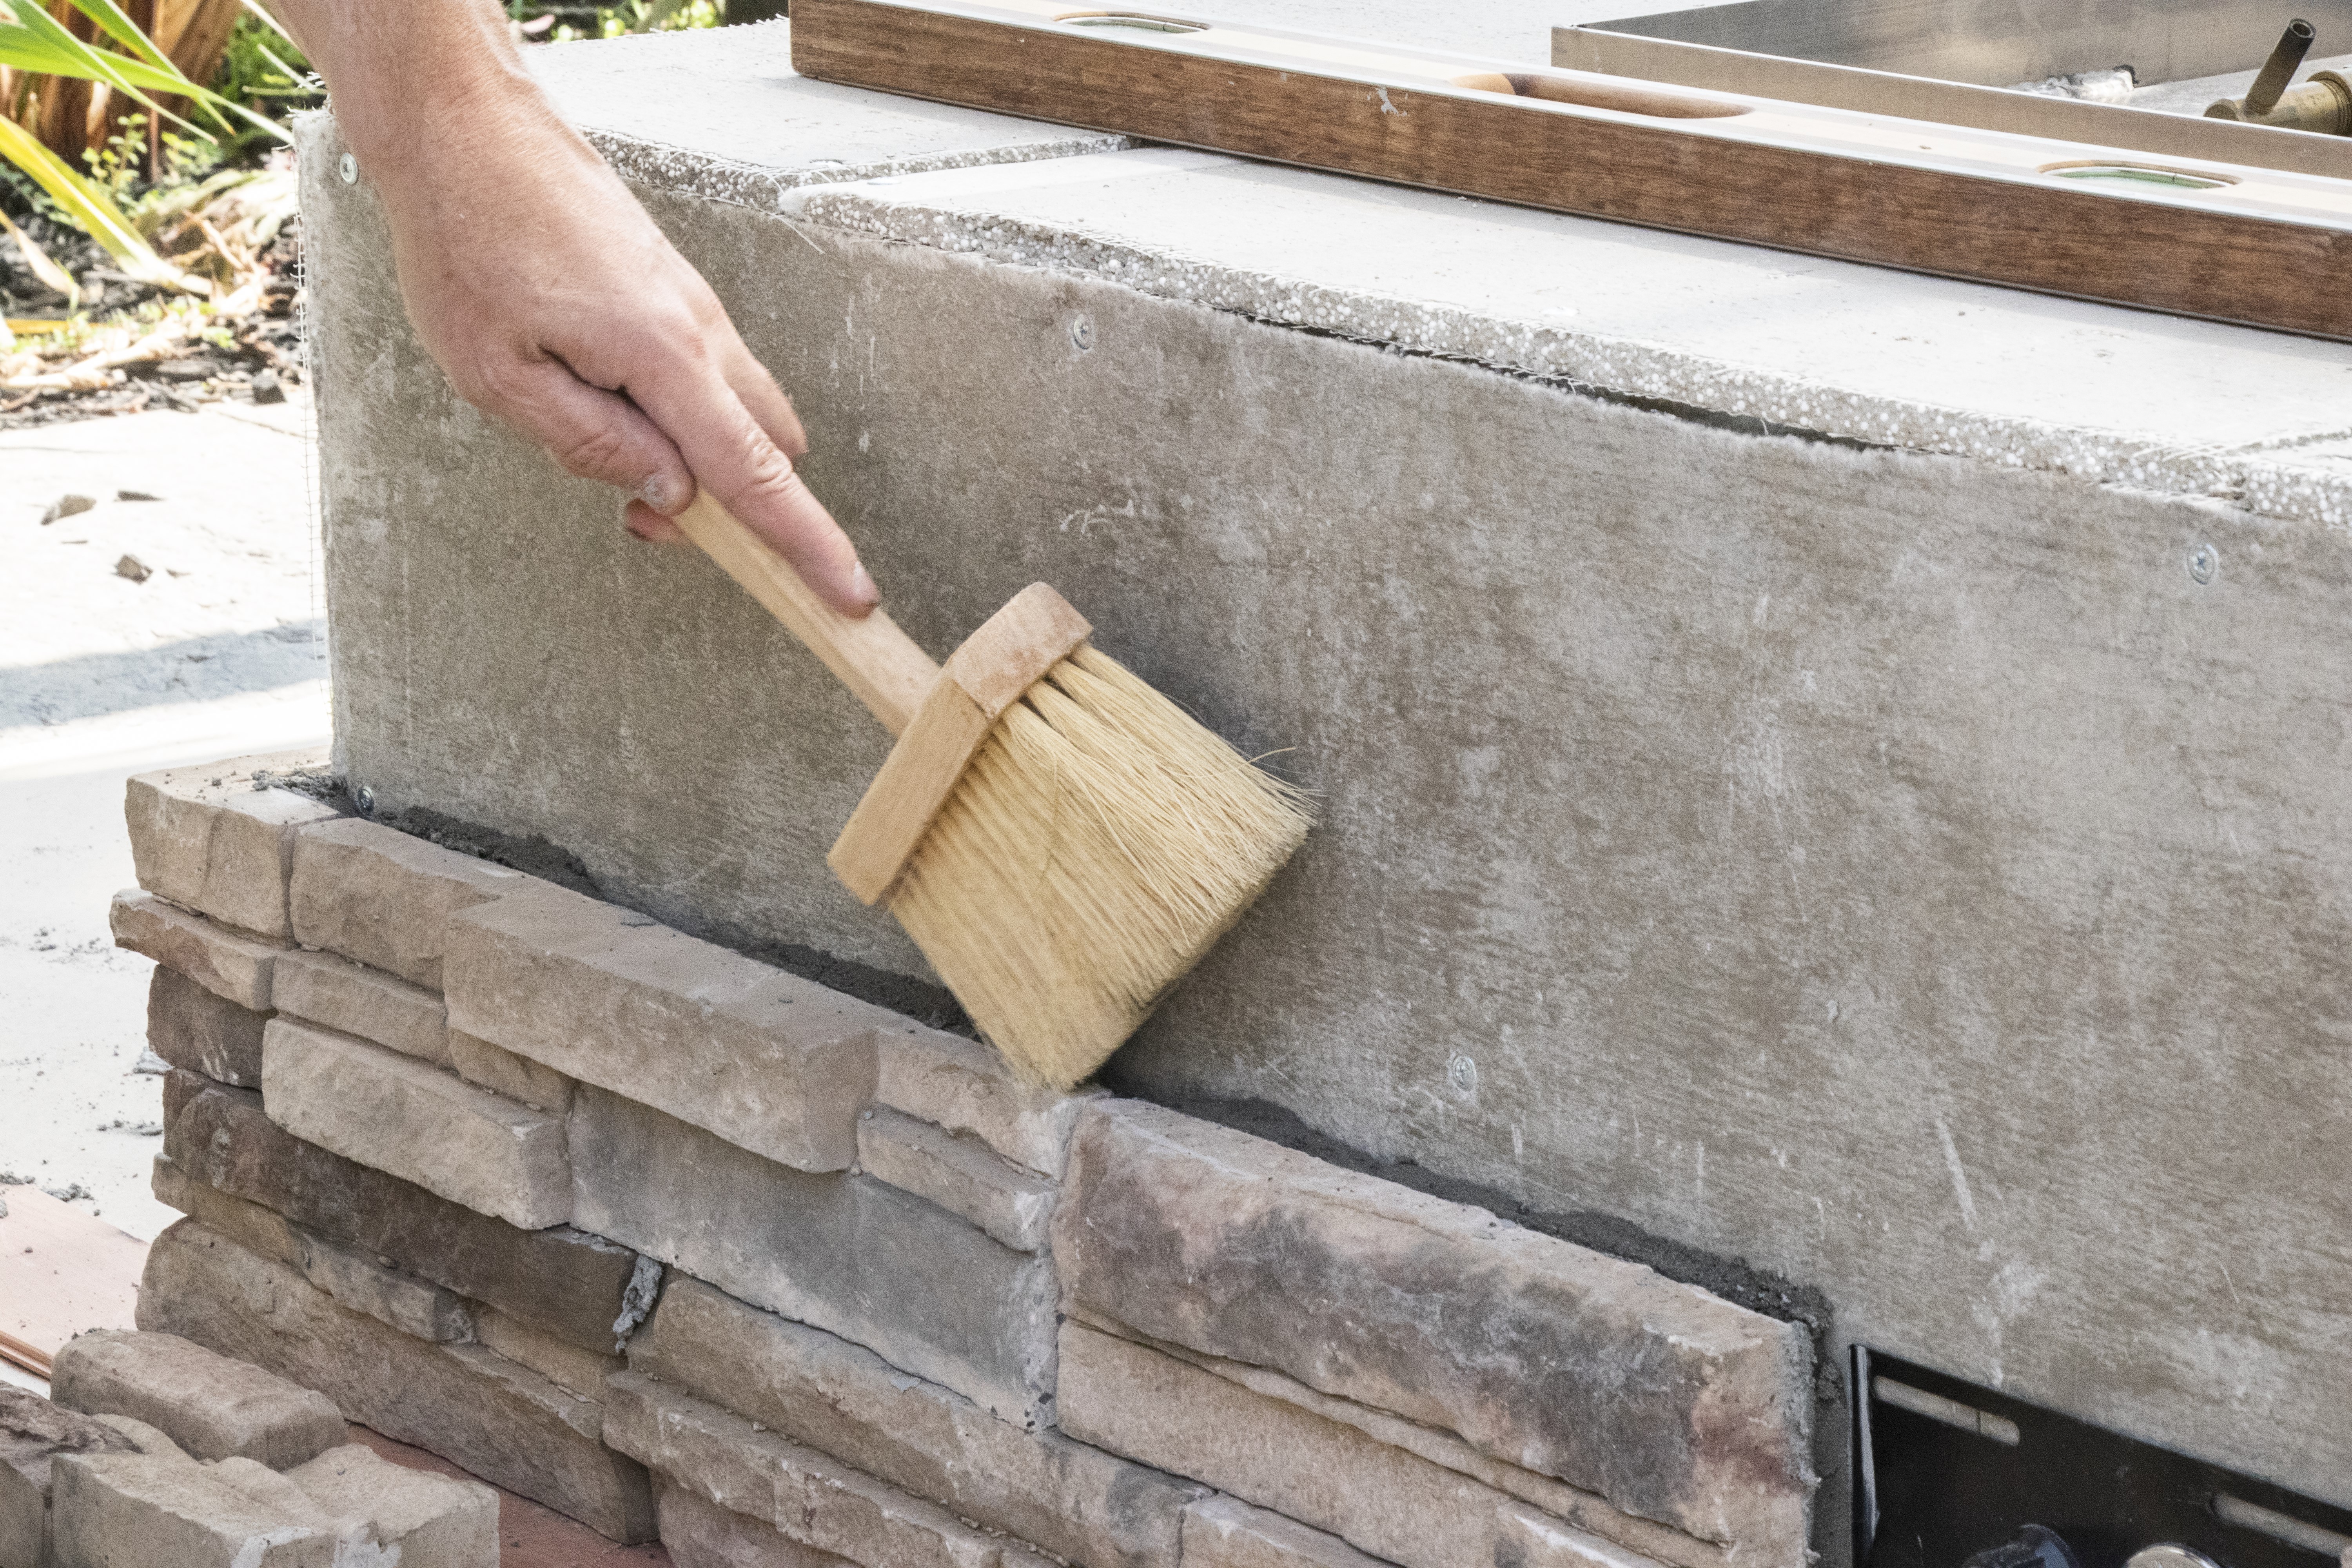
Masonry Brush: This masonry brush is recommended for cleaning excess mortar from bricks. It's also helpful for cleaning your masonry tools at the end of the job.
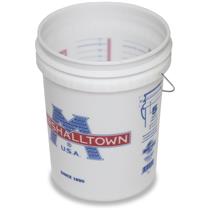
5 Gallon Bucket: Mix your acid solution in MARSHALLTOWN’s 5 Gallon Bucket. It’s semi-transparent so you can see the level of material inside, and it holds 5.28 gallons for easy mixing with no spillage.
Although there are several more masonry tools and steps that will help you yield professional results, these 10 will get you started. By including them in your toolbox, you can work confidently each step of the way, from laying the first brick to making those final touches.