In last month’s Workshop post, we shared practical tips for refreshing your home with a new coat of paint. This month, we’re shifting our focus to curb appeal with a feature that is easy to overlook: your sidewalk.
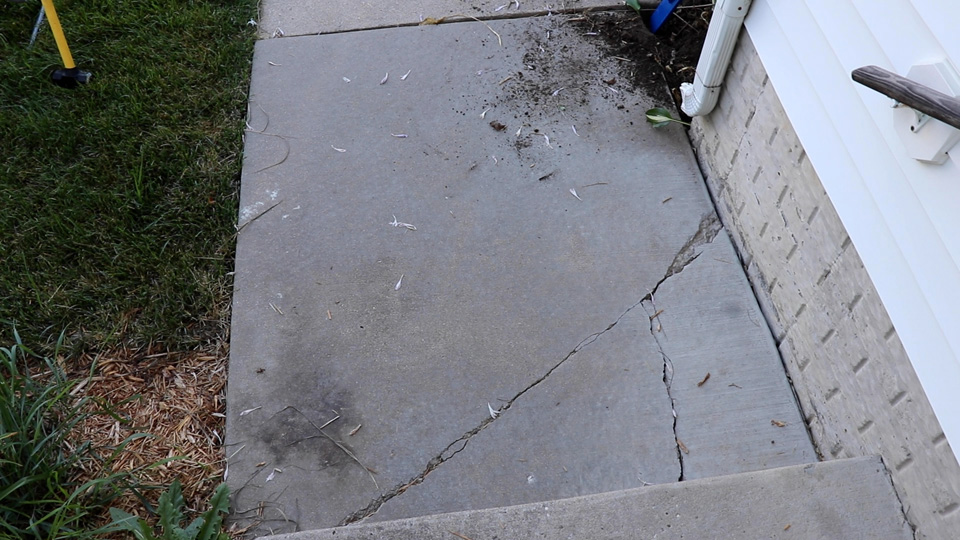
A broken sidewalk can take away from your home’s appearance, which can be especially harmful if you’re thinking about selling. Fortunately, with some effort and your reliable MARSHALLTOWN tools, you can easily replace that worn-out slab in no time.
Step 1: Remove the Damaged Concrete
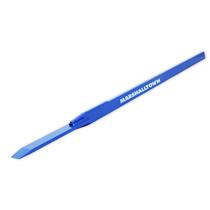
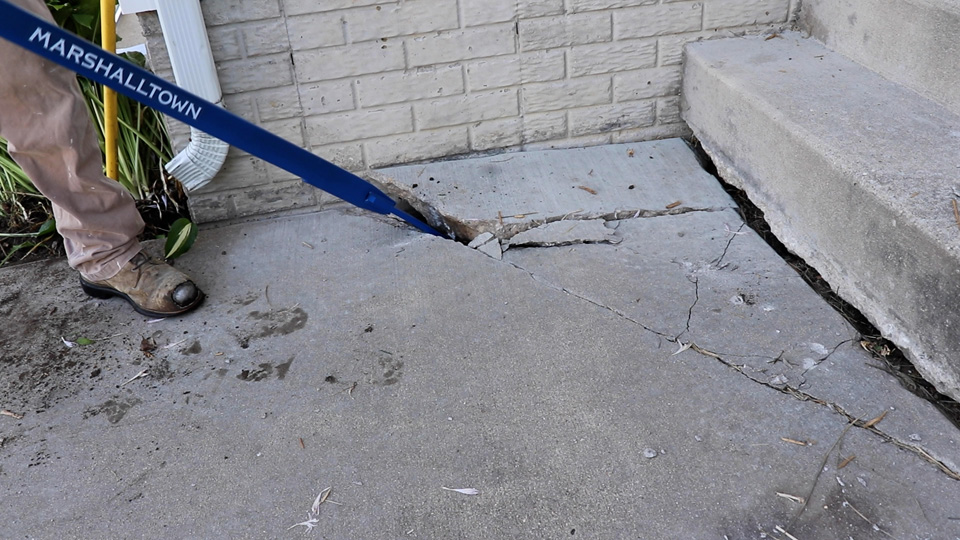
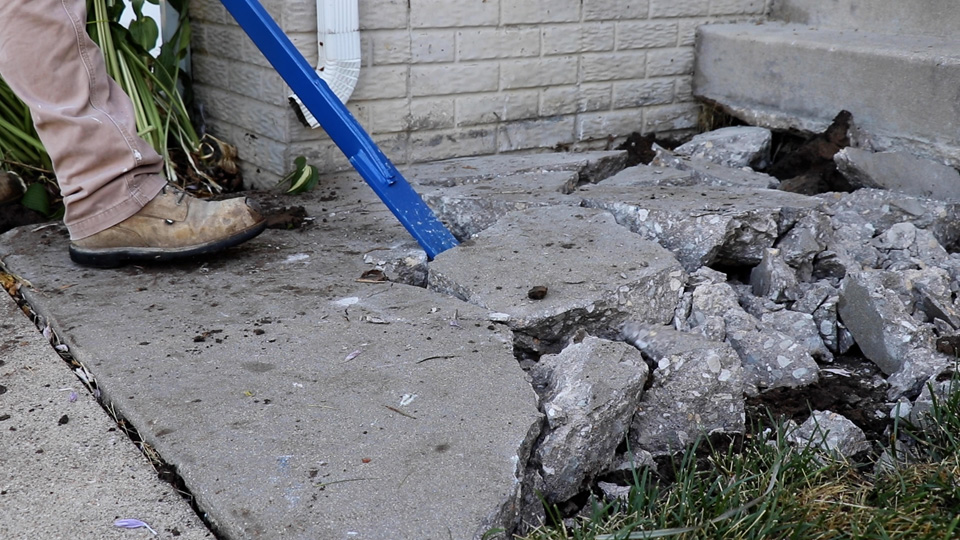
The best way to remove the damaged concrete is to loosen it up with a sledgehammer. Next, use a pry bar, like the MARSHALLTOWN Multi-Purpose Monster Pry Bar, to break the concrete into smaller pieces so they are easier to manage. Pry them loose and toss them into a sturdy wheelbarrow. Once you’ve taken care of removing the old concrete, you can start the prep work.
Step 2: Prep Work
It’s important to clean up the edges of your space to prepare it for new concrete. To make space for the new forms, use a shovel, like a MARSHALLTOWN Round Point Shovel, to carve out the dirt and grass. Then, nail and stake your forms into place, making sure to check your level from multiple angles.

Use some of the extra dirt as grading material to ensure an even surface.
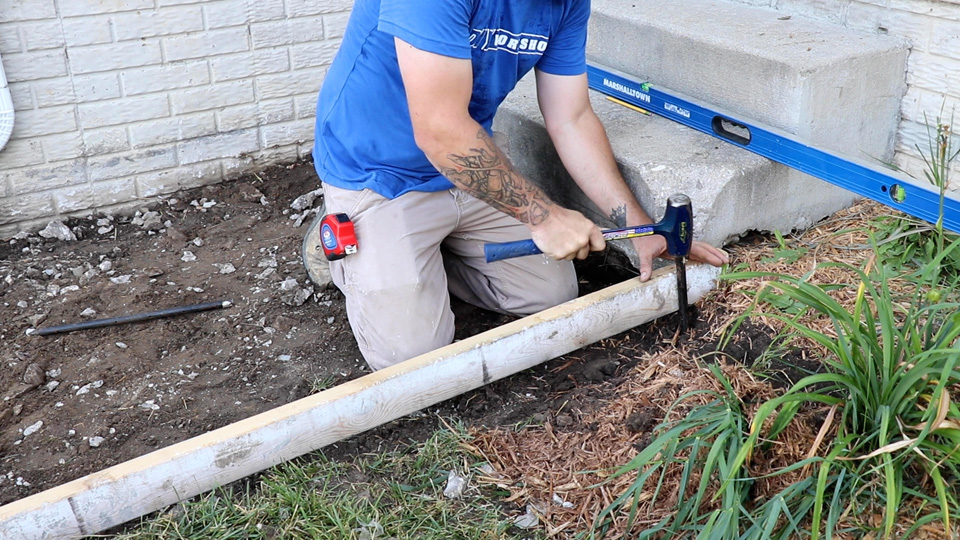
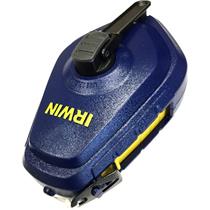
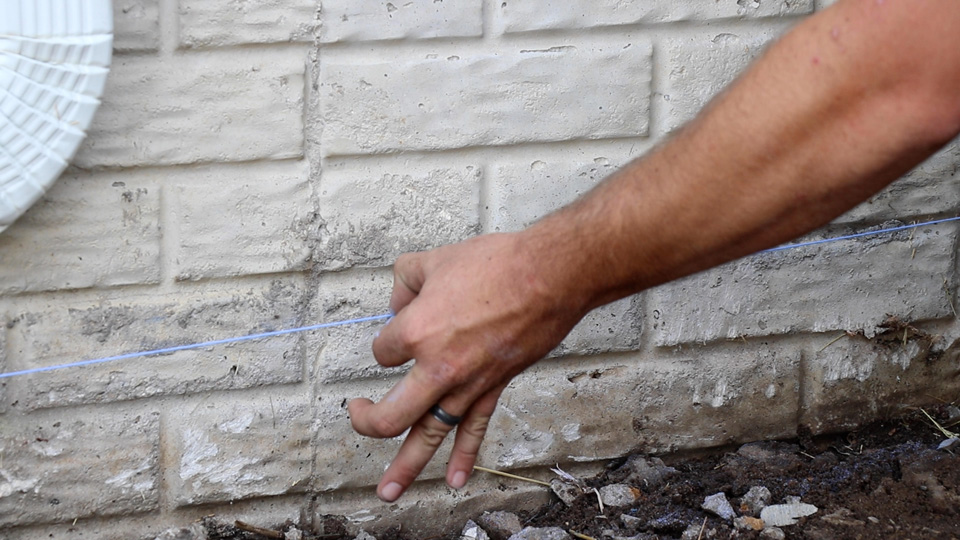
If you’re working up against the side of your house or a non-movable structure as shown in this video, use a Chalk Box to mark where the top of the form would be, then apply expansion foam along the chalk mark. This allows your concrete pad to expand and contract during temperature changes while decreasing the risk of cracks.
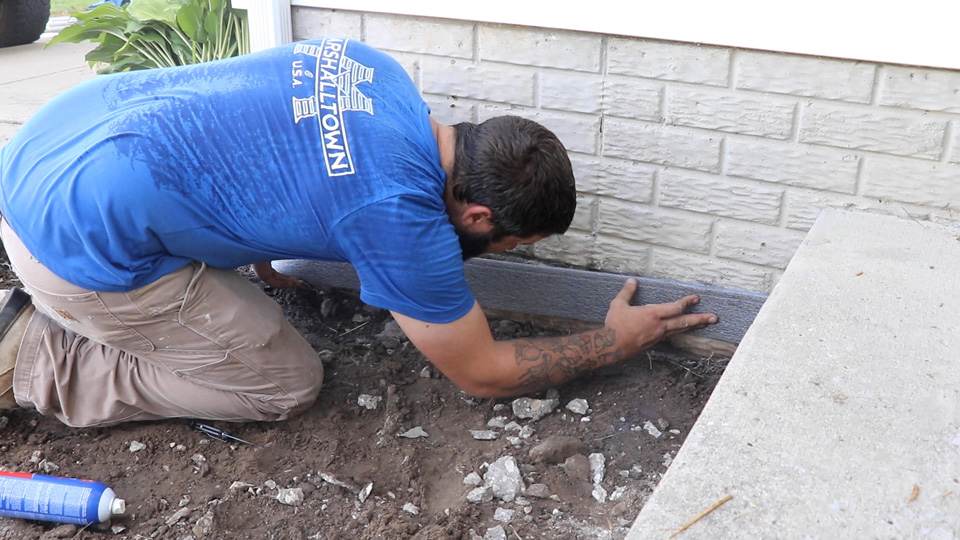
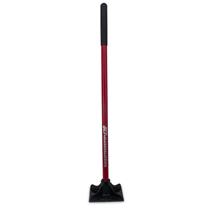
Lastly, fill the forms with gravel fill, spread it out evenly, and flatten it down with a Tamper.
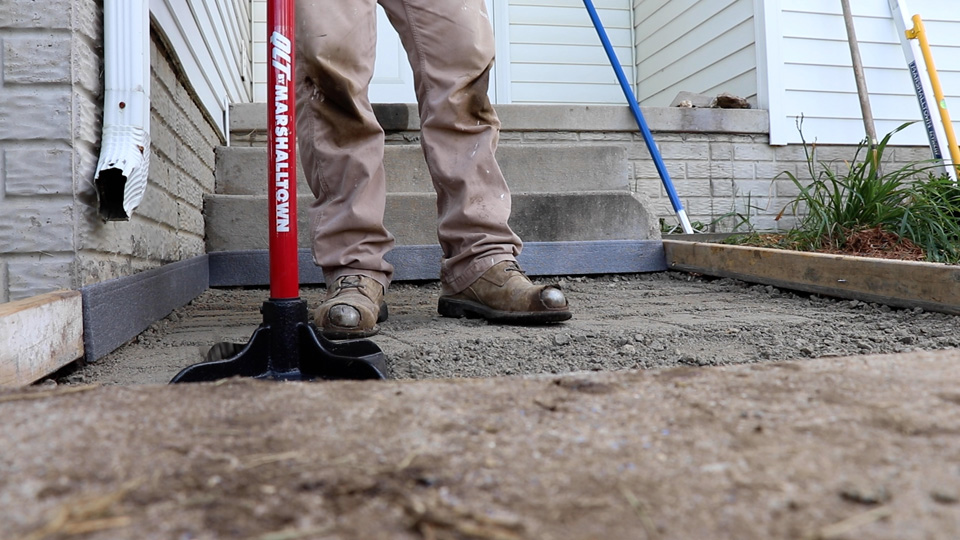

A compact base is the difference between a solid slab that is long-lasting and one that easily cracks and shifts.
Step 3: Mix and Pour Concrete
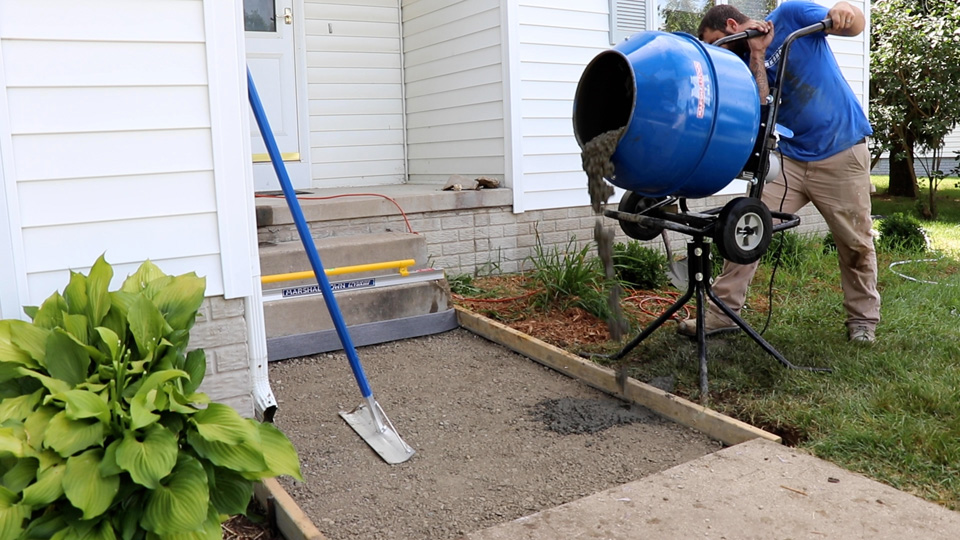
Once your prep work is complete, you’re ready to pour. Mix the concrete per the manufacturer’s instructions in your easy-to-use Wheelbarrow Mixer, and then, once the concrete is thoroughly mixed, tip the mixer onto its side and allow the new concrete to fill up your forms.
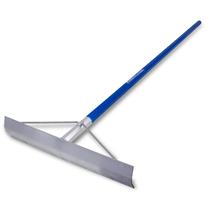
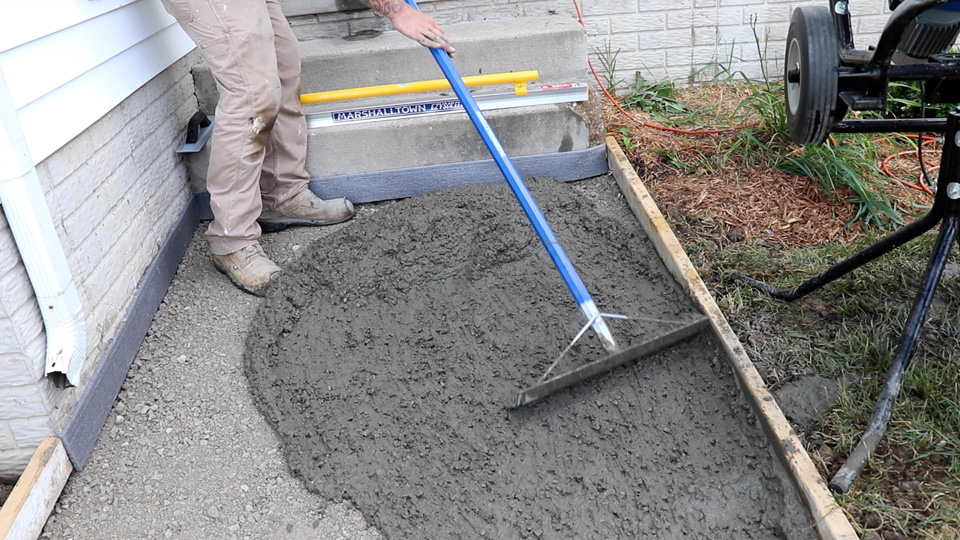
Using your MARSHALLTOWN Concrete Placer, move the concrete exactly where you want it inside the form.
Steps 4 - 6: Screeding, Floating, and Finishing
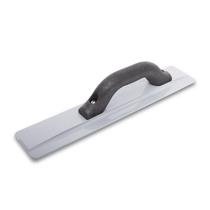
Now on to finishing the concrete. To smooth out the slab, carefully pull your MARSHALLTOWN Ezyscreed™ over the surface. For those hard to reach places next to stairs or the side of your house, use a MARSHALLTOWN Hand Float.
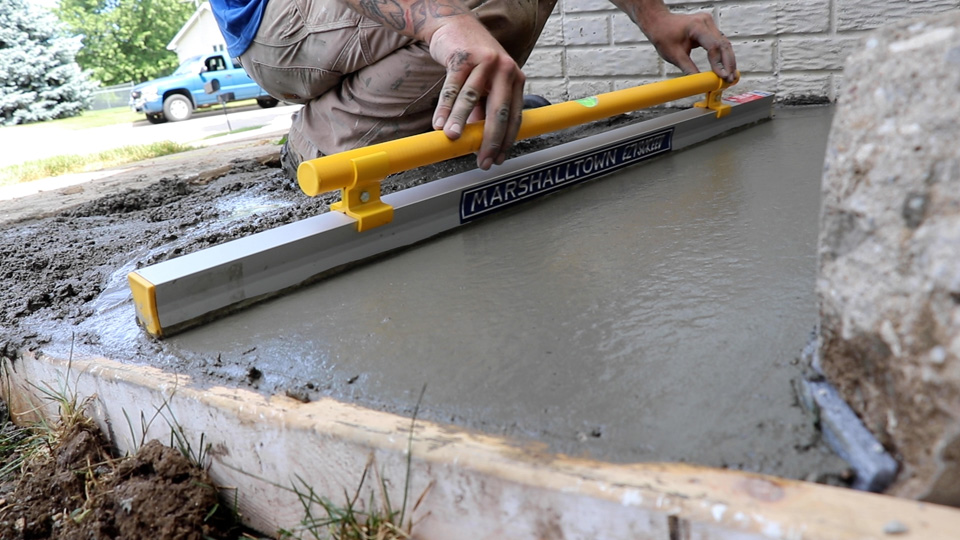
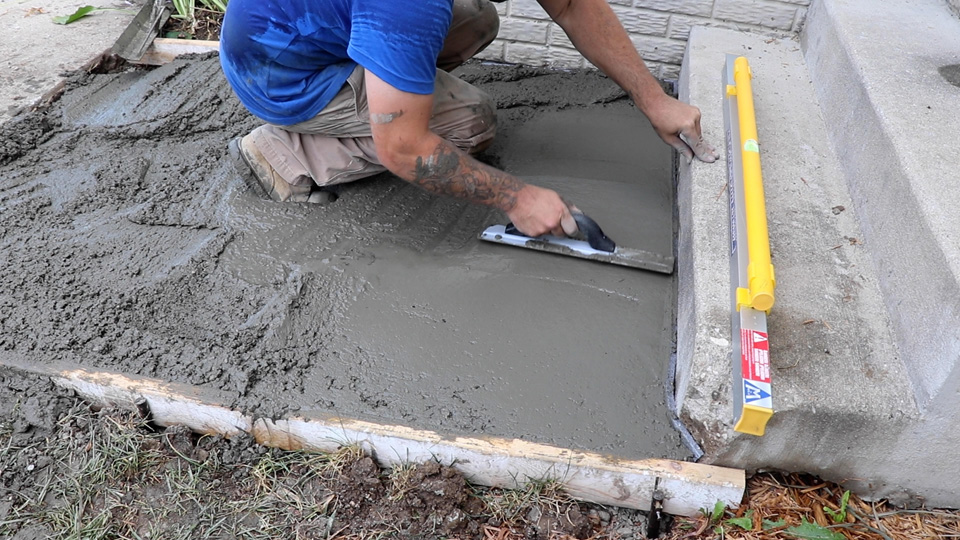
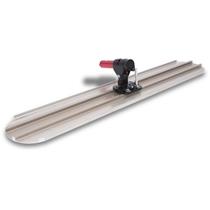
Don’t worry if it isn’t perfect yet because a few passes with a Magnesium Bull Float will take care of that for you, leaving you with a smooth surface.
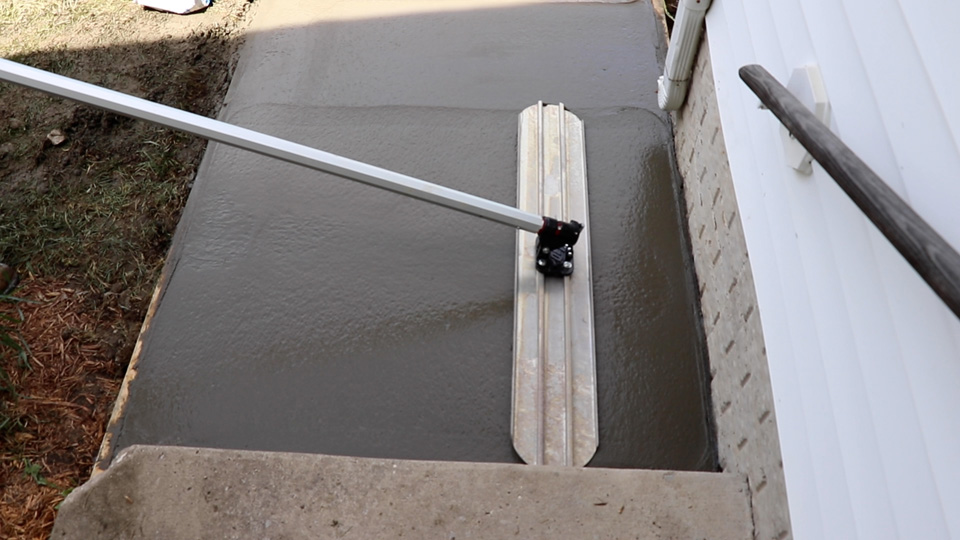
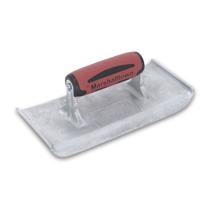
Once you’ve floated the entire slab, run a hand edger along the outside edges. The MARSHALLTOWN Heavy-Duty Zinc Hand Edger is perfect for the job. It features beveled ends, so you won’t gouge the wet concrete while working.
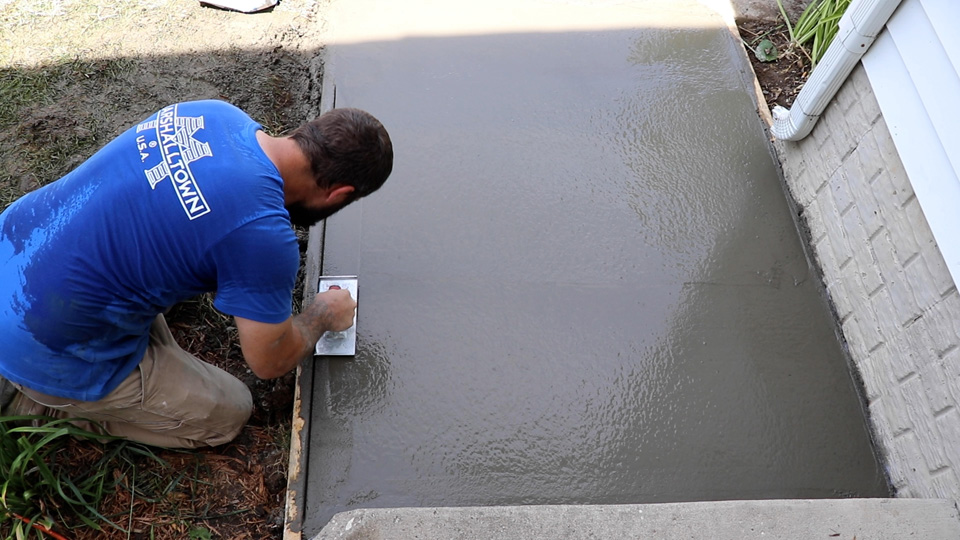

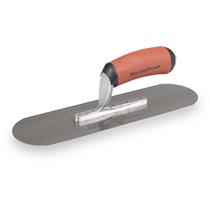
To smooth out any marks left from the hand edger, go over them with your MARSHALLTOWN Pool Trowel.
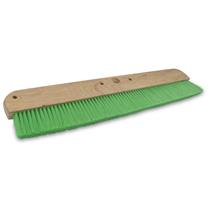
For a non-slip finish, lightly brush over the concrete with a concrete broom. We recommend our Green Nylon Concrete Broom.
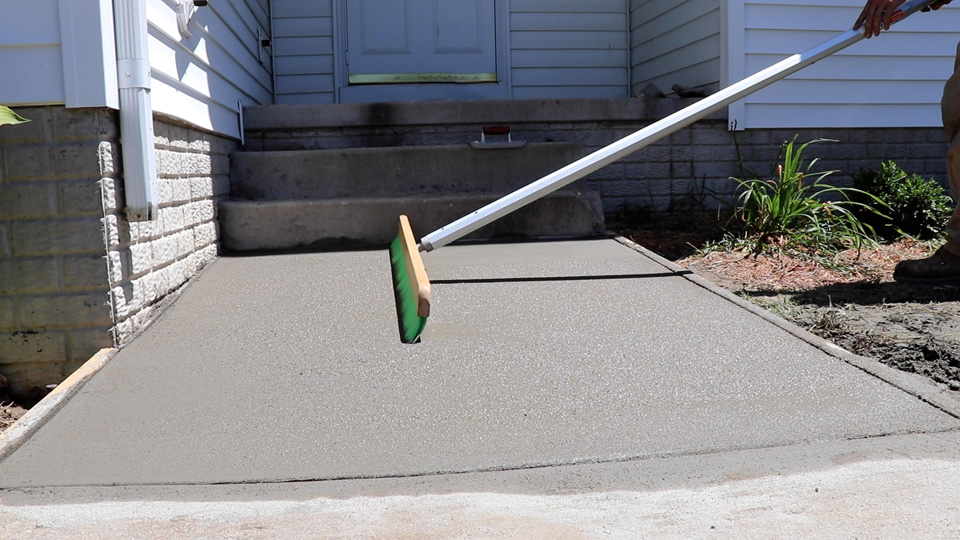
Step 7: Final Touches
After the slab has dried overnight, you can loosen the forms and remove them. All that’s left to do is to give your slab a quick rinse and replace any dirt around the edge for a professional finish.

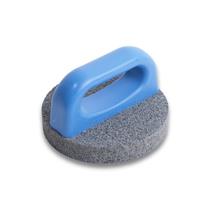
To remove any remaining residue, use a rub brick.
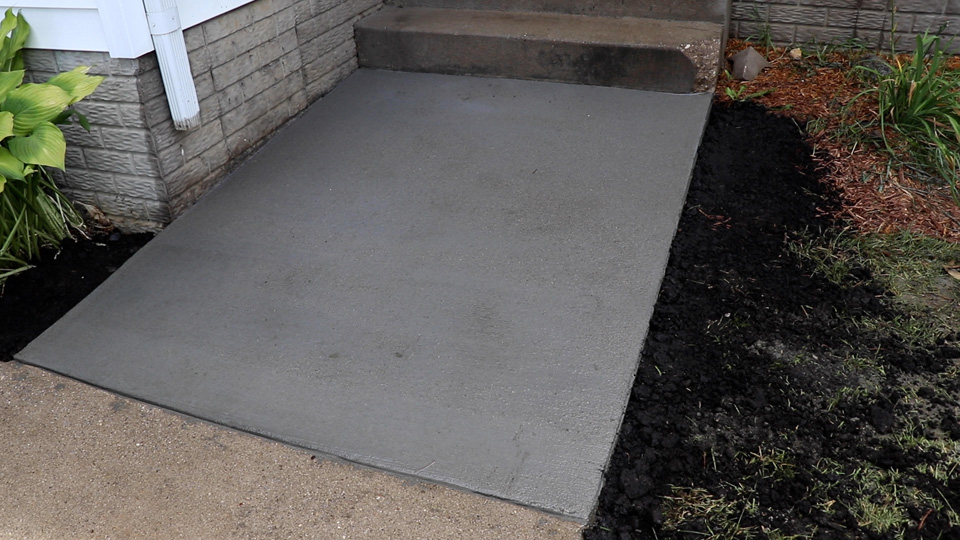
Overall, by following these steps and using your quality MARSHALLTOWN tools, you can efficiently transform your old, dilapidated slab into a sharp-looking sidewalk, significantly enhancing your home’s exterior.
