Earn points on every order
 FREE shipping on orders over $49.99
 Share Post
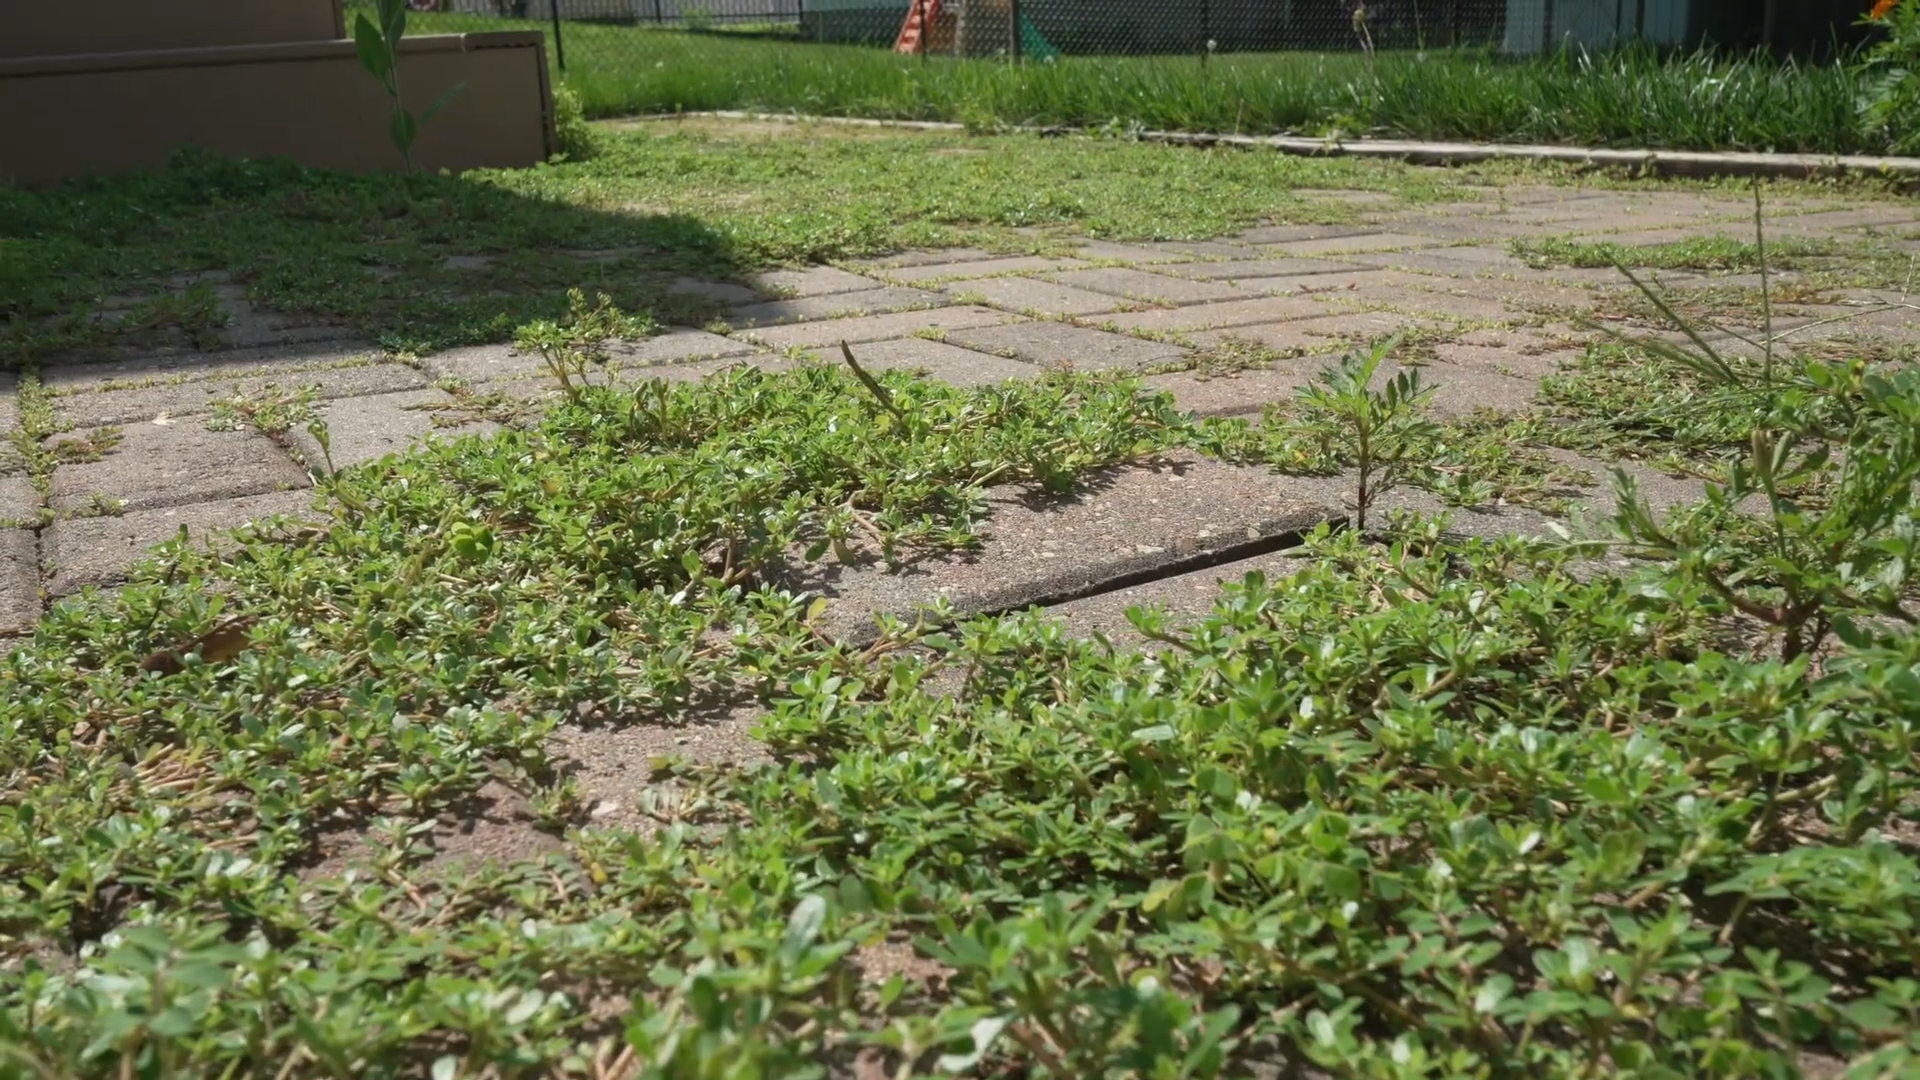
Over time, paver patios can become overgrown, uneven, or worn. However, you don’t necessarily need to start from scratch and replace the entire patio. By removing and cleaning the pavers, refreshing the base, and relaying the bricks, you can bring life back to your backyard space. These DIY-friendly steps will walk you through how to remove existing brick pavers, clear away grass and debris, refresh and relevel the existing base, and relay the bricks for a clean, level patio surface.
Step 1. Plan Your Patio Repair
If you're repairing an existing patio, count the pavers and identify any that need to be replaced. If you're expanding or rebuilding the patio with new pavers, calculate your square footage and add approximately 10% to account for cuts and potential breakage.
Before getting started, choose your paver pattern. Common patterns include:
- Running Bond: Staggered rows; simple and beginner-friendly
- Basketweave: Alternating pairs of pavers create a woven appearance; simple and beginner-friendly
- Herringbone: Zigzag pattern with pavers laid at an angle; more complex than basic patterns
- Pinwheel: Decorative pattern that requires more planning and cutting; advanced difficulty
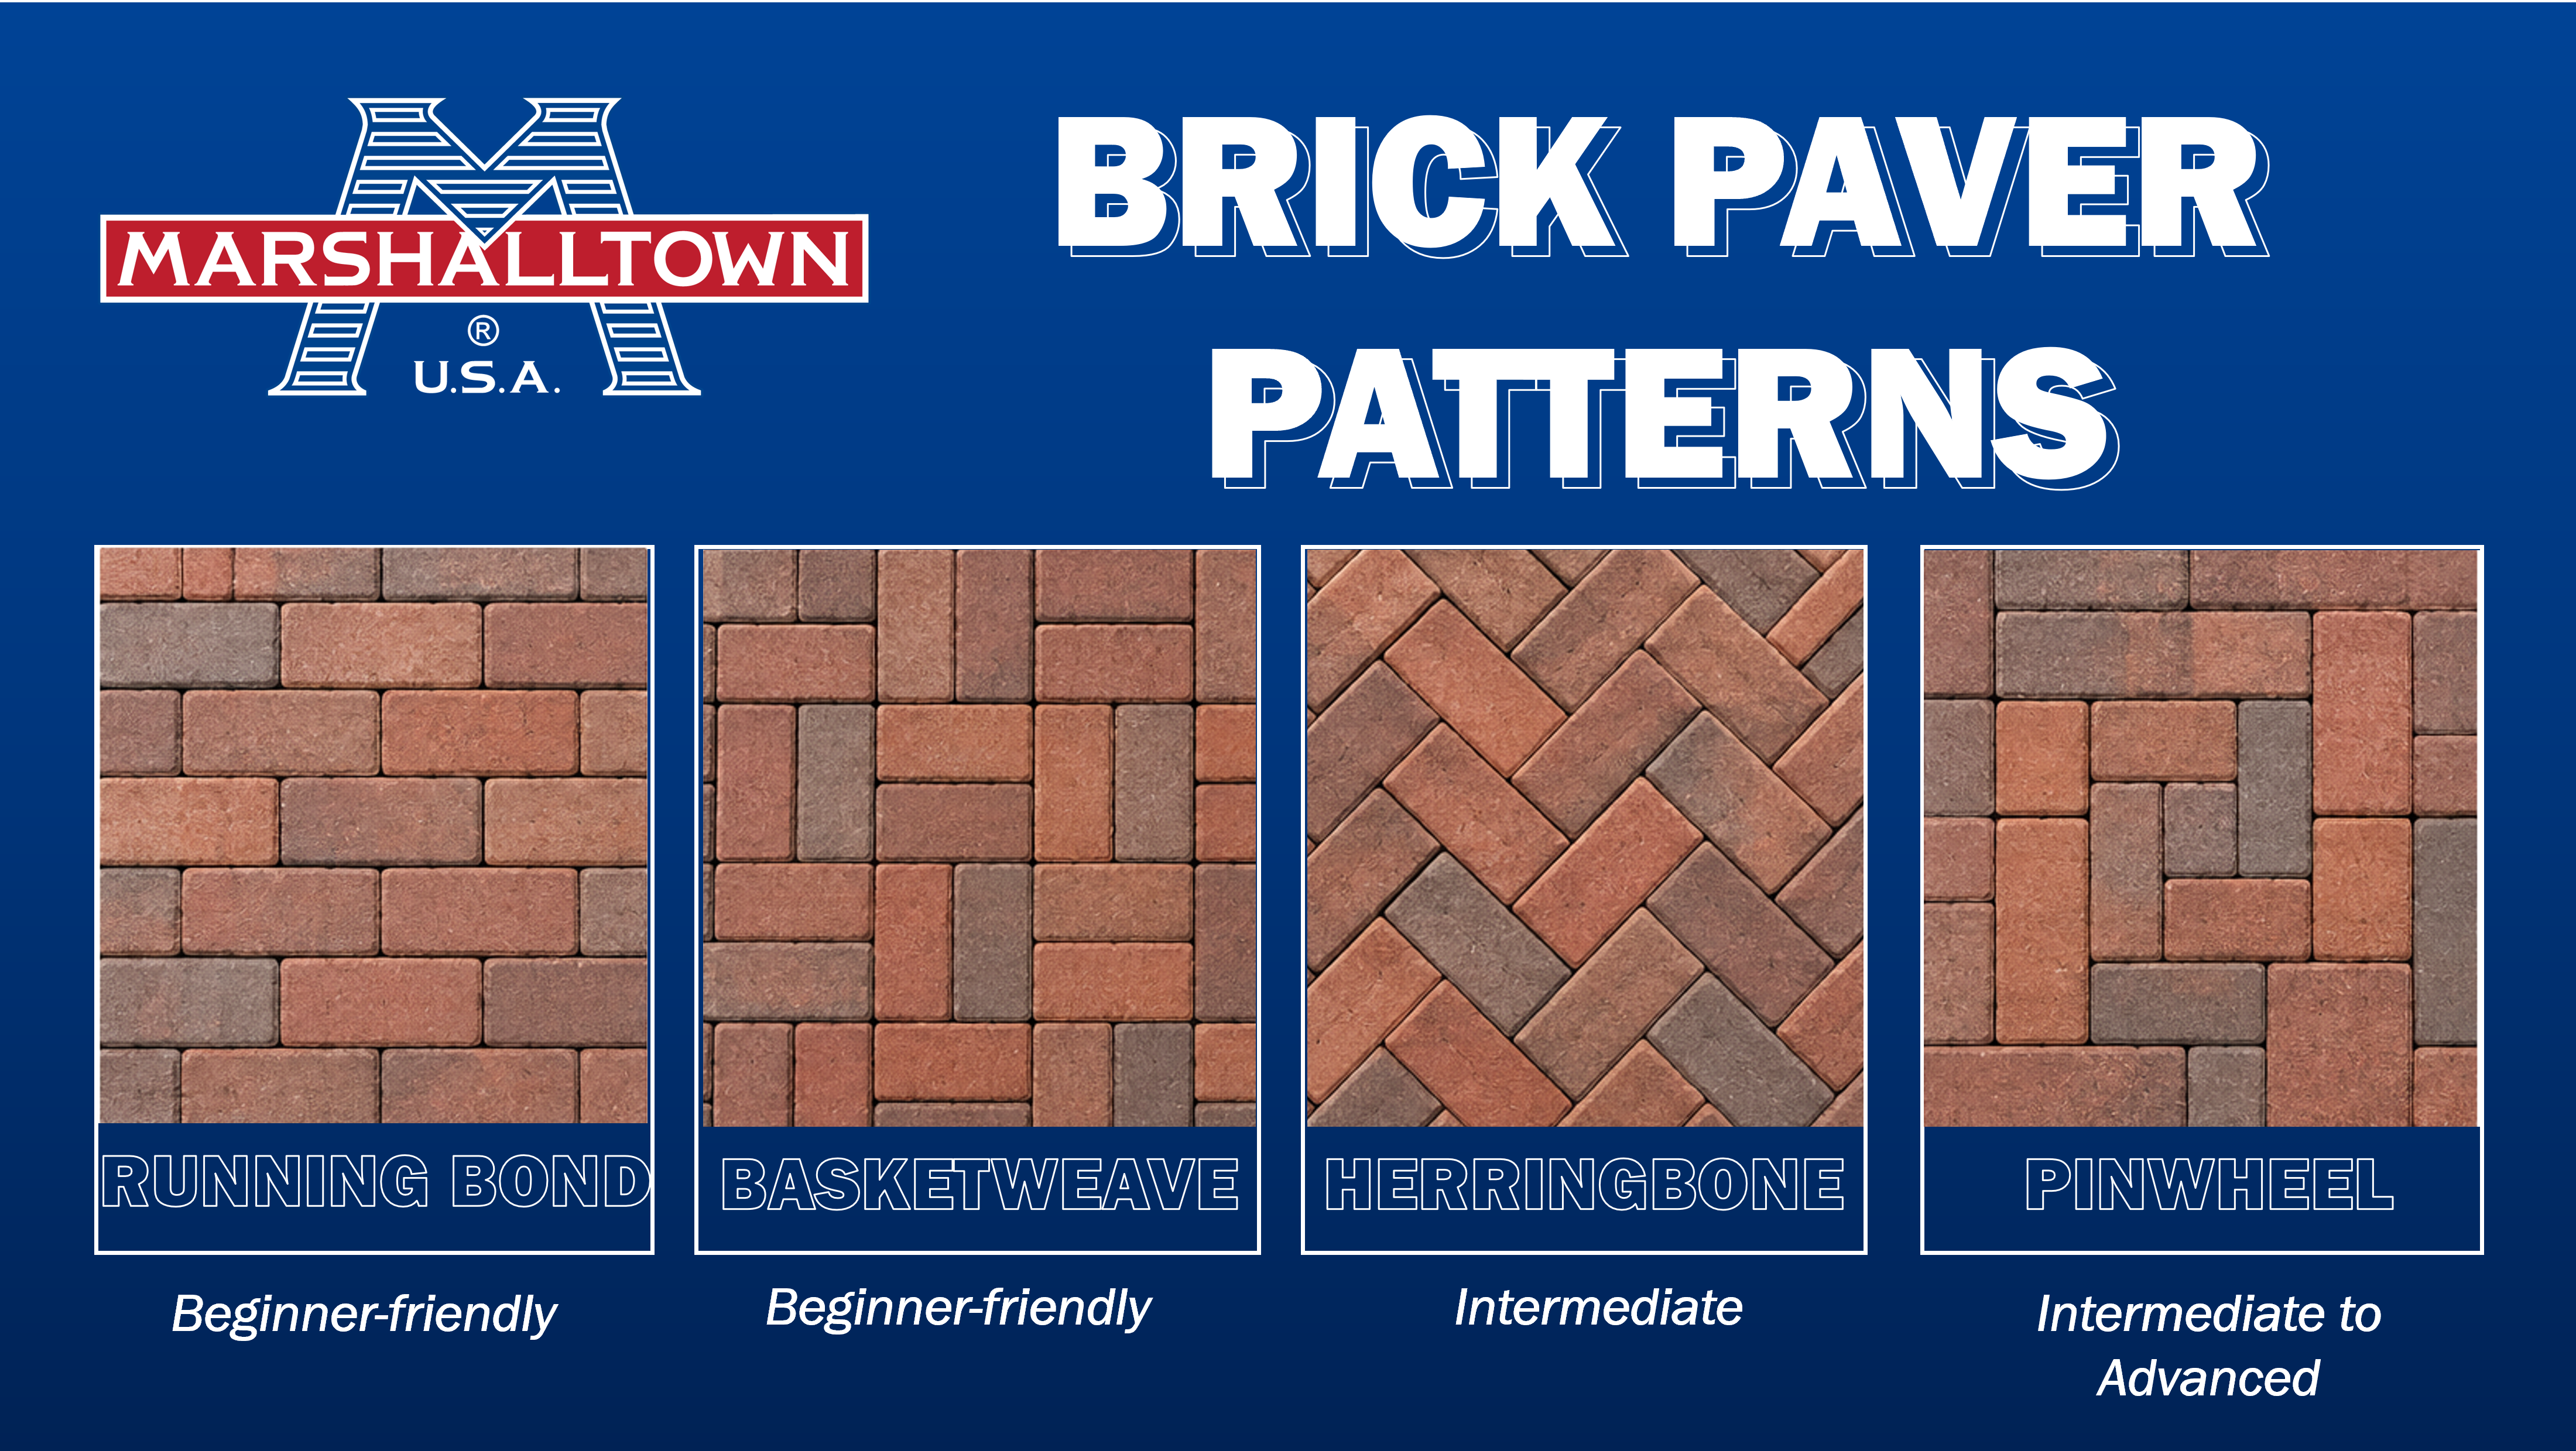
For our project, we decided to go with a basketweave pattern.
Step 2. Gather Tools and Materials
- Replacement pavers, if needed
- Bedding sand
- Polymeric sand
- Edge Restraints
- Shovel
- Rake
- Level
- Screed
- Rubber mallet
- Broom
- Margin trowel
- Finishing Trowel
- Pry bar
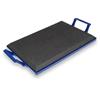
- Kneeler board
- Mason’s chisel
Step 3. Remove Existing Brick Pavers
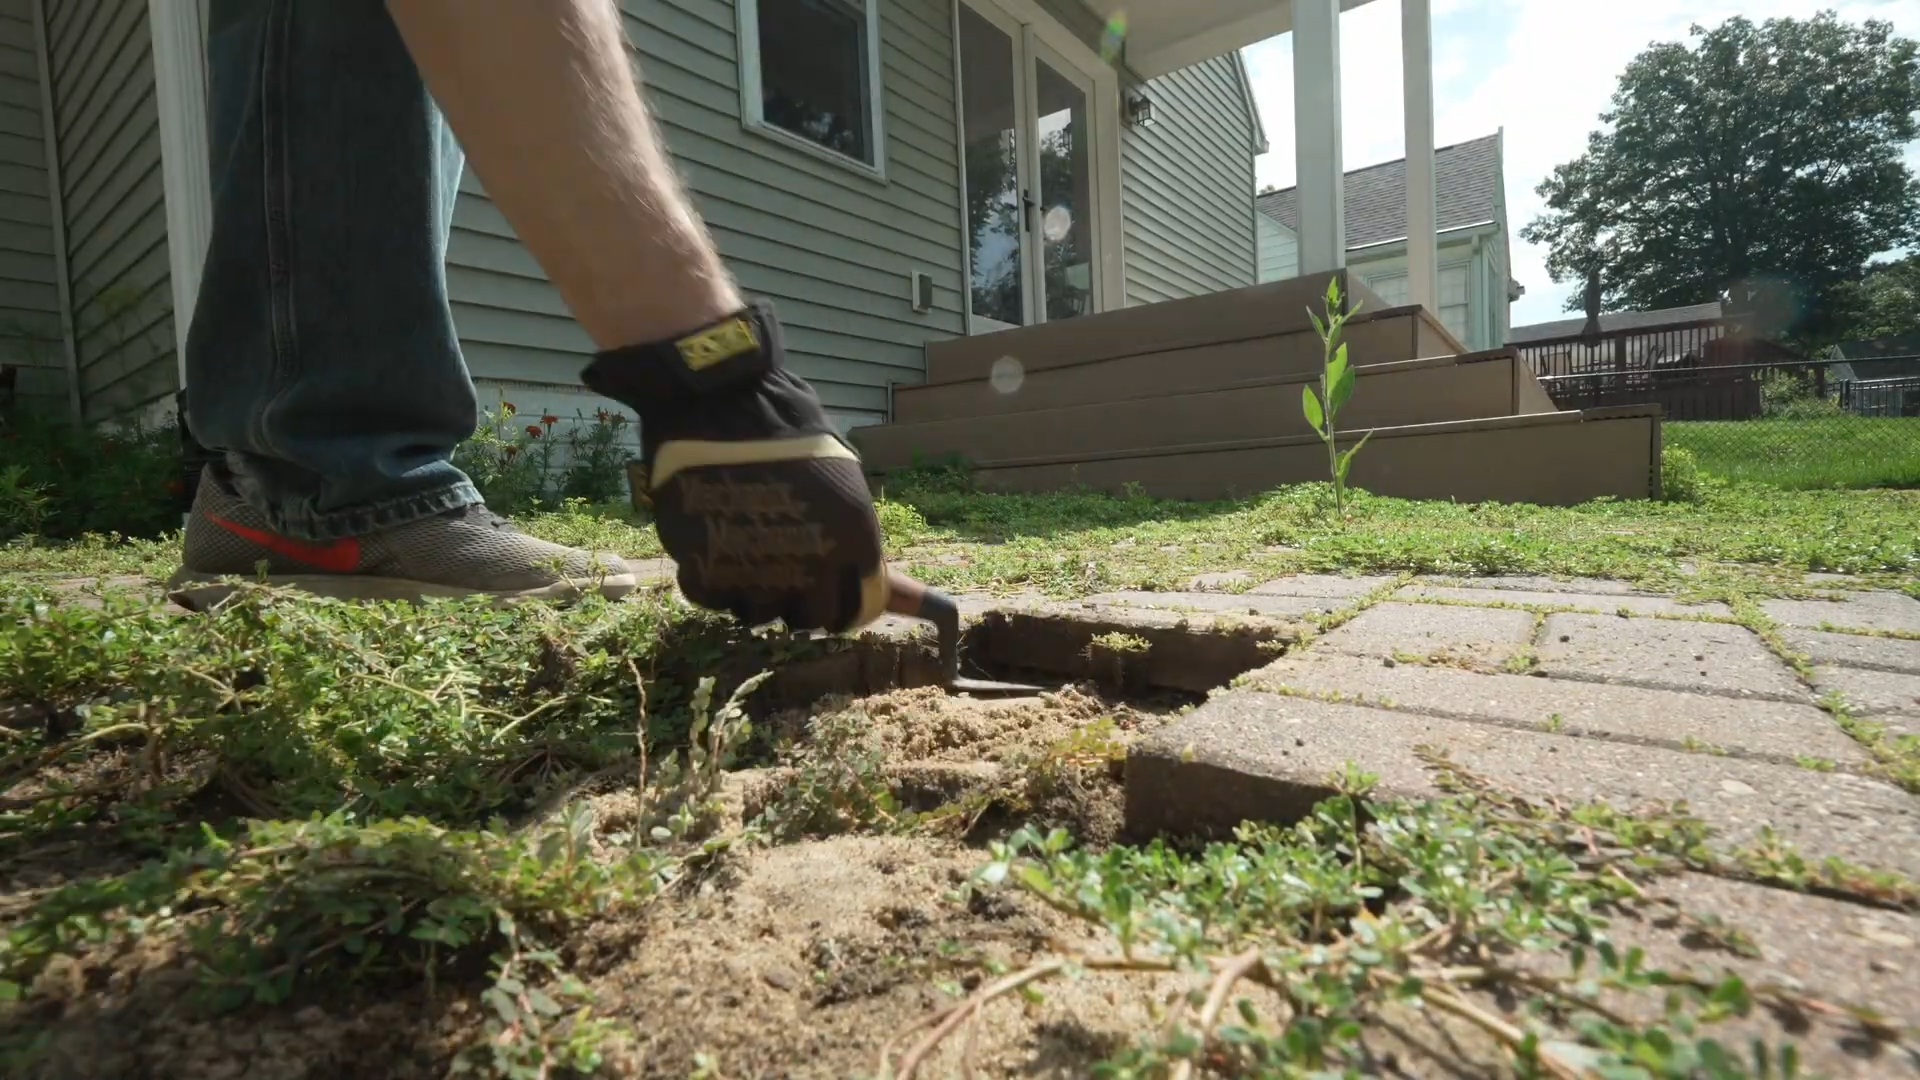
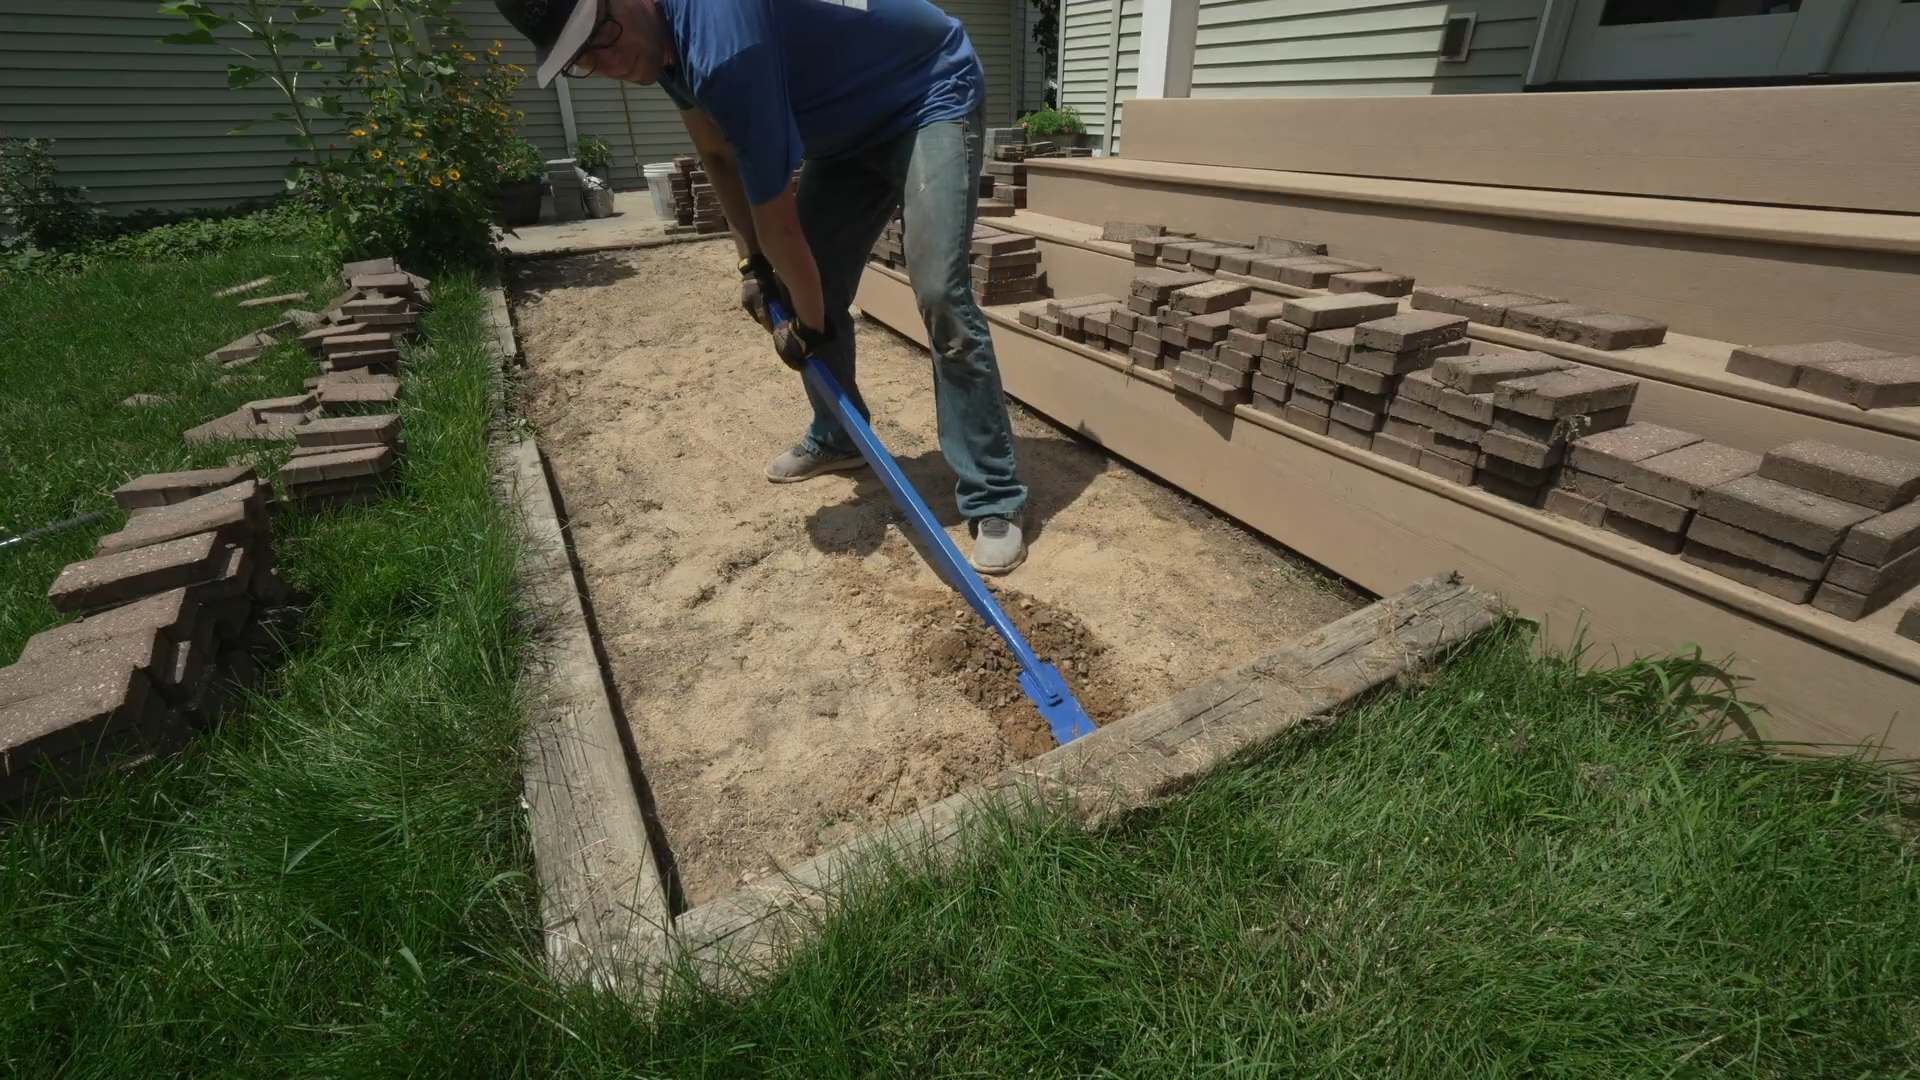
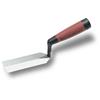
Carefully remove the existing pavers, setting aside any you plan to reuse. Use a MARSHALLTOWN Margin Trowel to lift pavers from tight or difficult areas. As you work, remove grass, weeds, roots, and debris from the area. For optimal comfort for your knees, we recommend using a MARSHALLTOWN Kneeler Board.
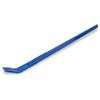
Our patio had railroad ties around the edge, but with the MARSHALLTOWN Monster Pry Bar and some extra effort, we got them taken care of!
Step 4. Refresh and Screed the Bedding Sand
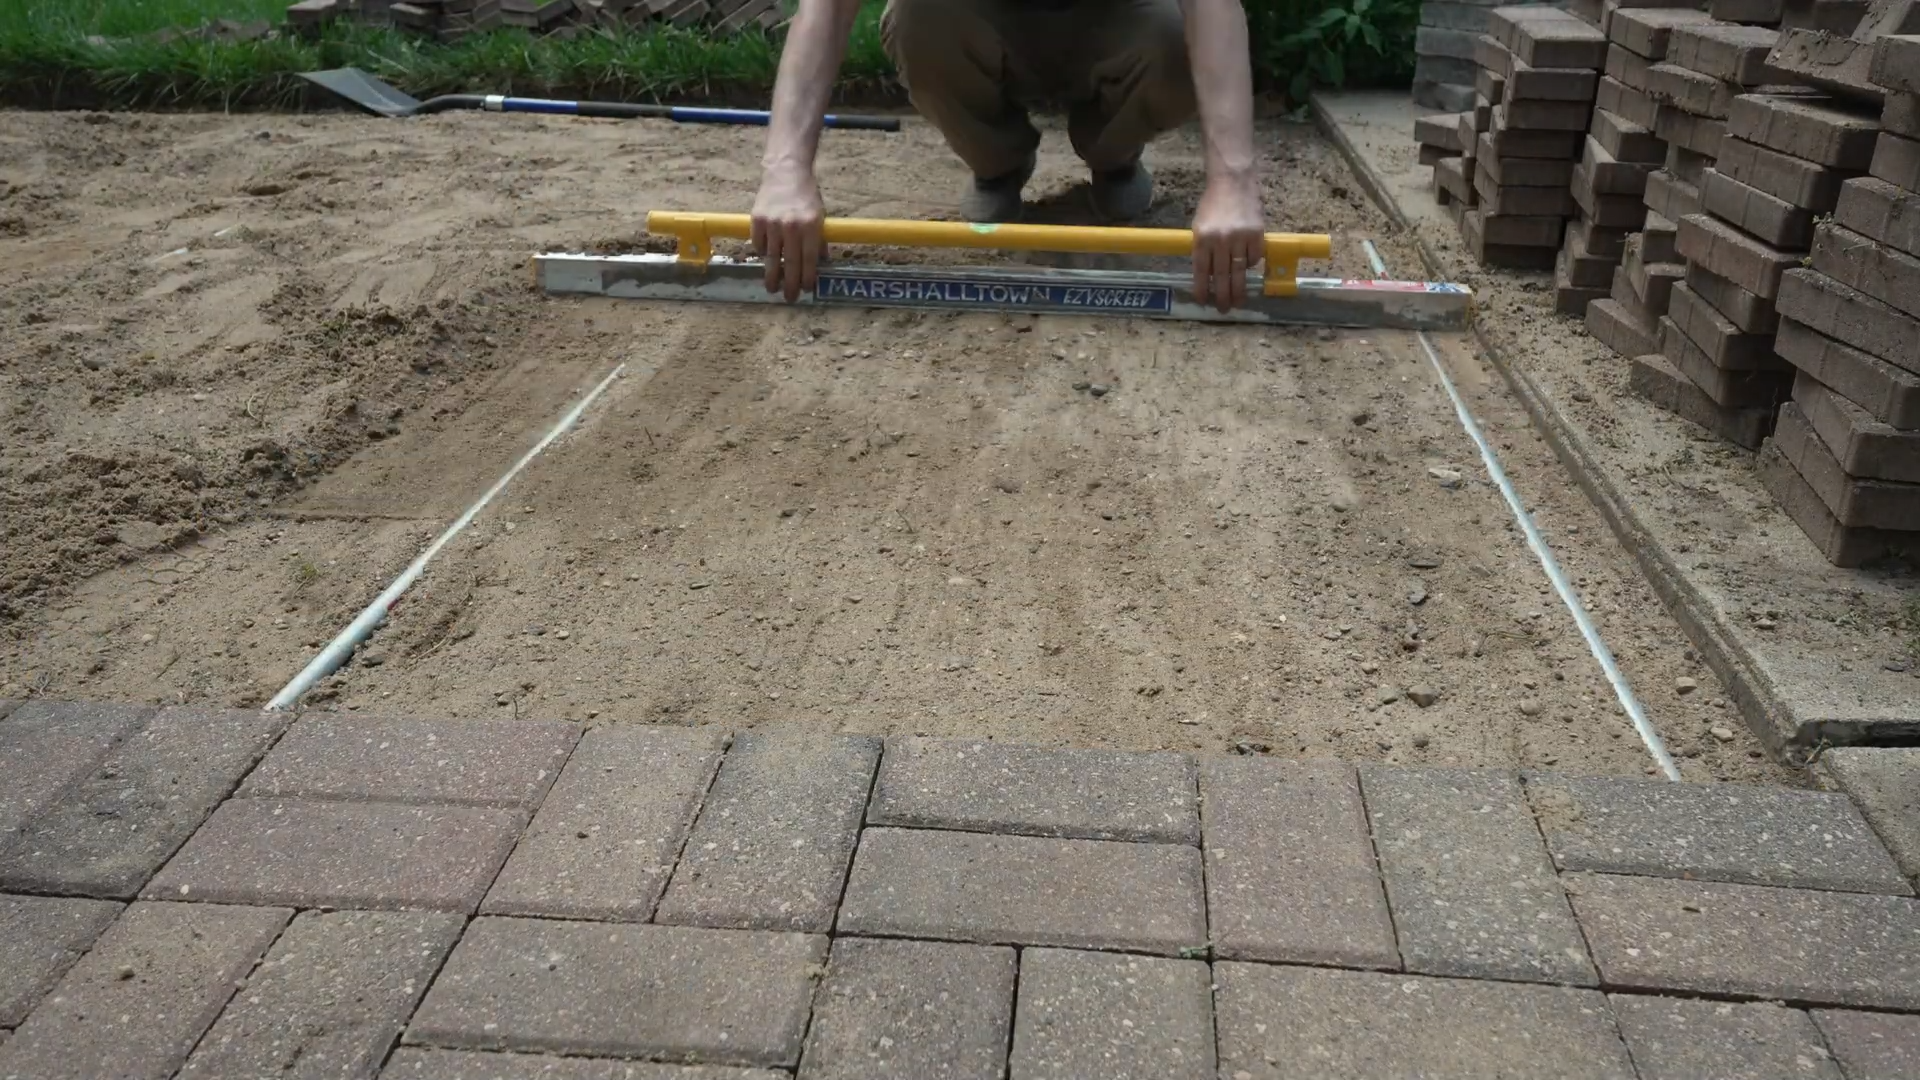
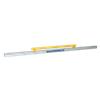
Work in sections, starting at one corner and moving across the patio. First, check the existing base and bedding sand. Redistribute or add bedding sand as needed to create an even layer. Then, use a MARSHALLTOWN Ezyscreed to smooth the sand to a consistent level.
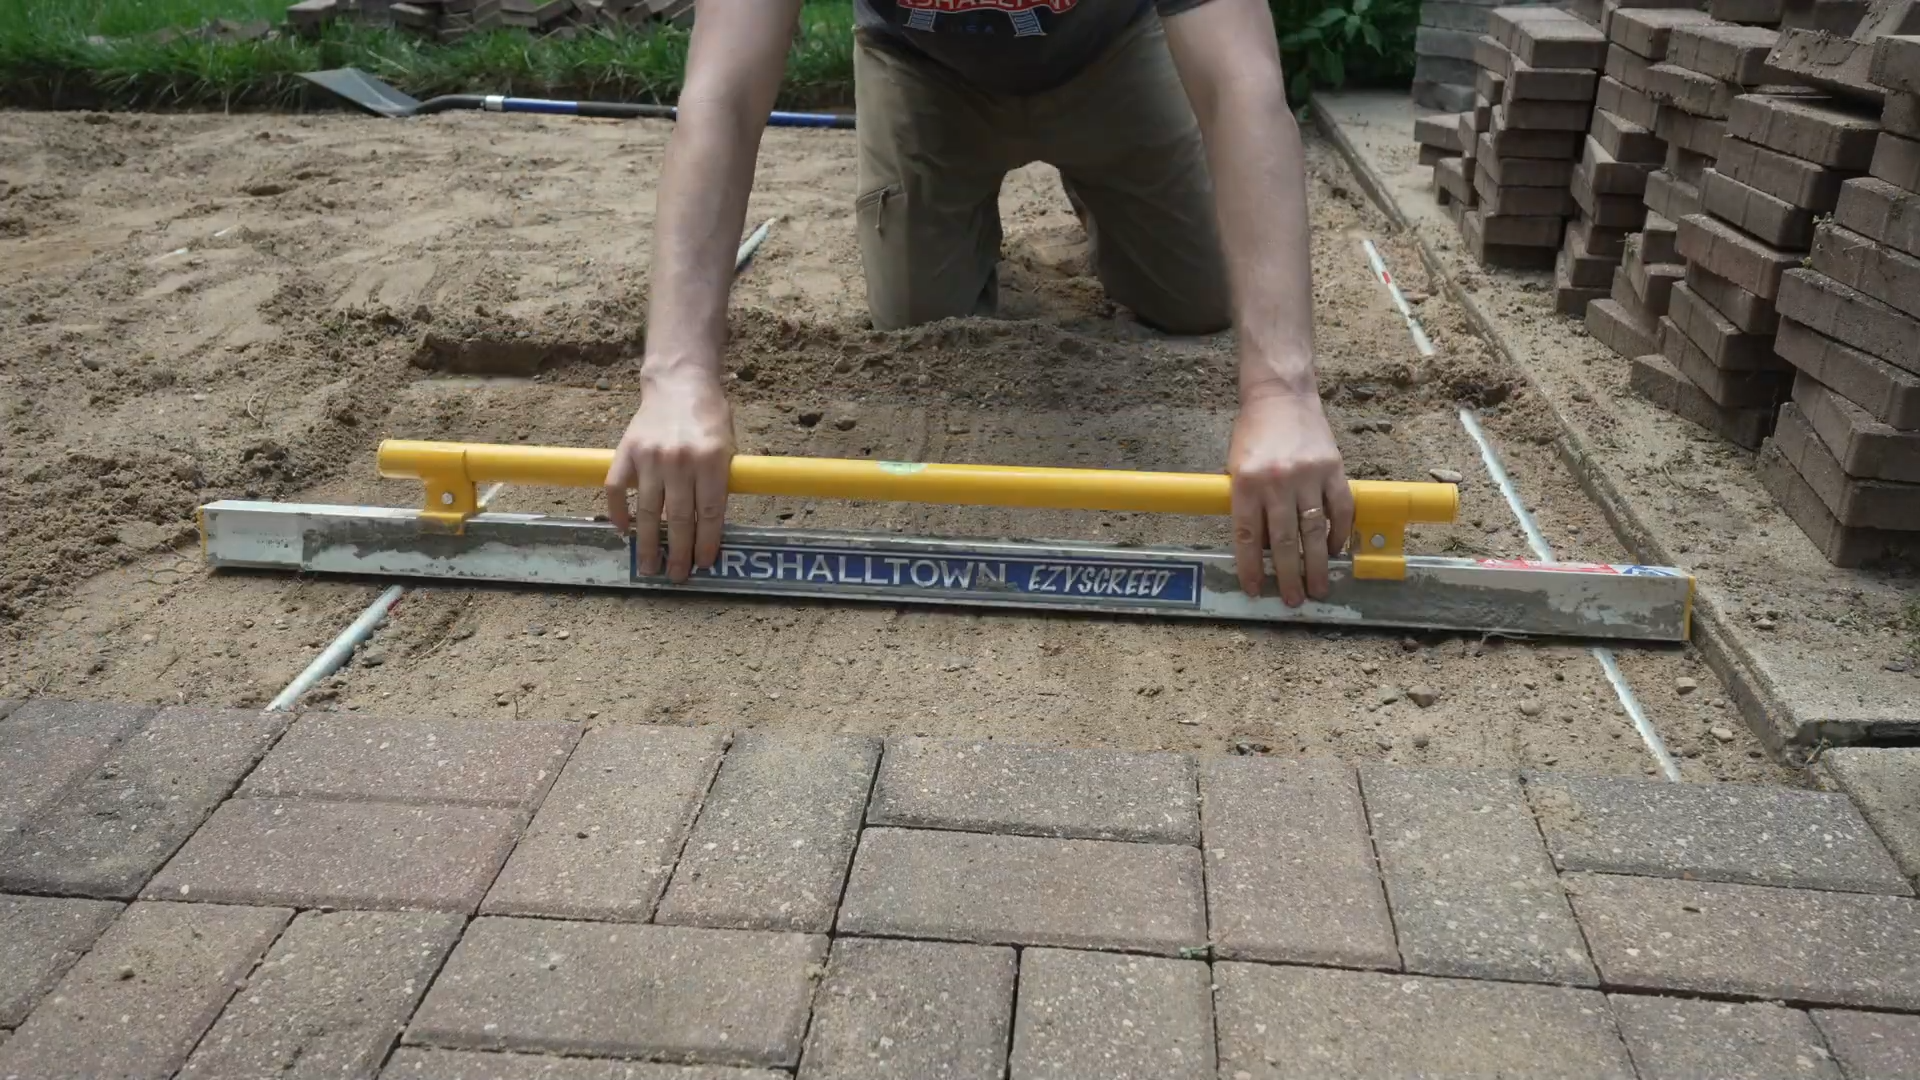

Screed one section at a time, then lay the pavers before moving to the next section.
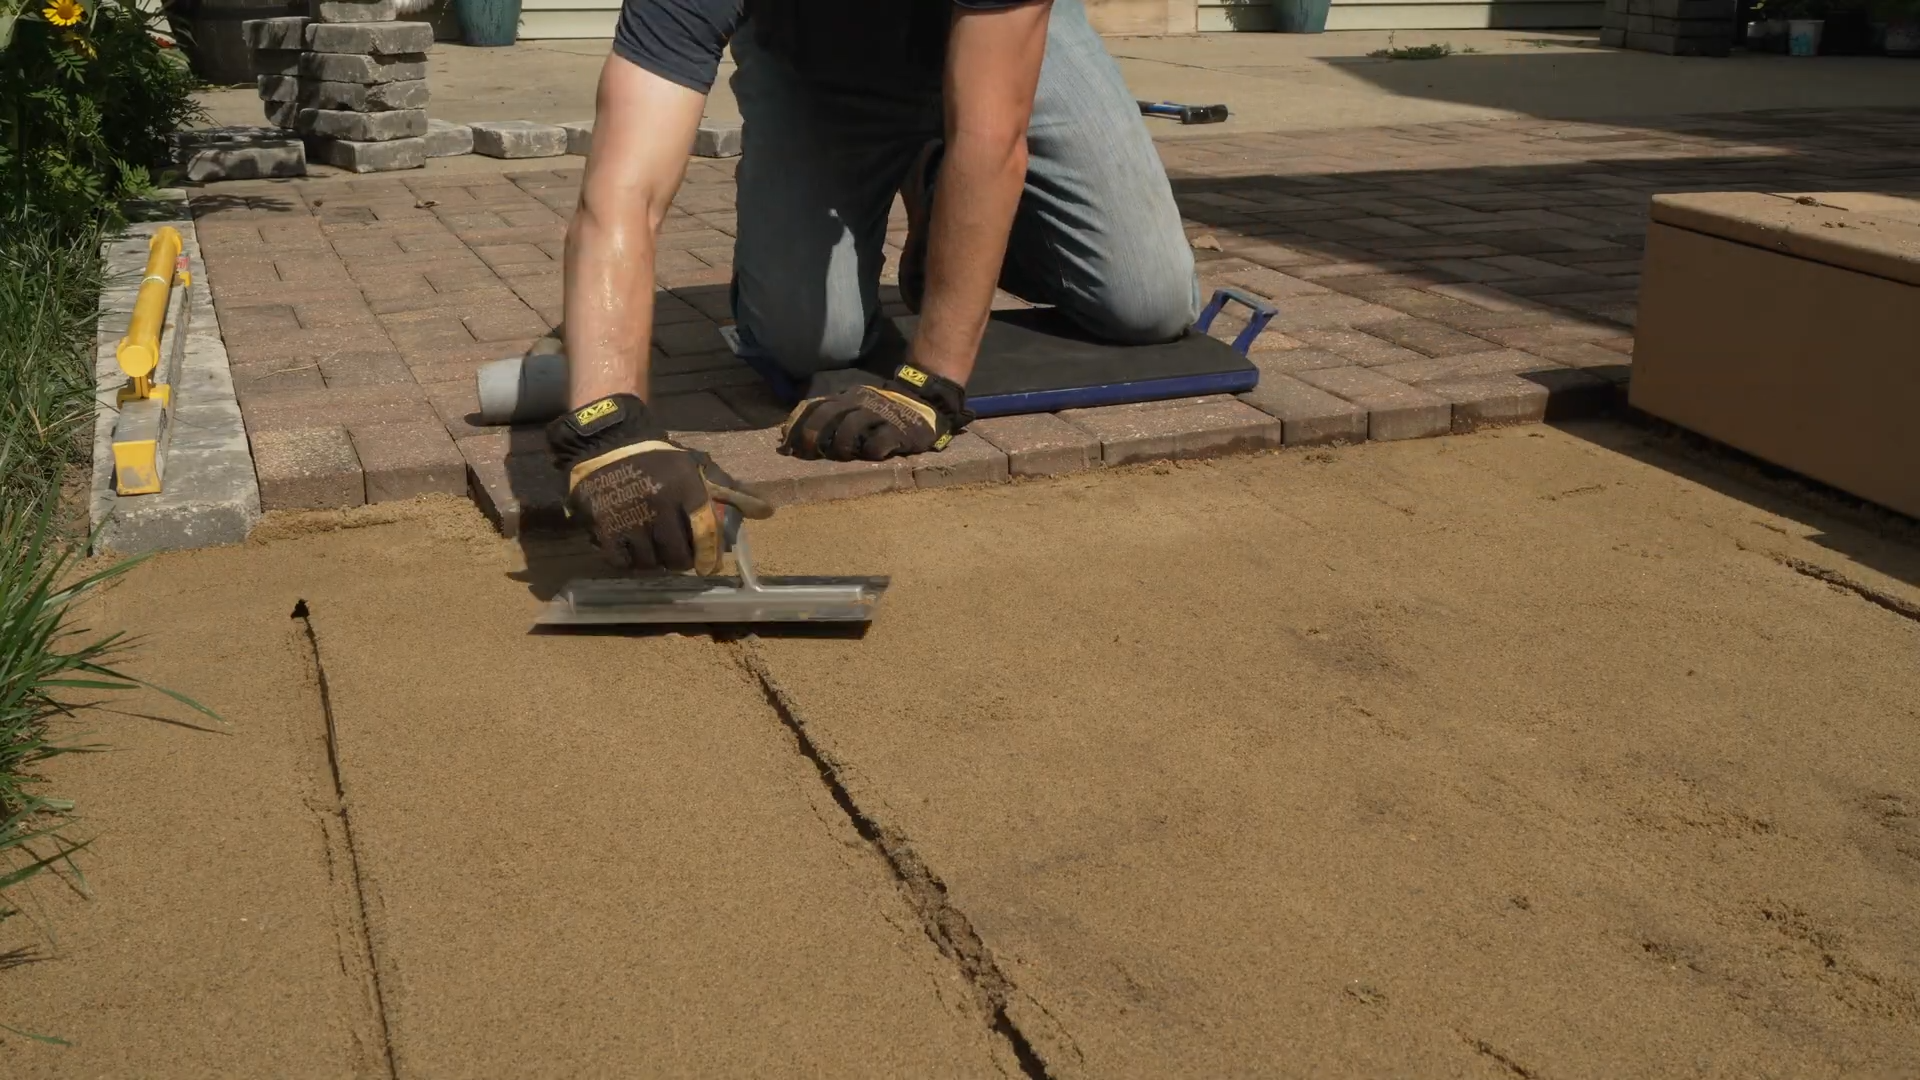
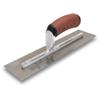
Screed guides or rails can help maintain a consistent depth as you work. After your surface is level, carefully remove the screed guides and smooth the voids with a MARSHALLTOWN Finishing Trowel.
Step 5. Relay Brick Pavers
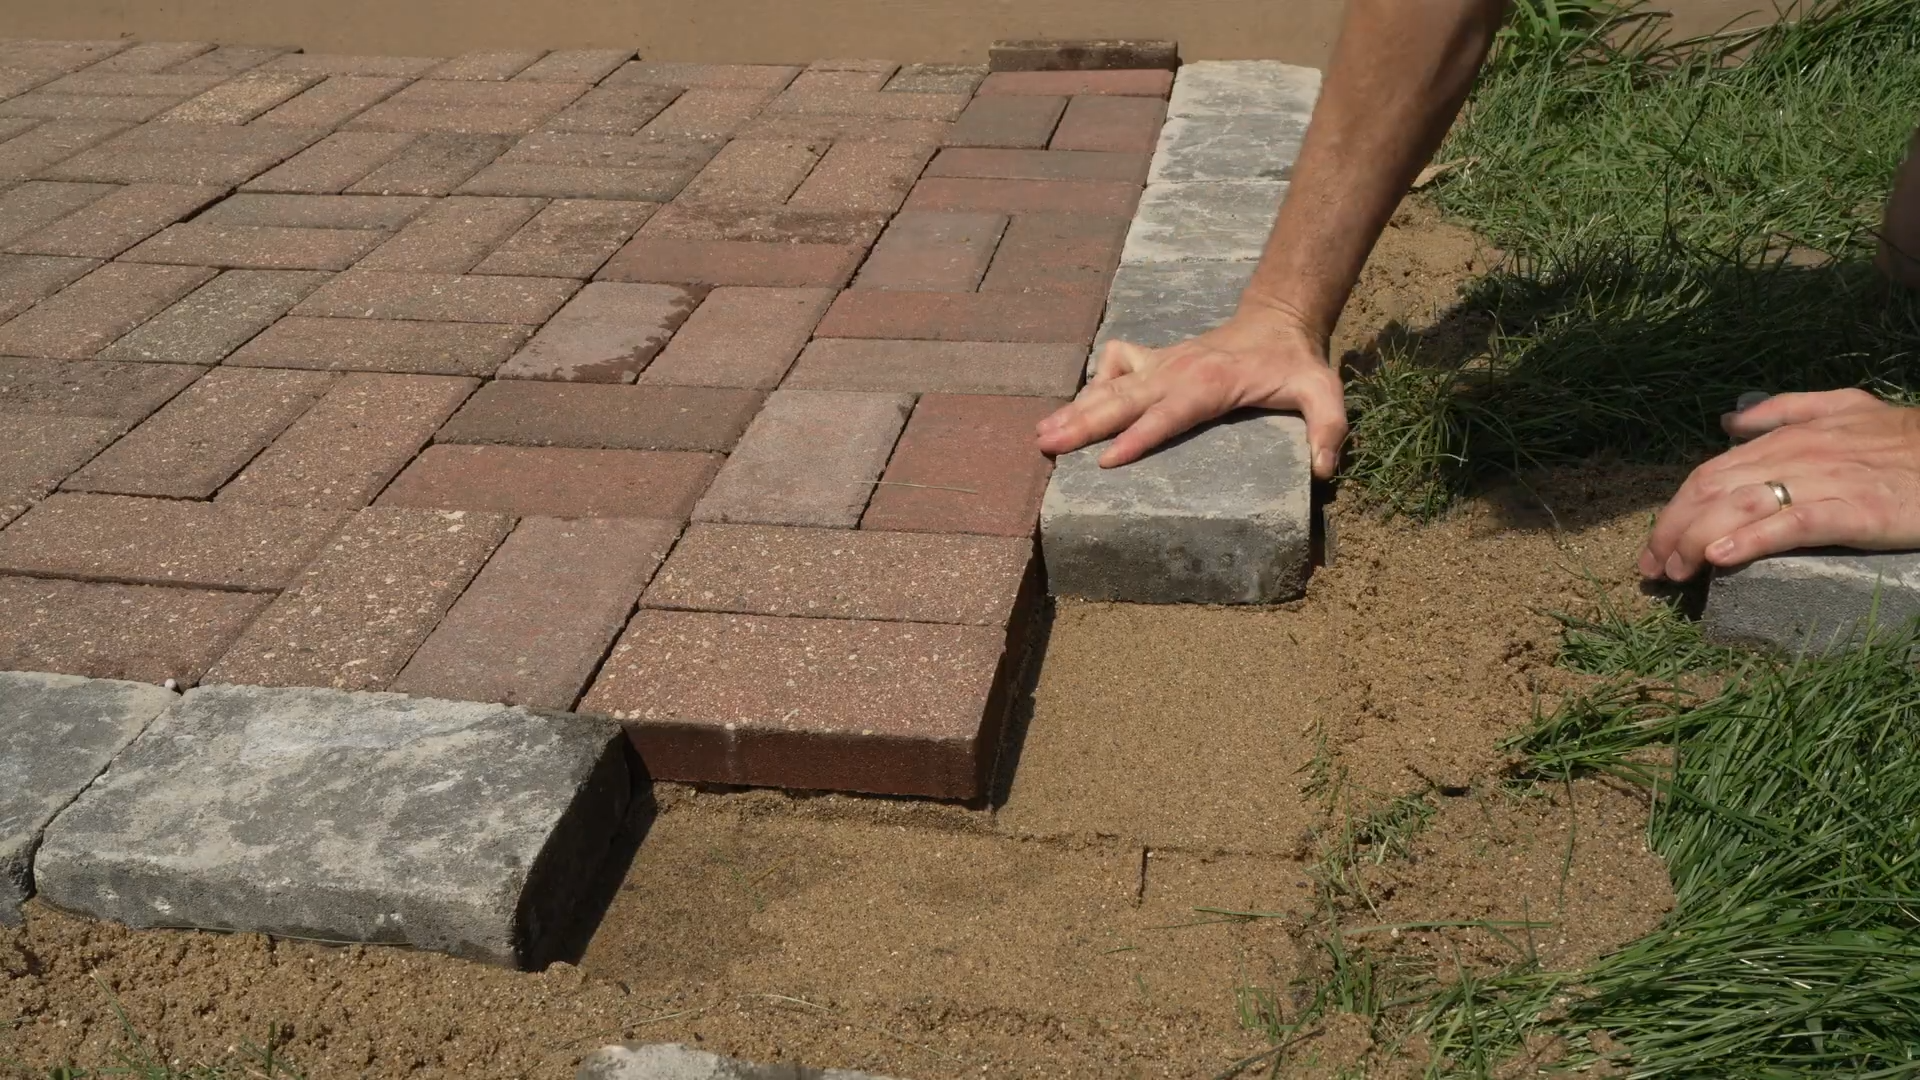
Follow the pattern you chose in Step 1. For safety and comfort, it’s best to wear work gloves and to use your kneeler board. Place each brick paver straight down into the sand bed without sliding it. This helps prevent disturbing the surface underneath.
Most pavers have built in spacers, so you can butt them up tight together.
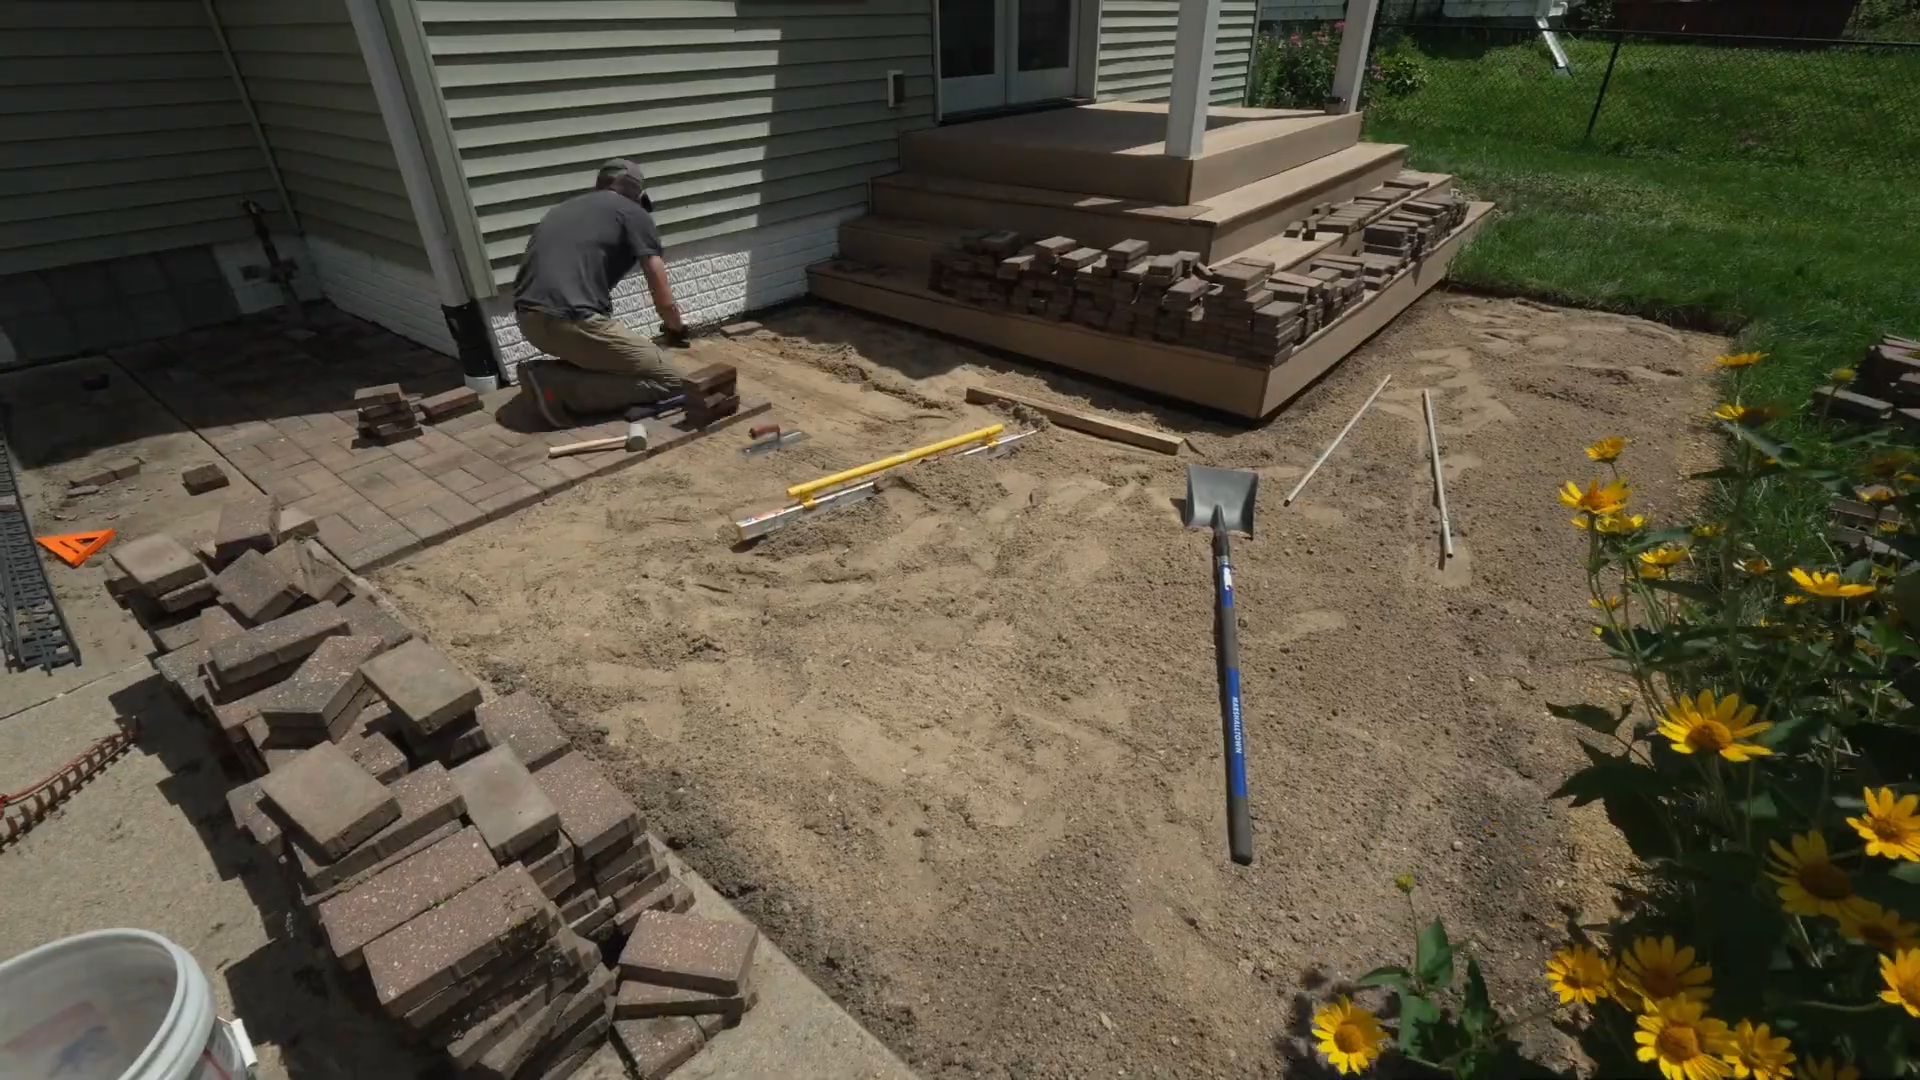
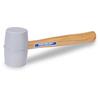
As you work, check the surface with a level or the built-in level on your Ezyscreed. If a paver is too low, lift it and add more sand. If it’s too high, gently tap it into place with your VAUGHAN Rubber Mallet.
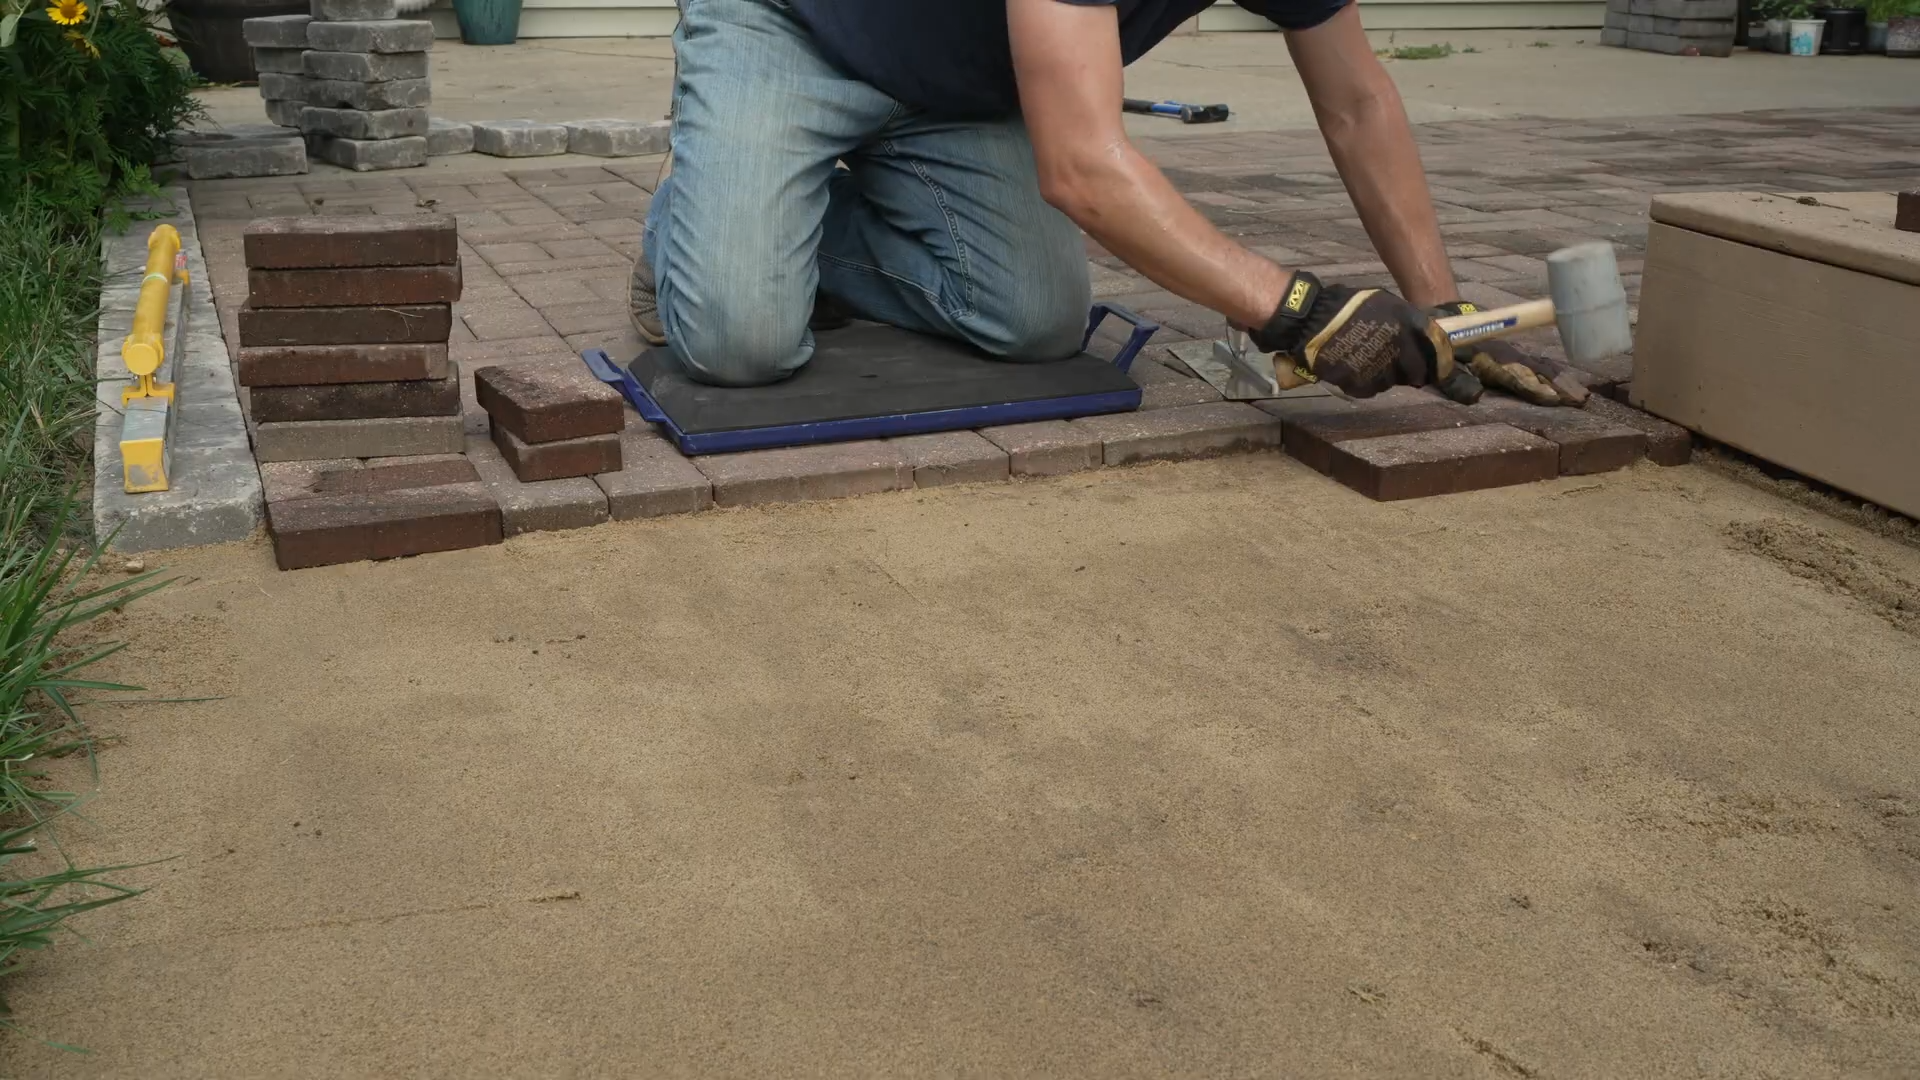
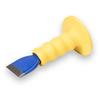
To make cuts, use a DASCO PRO Mason's Chisel or a circular saw depending on if you need a straight or a curved cut.
Step 6. Add in Edge Restraints
Edge restraints help keep the pavers from shifting over time. Some choose to use plastic edging and some prefer haunching with mortar or concrete.
Haunching is a structural wedge of concrete or mortar placed along the outer edges or base of an element to secure it in place and prevent lateral shifting.
Step 7. Refill Joints with Sand
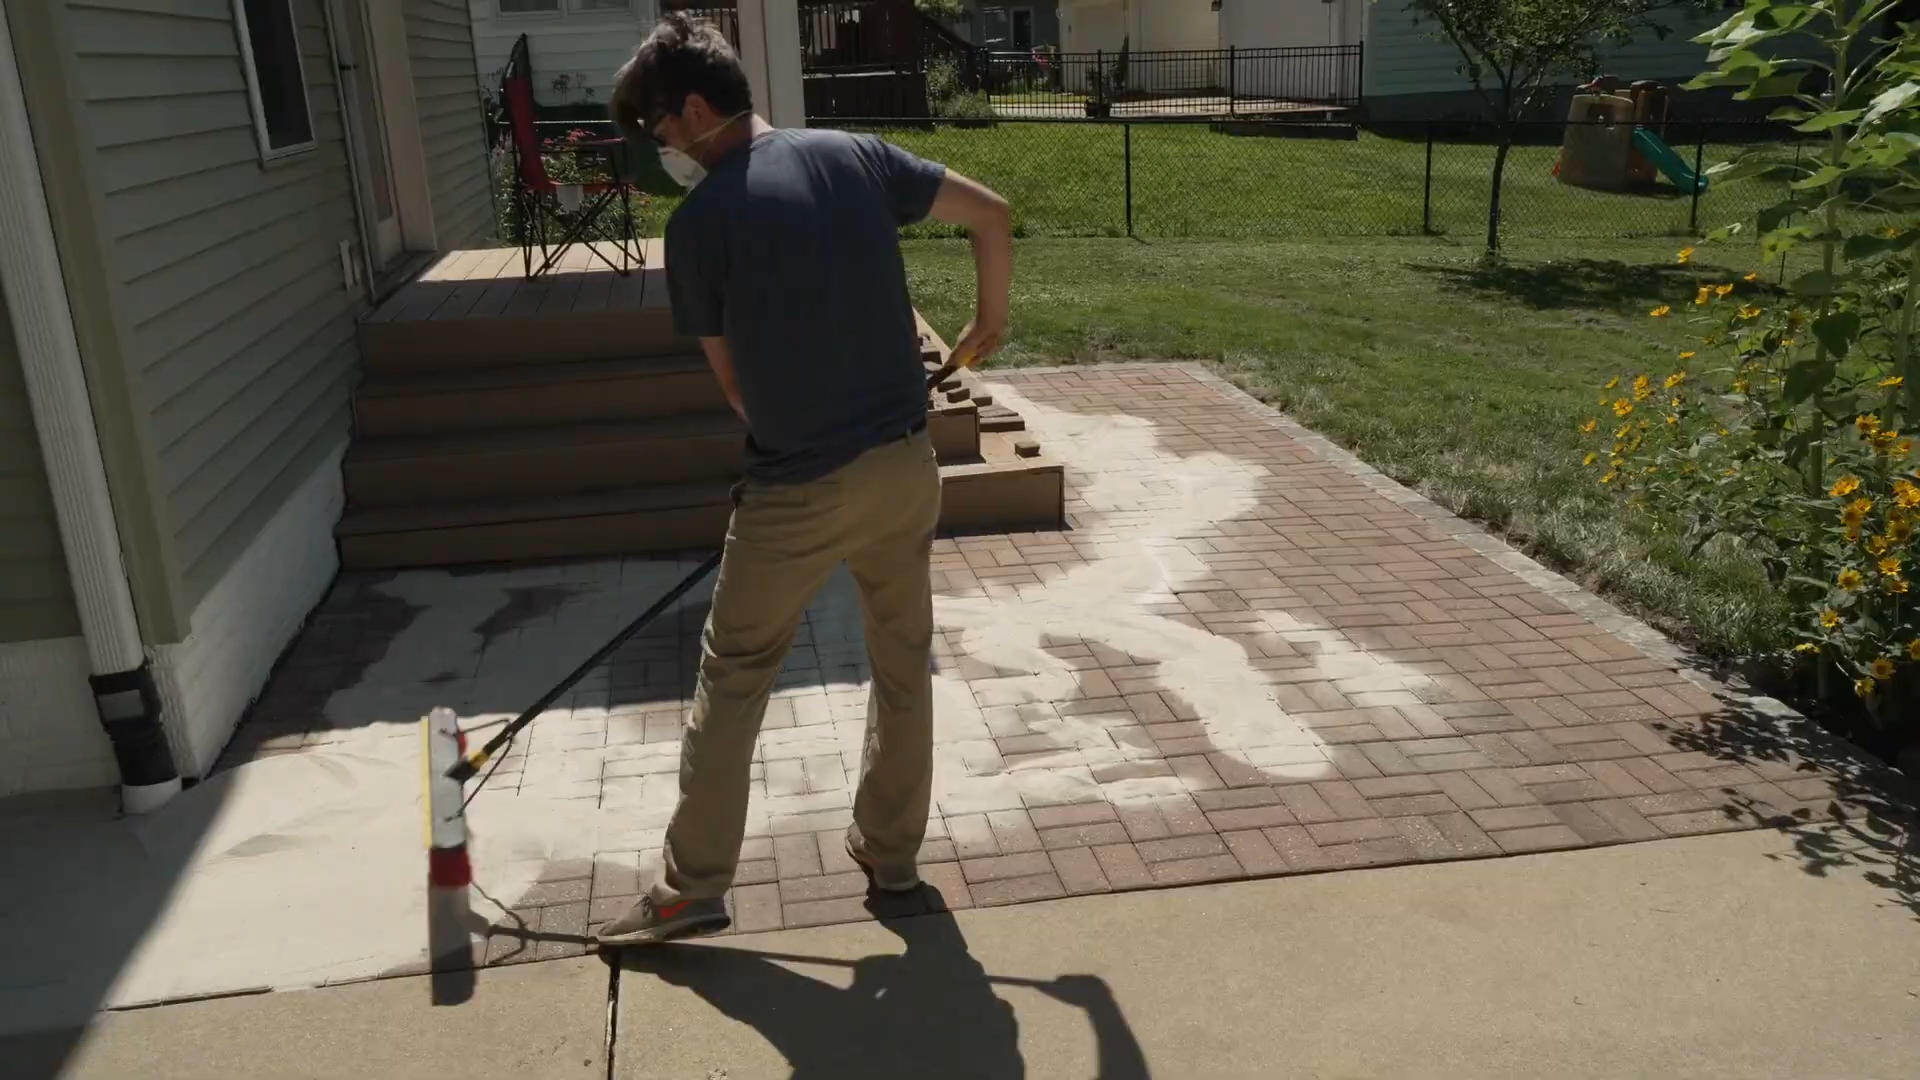
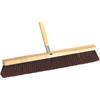
Next, spread polymeric sand over the surface with a push broom like the MARSHALLTOWN Floor Broom. Make sure to sweep it into every joint. Polymeric sand hardens when it gets wet, which helps keep pavers locked together.
Step 8. Finishing Touches
Once every joint is filled, sweep off any excess sand from the surface and backfill over the haunching/edging for a clean result. Then, lightly mist the entire patio with water to activate the polymeric sand. Follow the sand manufacturer's instructions for proper application and curing.
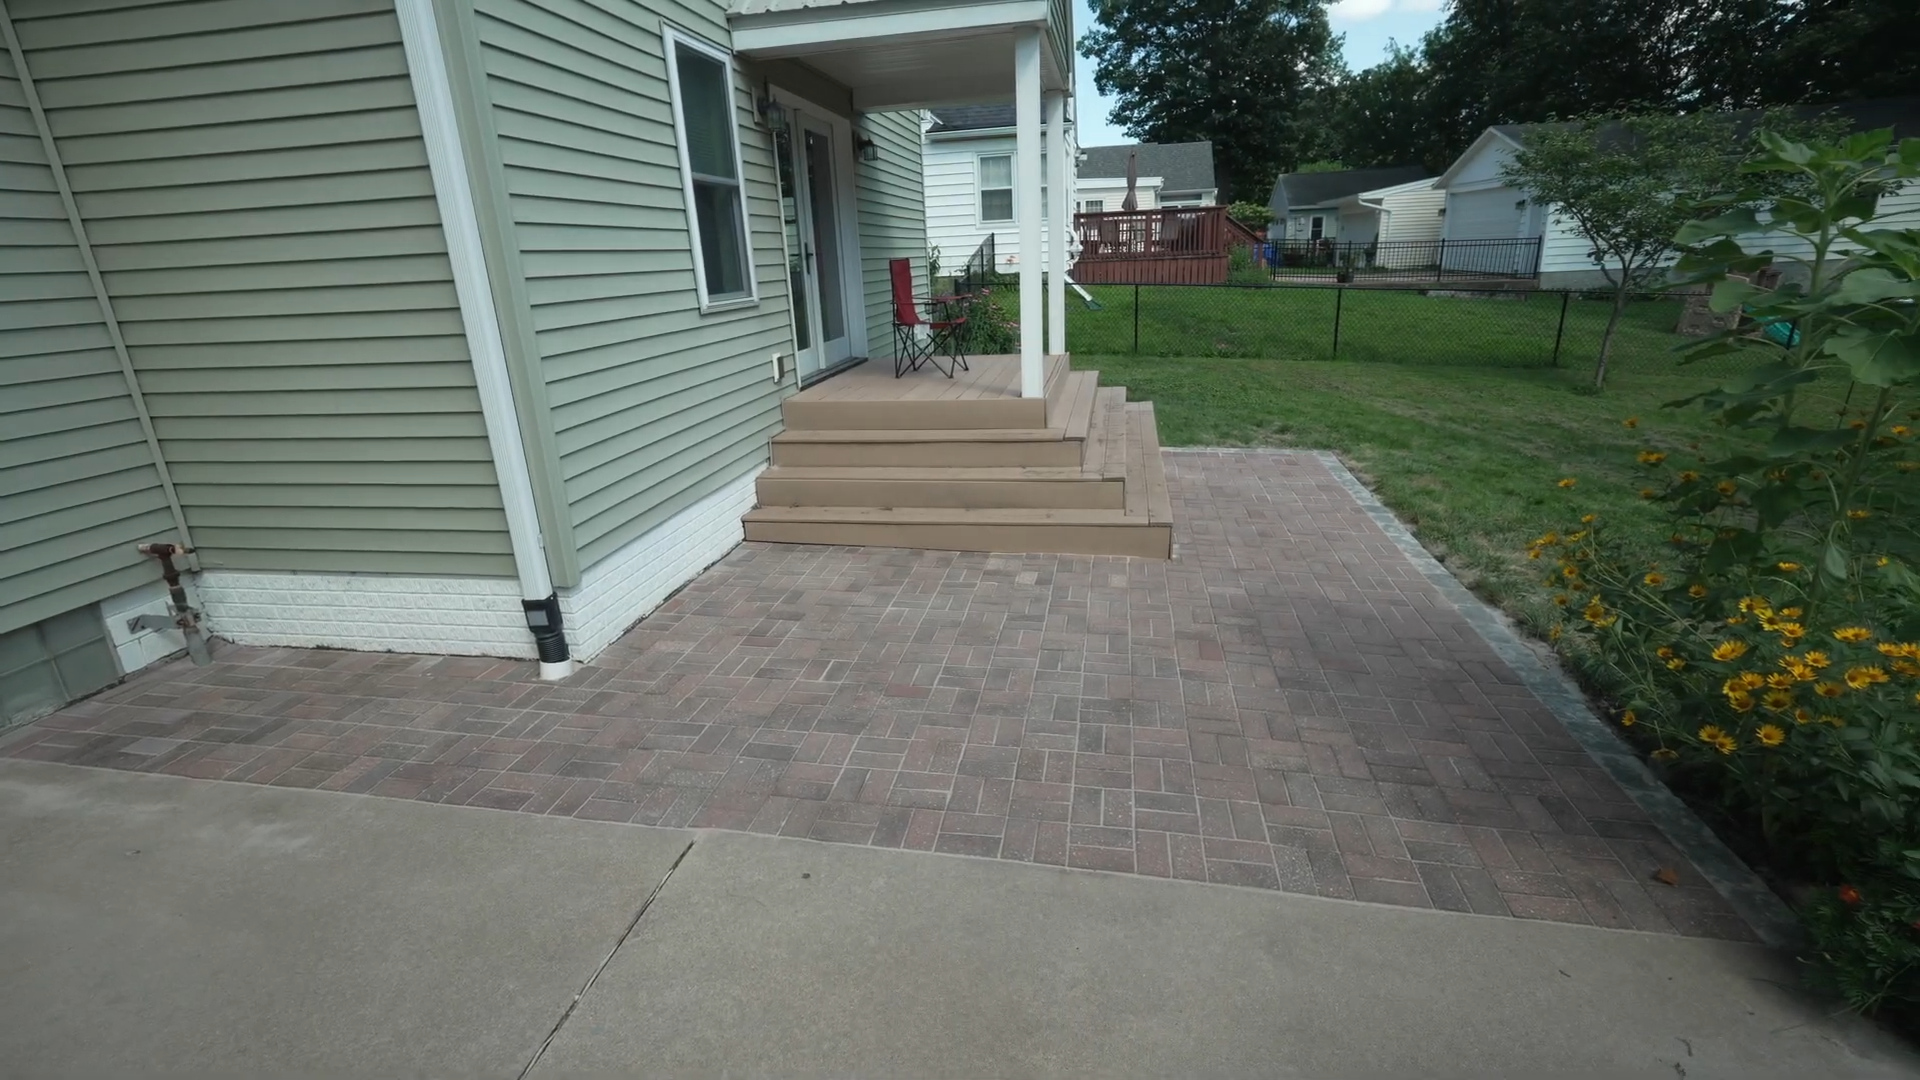
Whether your patio has developed low spots, weeds have started growing between the bricks, or the pavers have simply shifted over time, this repair project can help bring the space back to life. With the right MARSHALLTOWN tools and a weekend of work, you can refresh the existing patio and have it ready for grilling and hosting this fall.
FAQ's
Q: Why choose pavers over other patio options?
A: Pavers are duable and customizable, easy to repair, are well-suited to freeze-thaw climates, and they have flexible joints that allow for natural expansion and contraction.
Q: Can you repair an uneven paver patio without replacing the entire thing?
A: Yes. You can remove uneven pavers, relevel the base, and relay the existing pavers instead of replacing the entire patio.
Q: Why are my patio pavers becoming uneven?
A: Pavers can shift or settle over time due to water, ground movement, freeze-thaw cycles, or an unstable base. Removing and resetting the affected pavers can often correct the problem.
Q: Do you need to replace the gravel base when repairing a paver patio?
A: Not necessarily. If the existing gravel base is stable and in good condition, you can typically reuse it by redistributing and compacting it before relaying the pavers.
Q: Can you reuse old brick pavers?
A: Yes. Inspect the pavers as you remove them and set aside any that are cracked or damaged. Clean and reuse the ones that are still in good condition.
Q: How do you remove grass growing between patio pavers?
A: Remove the pavers and clear away grass, weeds, roots, and debris before preparing the surface for the pavers to be relaid. Filling the joints with sand can also help discourage future weed growth.
Q: Do you need to add new sand when relaying pavers?
A: Refreshing the bedding sand is recommended if the existing layer has shifted, compacted, or washed away. Add sand as needed, then screed it to a consistent level before replacing the pavers.
Q: What is the easiest paver pattern for a DIY patio repair?
A: Running bond and basketweave are both beginner-friendly patterns that are relatively simple to lay. For an existing patio, following the original pattern can make the repair process even easier.
Q: How do you keep pavers from shifting after they are repaired?
A: A properly prepared base, consistent bedding sand, filled joints, and secure edge restraints all help keep pavers in place.
Q: How do you maintain a repaired paver patio?
A: Sweep the patio regularly, remove weeds/debris from the joints, add joint sand as needed, and address shifting/settling pavers early
Featured Products
 View Details
 View Details
 View Details
- Length : 5 in.
- Width : 2 in.
- Trowel Handle : DuraSoft®
 View Details
- Size : 4 ft.
 View Details
- Handle Material : DuraCork®
- Handle Style : Curved
- Length : 11 in.
- Width : 4 in.
 View Details
- Color : Gray
- Legacy ID: RM2W
 View Details
- Blade Width : 2 ¾ in.
- Legacy ID: G335
 View Details
- Surface Finish : Rough