Earn points on every order
 FREE shipping on orders over $49.99
 Share Post
Adding high-quality, modern tile can help increase your home's value, and it's more DIY-friendly than you might think. With proper preparation, the right tools, and a clear step-by-step process, you can achieve professional results. This guide walks you through everything you need to know about how to tile a floor in an interior room, from safety and surface prep to laying tile, grouting, and cleanup.
Step 1: Prep Work
Safety First
Before starting any tile installation project, prioritize safety. You can do this in several ways:
- Ensure proper ventilation in the workspace - the MARSHALLTOWN DustPro 360™ enhances safety and cleanliness when mixing materials.
- Wear long sleeves and gloves to avoid prolonged skin contact with materials.
- Use safety glasses to protect your eyes from debris.
- Wear a mask or respirator when mixing powdered thinset mortar.
- If debris enters your eye, flush with clean water and seek medical attention.
Calculate Materials Needed
Taking accurate measurements is an important step and will help you avoid delays and unnecessary trips to the store.
Measure the Room
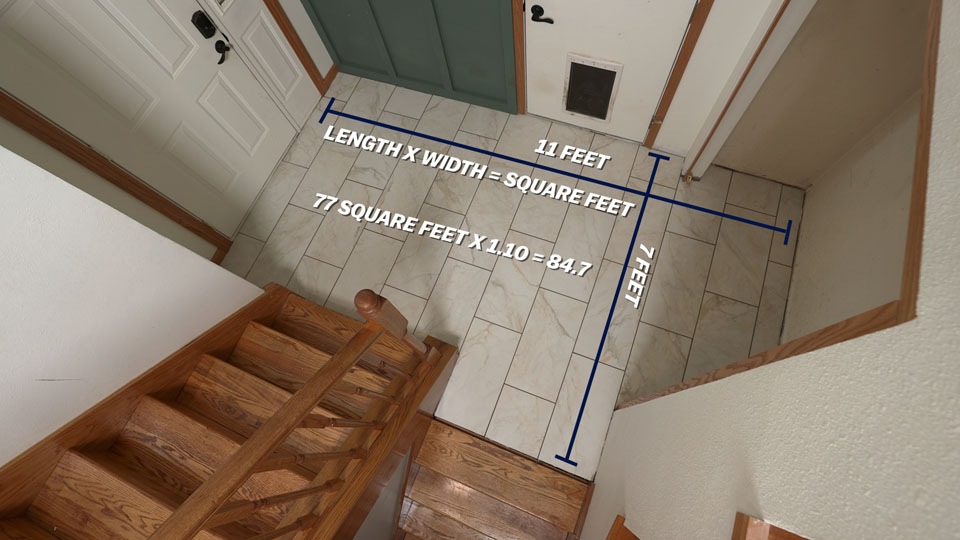
To calculate square footage, you need to measure the length and width of the room.

Add 10 percent extra for cuts, waste, and breakage.
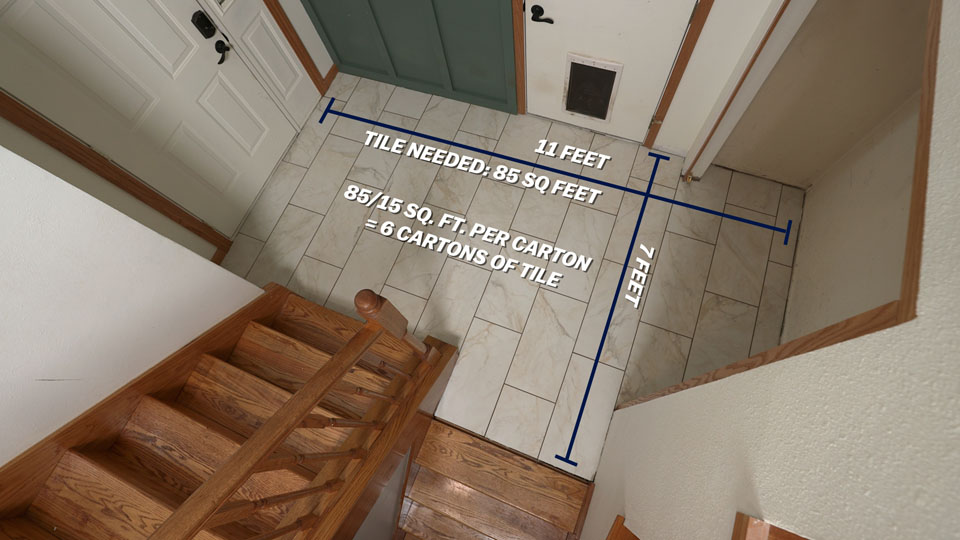
For a 7 ft x 11 ft room, you will take 7 x 11 to get a total of 77 square feet. After adding 10%, we get a grand total of 85 sq. ft.
Choosing the Right Floor Tile
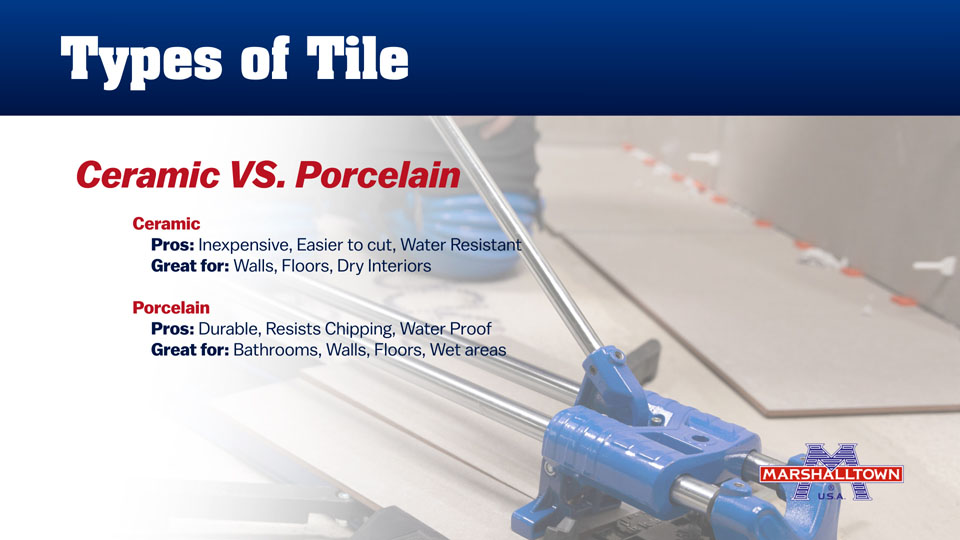
The two most popular options for floor tiling are ceramic and porcelain. Both are durable, but porcelain offers even higher durability and moisture resistance, making it ideal for high-traffic areas, like an entryway.
Determine Number of Boxes needed
Check the tile carton to determine how many square feet each box covers. Divide your room's square footage by the carton coverage to determine how many boxes to purchase.
Step 2: Gather Materials and Tools
Thinset Mortar
Thinset mortar is the adhesive that bonds tile to the subfloor. It's made of cement, sand, and additives for strength and flexibility. Thinset comes in two main types: modified and unmodified.
To determine how much thinset you need, look at the size of tile used:
- Large format tile (like 12x24): ~50 sq ft per 50 lb bag
- Smaller tile with 1/4" square notch: ~70 sq ft per 50 lb bag
For our 77 sq ft project using large format tile, we need two 50 lb bags of thin set.
Tile Leveling Systems and Spacers
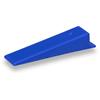
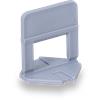
A tile leveling system, like the BARWALT PLS Max™, helps prevent lippage, or uneven tile edges. It also helps ensure consistent grout lines. For large format tile, you should plan on using approximately six spacer bases per square foot, which in our example, comes out to about 462 spacer bases and wedges.
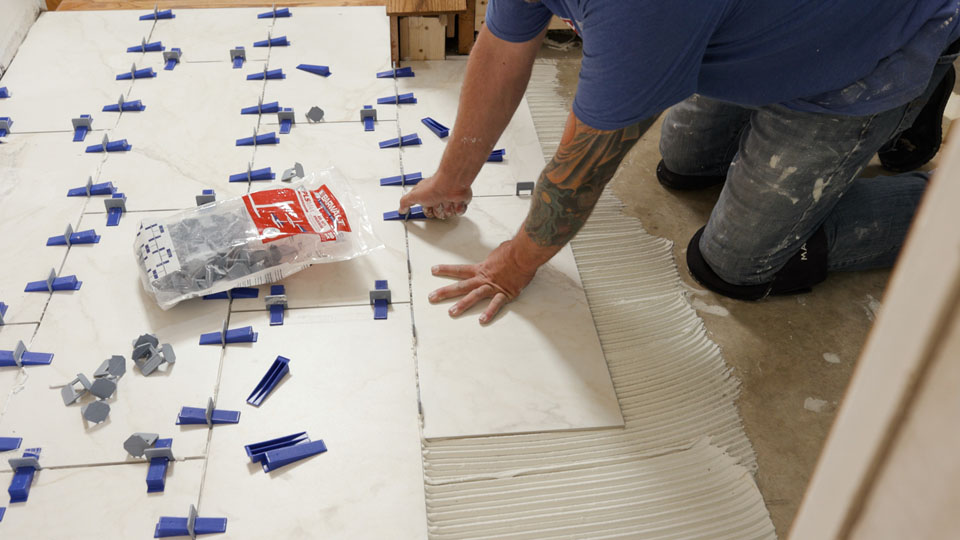
Spacer bases are disposable, but wedges can be reused for future projects.
Grout
Grout fills the joints between tiles and completes the finished look. Grout coverage varies by tile size and joint width. Use a manufacturer grout calculator to estimate quantities.
There are four main types:
- Acrylic Grout: Premixed, stain-resistant, no sealing required, and ideal for wet and high-traffic areas
- Sanded Grout: Contains sand for strength, used for 1/8” or wider joints, and is not recommended for glass tile
- Unsanded Grout: Smooth texture, ideal for joints smaller than 1/8”, and best for natural stone and glass
- Epoxy Grout: chemical-resistant, ideal for wet and high-traffic areas, but more difficult to install
Essential Tile Installation Tools
Here are the essential tools you'll need for a successful tile installation:
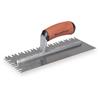
- Notched Trowel
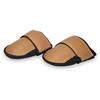
- Knee Pads
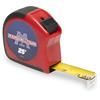
- Tape Measure
- Chalk Lines
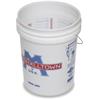
- 5-Gallon Bucket
- Eggbeater Mixer
- Margin Trowel
- Tile Cutter
- Tile Leveling System
- Grout Float
- Tile Grout Sponge
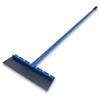
- Floor Scraper
- Pry Bar
- Recommended: Ultra Grouting System
- Recommended: DustPro 360™
Step 3: Prep the Subfloor
Before starting, we recommend wearing a pair of MARSHALLTOWN Knee Pads for comfort while you work. Proper floor preparation is critical for a long-lasting tile installation. A clean, flat subfloor ensures proper tile adhesion and prevents cracking.
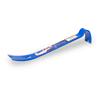
- Using your VAUGHAN SuperBar®, remove baseboards and any old flooring down to the subfloor
- Scrape away adhesive or thin set residue with your MARSHALLTOWN Floor Scraper
- Check for flatness using a long level or straight edge
- Patch low spots with floor patch and sand or grind down any high spots
If you need help leveling your subfloor, check out our Workshop post for the steps and tools: Fix Uneven Floors in Six Steps.
Step 4: Planning the Layout
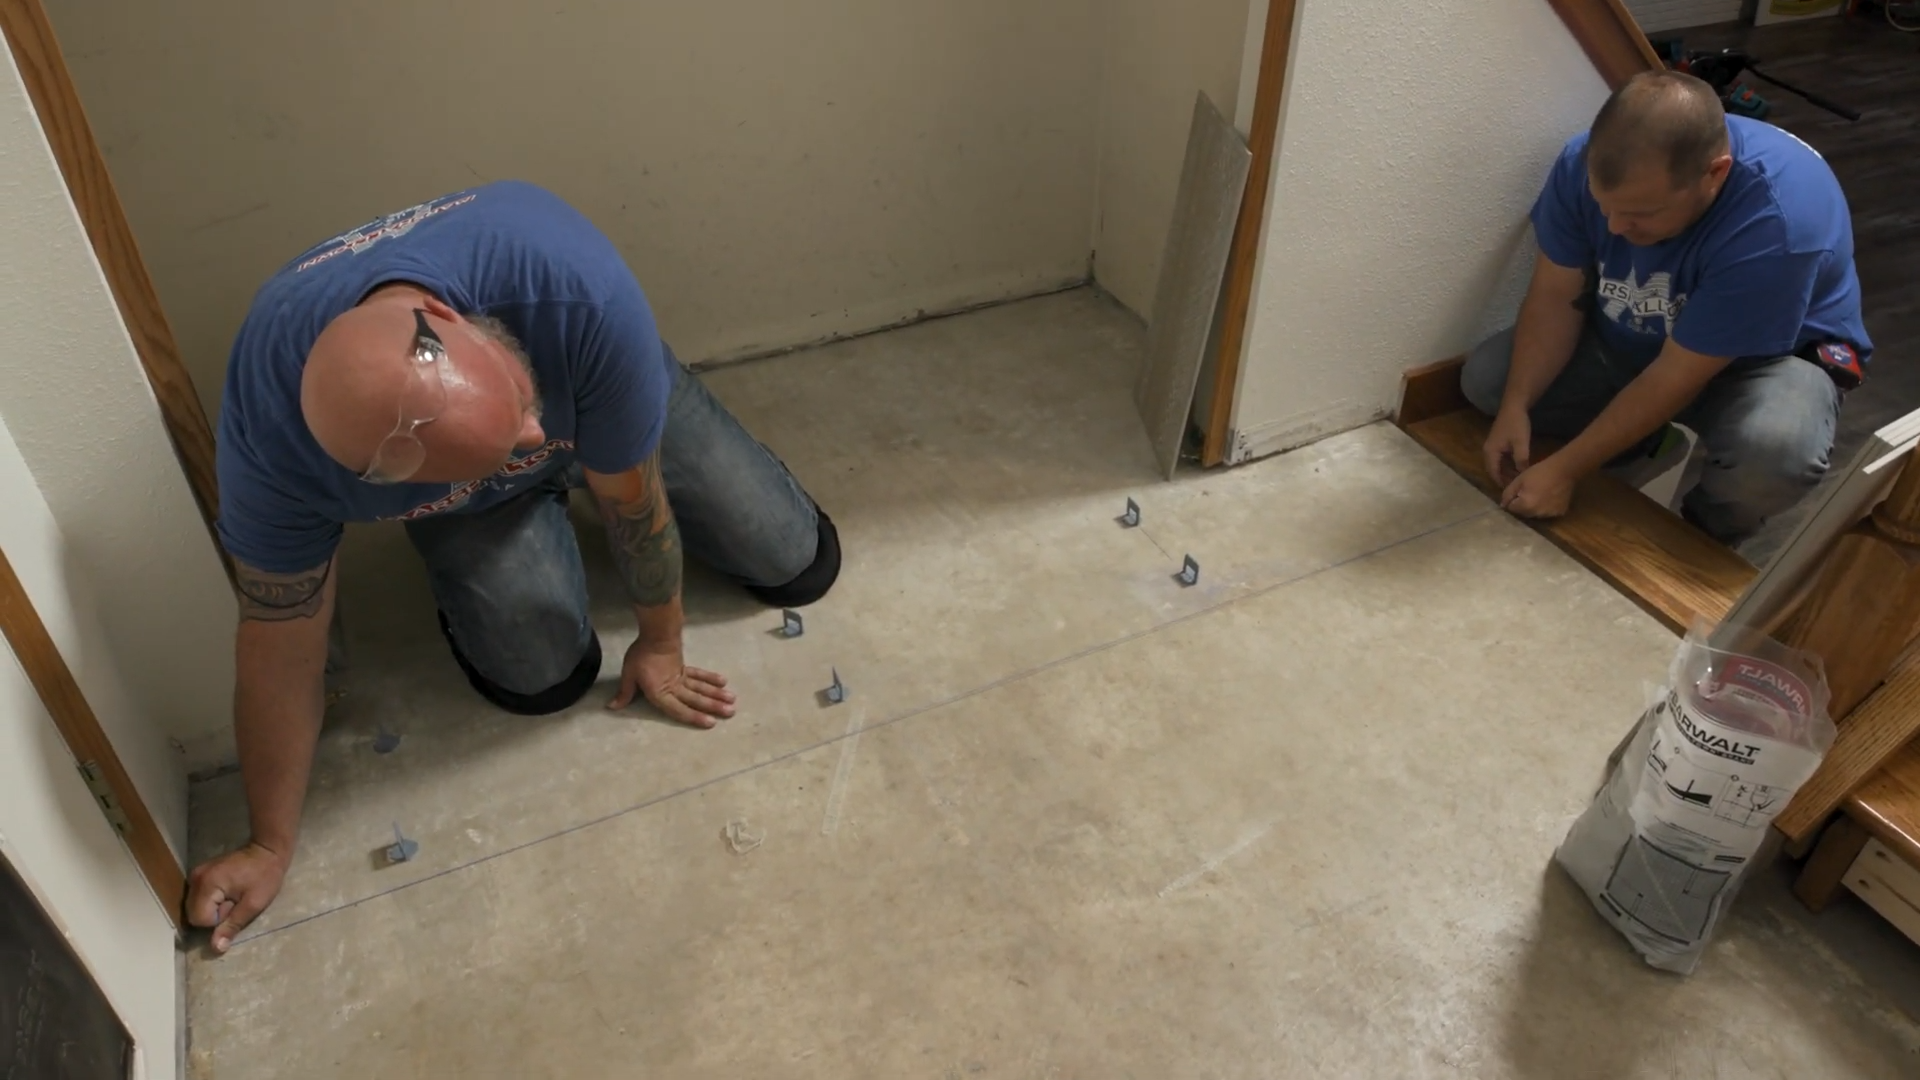
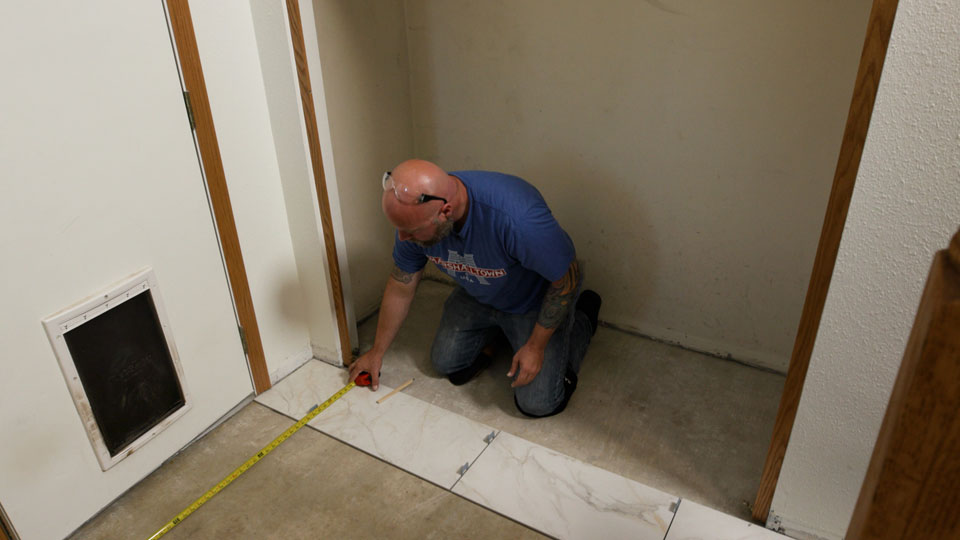
Before mixing mortar, create a dry layout. To do this, find the center of the room by marking wall midpoints, then snap chalk lines to form a center cross. Dry lay the tiles from the center outward. Make sure to adjust the layout for equal cuts on opposite walls when possible. The important final step is to plan your exit path so you never step on freshly laid tile.
To prevent the thinset from losing tackiness, spread only what you can tile in 5 minutes. When spreading thinset, hold your trowel at a 45° angle and comb the mortar in straight, even ridges.
For 12x24 large format tile, we recommend a specialty notched trowel, like the MARSHALLTOWN Sawtooth Notched Trowel because the unique notches ensure improved coverage, transfer, and support
Back Butter the Tile
To improve adhesion and coverage, it's best to back butter the tile. To do this, apply thinset to the back of each tile using the flat side of the trowel.
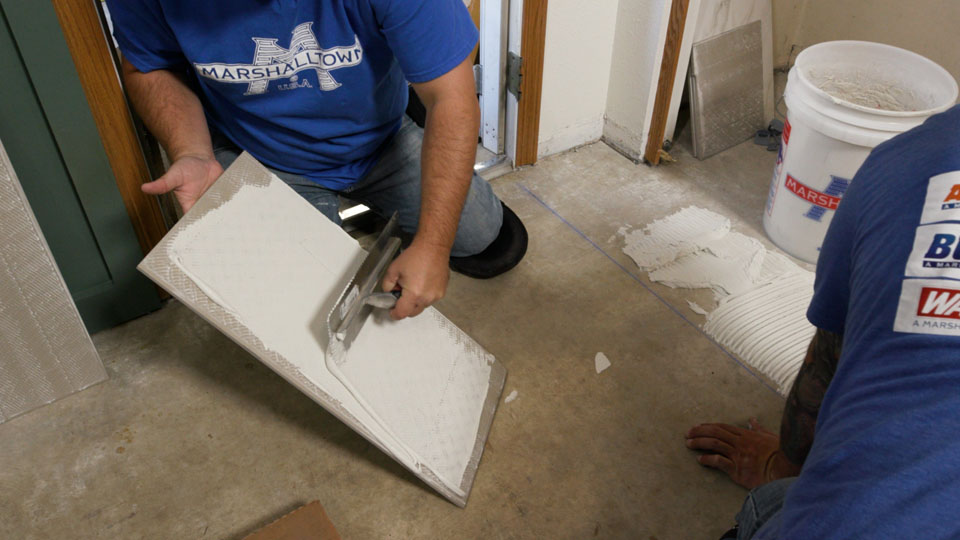
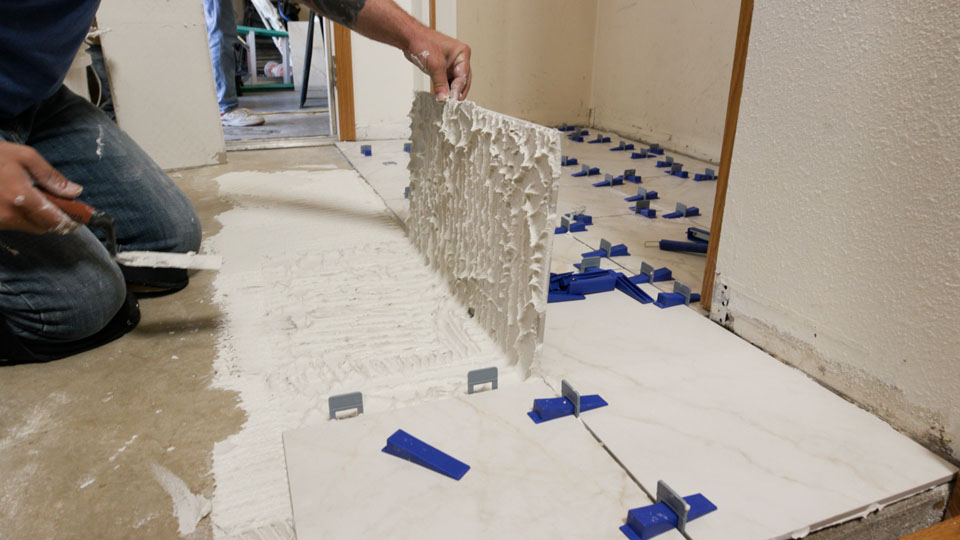
Check your first tile for coverage using your MARSHALLTOWN Margin Trowel to pull up the tile.
For dry areas, aim for 80% coverage. For wet areas or exterior installations, aim for 95% coverage.
Set the Tile
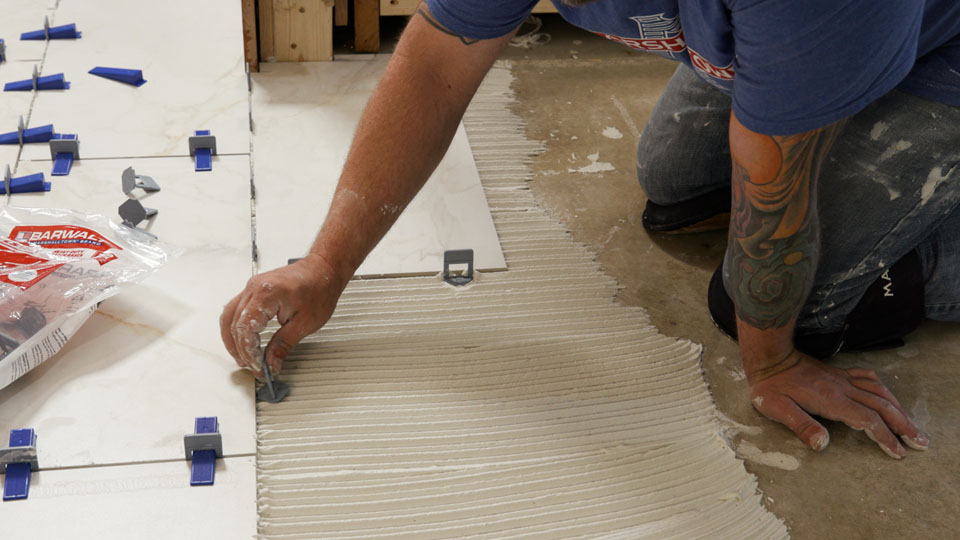
When you know the amount of thinset to use to achieve proper coverage, you can begin laying the rest of the tile in three simple steps:
- Press tile into mortar
- Slide tile side to side to collapse ridges
- Insert spacers 2-3 inches from tile corners
Cutting Tile
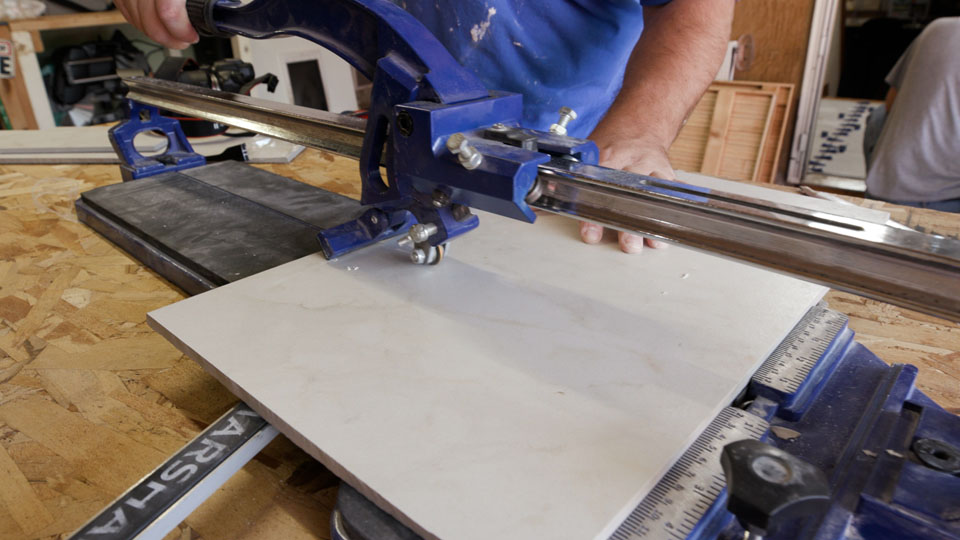
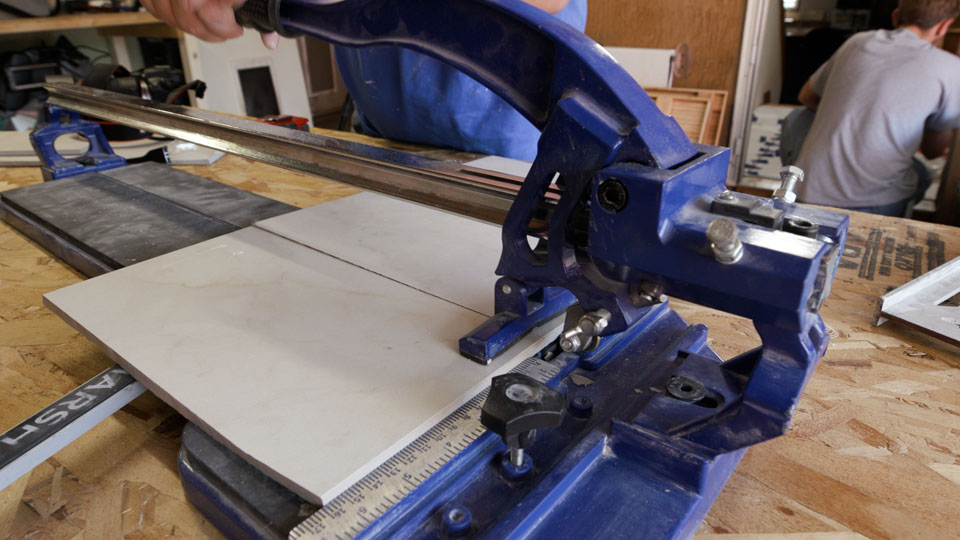
There are several tools you can use to efficiently cut tile.
- Manual tile cutter: Best for making straight cuts; we recommend the MARSHALLTOWN 24" Pro Tile Cutter
- Wet saw: Ideal for porcelain, stone, and angled cuts
- Angle grinder with diamond blade: Good for irregular cuts
- Diamond hole saw: Used for plumbing penetrations; check out MARSHALLTOWN's full offering of Diamond Products
After setting the tile, allow the thinset time to cure. It will typically set in 24 hours but always follow the manufacturer's instructions before grouting.
Step 6: Grouting
To prep for grouting, you need to break out the leveling system with a soft face mallet and clean the grout joints out. Then, you will mix up your grout and get to work.
Mix the Grout
Gather the tools and materials needed for grouting:
- 5 Gallon Bucket: Holds more than 5 gallons for easy mixing of material
- Eggbeater Mixer: Efficiently mixes grout
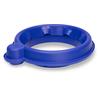
- DustPro 360™: Attaches to your 5-gallon bucket to reduce airborne dust for a cleaner, safer work environment
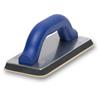
- Grout Float: Spreads the grout over the tiles
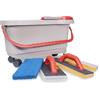
- Ultra Grouting System: Cuts grouting time nearly in half with less of a mess (If you don't have an Ultra Grouting System, sponges work great as well!)
Start by adding a little bit of water to your MARSHALLTOWN 5 Gallon Bucket to act as a lubricant so the dry grout doesn't stick to the bucket. Then add in the grout and water, mixing with your MARSHALLTOWN Eggbeater Mixer, until the grout has a peanut butter-like consistency.
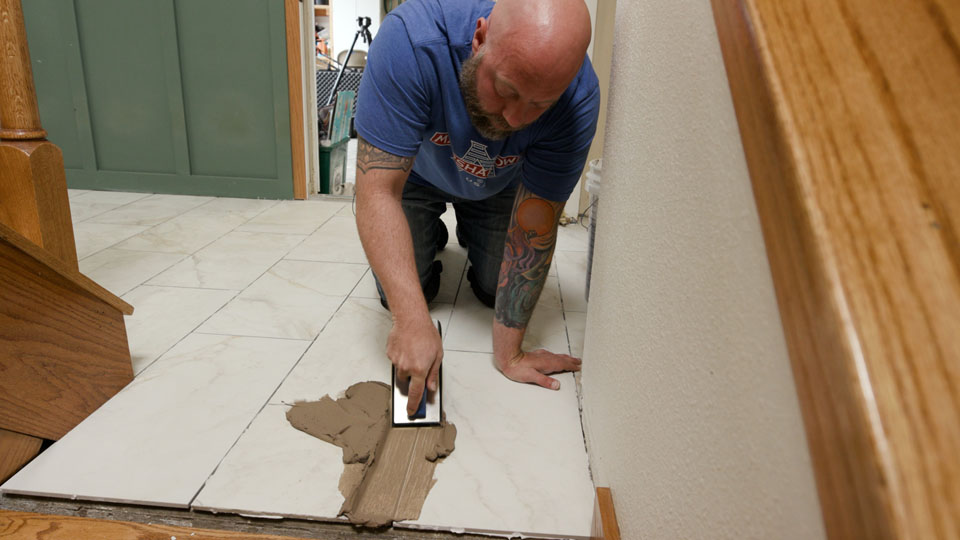
Apply the Grout
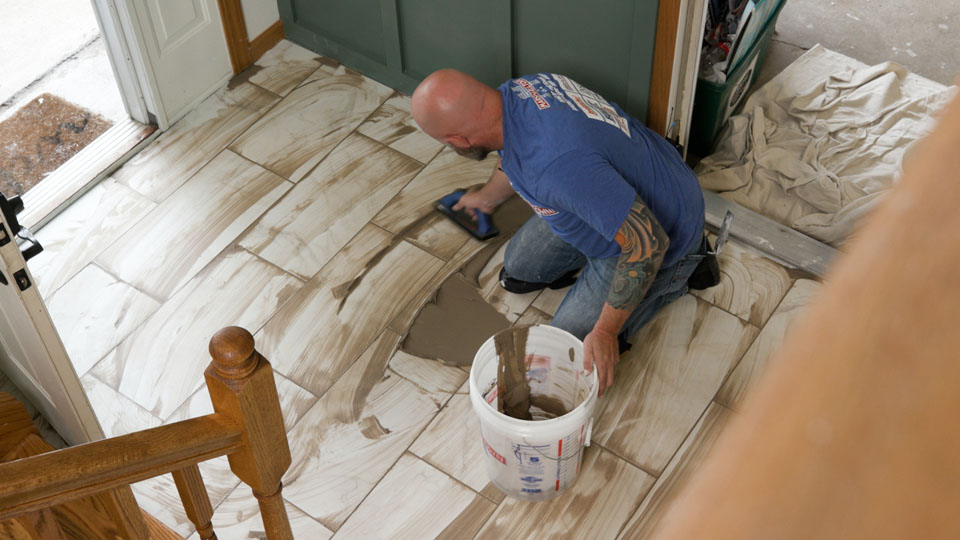
When applying grout with your MARSHALLTOWN Tile Grout Float, move the float diagonally across the joints. Always grout at a 45-degree angle in the direction of the tile to make sure you don't pull any grout out of the joints.
Clean the Tile Surface
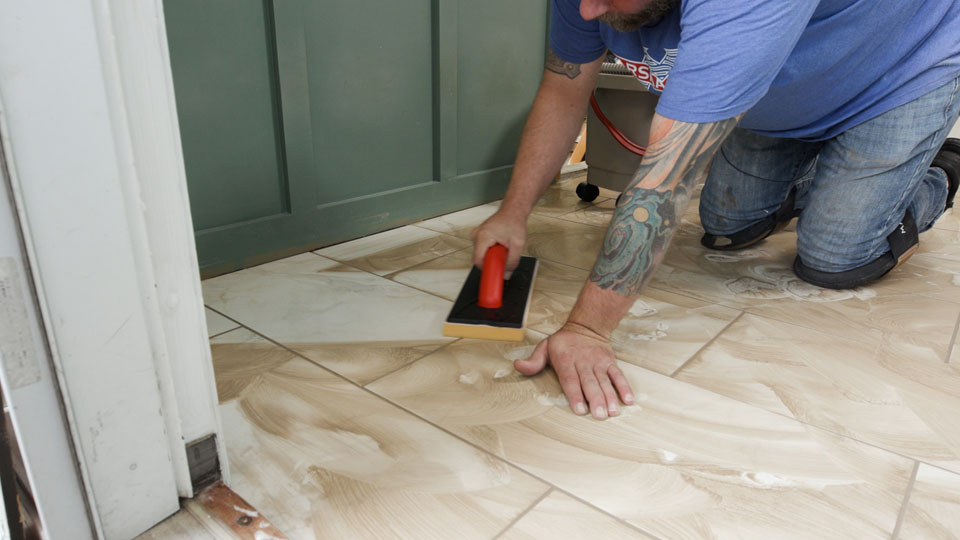
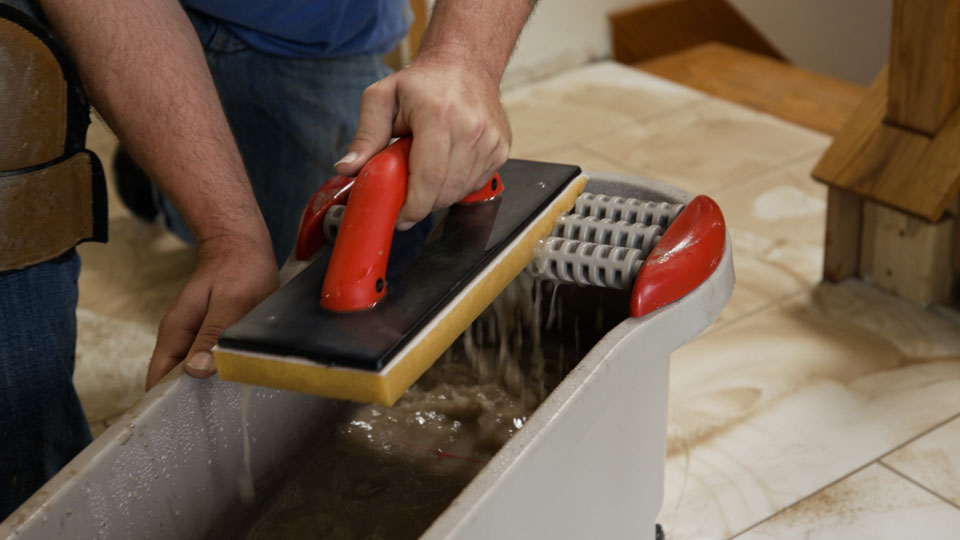
Once the grout is no longer "grabbing" or sticking to your finger, you can begin cleaning up the grouted area. Rinse the surface at least 2-3 times with a sponge. Use the BARWALT Ultra Grouting System to clean the tiles without removing grout from joints. Fill in any pinholes using leftover grout before it dries. After waiting 5 to 15 minutes, you should repeat the rinsing process a couple more times.
Allow the Proper Cure Time
Remove the last of the grout haze with a clean sponge and then allow the grout time to cure. Refer to the grout manufacturer's recommendations on dry time. Dry time usually varies anywhere from 4 to 24 hours before foot traffic should be allowed.
Step 7: Final Cleanup and Finishing Steps
When everything is clean and dry, you can start making those finishing touches:
- Reinstall baseboards
- Install transition strips if connected to other flooring
- Dispose of leftover materials properly
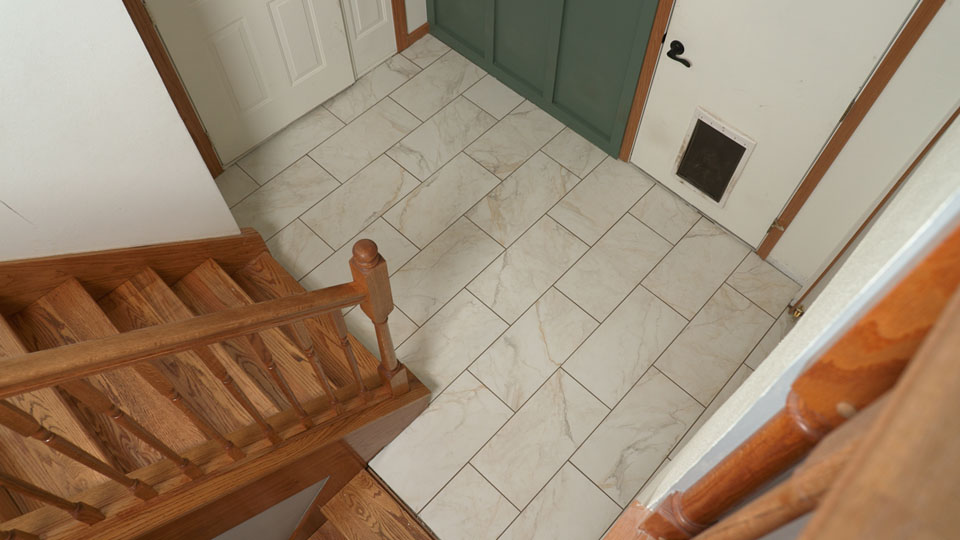
While tile installation requires patience and attention to detail, it's very manageable for beginners. The keys to success are proper surface preparation, accurate layout planning, correct thinset coverage, consistent grout joints, and taking your time!
Featured Products
-
Part #: TAPEMEASURE25' | Item ID: 10516Tape Measure
 View Details
$17.61
View Details
$17.61- Tape Measure Type : Standard Tape Measure
-
Part #: FFKP | Item ID: 29700Knee Pads
 View Details
$49.38
View Details
$49.38- Knee Pad Style : Front Fastening Knee Pads
-
Part #: SAW11SD | Item ID: 33240Sawtooth Notched Trowel
 View Details
$22.83
View Details
$22.83 -
Part #: 5G | Item ID: 295445 Gallon Bucket
 View Details
$10.45
View Details
$10.45- Package : Single
-
Part #: 64110 | Item ID: 15422Chalk Boxes
 View Details
$29.45
View Details
$29.45- Description : Standard
-
Part #: 897 | Item ID: 15445Eggbeater Mixers
 View Details
$35.00
View Details
$35.00- Length : 30 in.
-
Part #: 52D | Item ID: 11198Margin Trowels
 View Details
$21.01
View Details
$21.01- Length : 5 in.
- Width : 2 in.
- Trowel Handle : DuraSoft®
-
Part #: PTC24 | Item ID: 2939824" Pro Tile Cutter
 View Details
$406.22
View Details
$406.22 -
Part #: HDWTLS | Item ID: 33062PLS Max™
 View Details
$16.97
View Details
$16.97- Description : PLS Max Wedges
-
Part #: HDWTLS3 | Item ID: 33064PLS Max™
 View Details
$10.19
View Details
$10.19- Description : 1/8" PLS Max Straight Spacer Bases
-
Part #: 43 | Item ID: 14422Tile Floats
 View Details
$15.58
View Details
$15.58- Brand : MARSHALLTOWN
- Float Pad Material : Gum Rubber
- Length : 9 in.
- Width : 4 in.
- Handle Material : Plastic
-
Part #: TGSL | Item ID: 16462Sponges
 View Details
$4.06
View Details
$4.06- Sponge Types : Tile Grout Sponge
- X-Dimension : 6 in.
- Y-Dimension : 4 in.
- Z-Dimension : 2 in.
-
Part #: 720 | Item ID: 16453Floor Scrapers
 View Details
$50.56
View Details
$50.56- Brand : MARSHALLTOWN
- Blade Width : 14 in.
- Scraper Style : Standard Floor Scraper
- Handle Length : 60 in.
-
Part #: VN45001 | Item ID: 43278Original SuperBar®
 View Details
$16.29
View Details
$16.29- Size : 15 in.
- Legacy ID: B215
-
Part #: BWT81584 | Item ID: 41762Ultra Grouting System
 View Details
$172.78
View Details
$172.78 -
Part #: DUST5G | Item ID: 33045DustPro 360™
 View Details
$16.75
View Details
$16.75