Part two of this three-part series will teach you how to mix and pour the concrete for your outdoor countertops. Most home centers have special concrete countertop mix in bags which makes it easy to mix your own concrete. The mix is made with the proper mixture of materials to produce an extremely durable countertop. The size and thickness of the countertop will determine how many bags of mix are required. If you plan to add color, you will need to calculate how much colorant you will need.
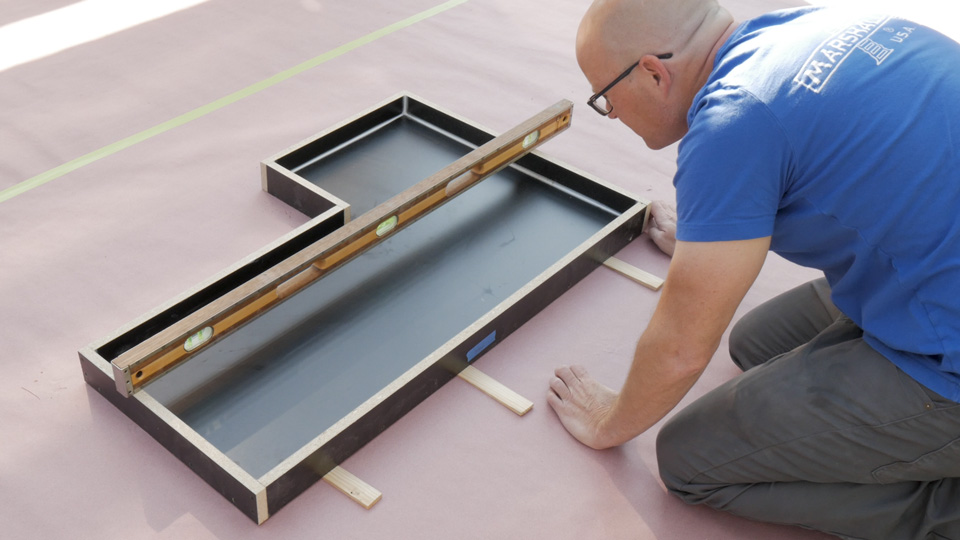
Step 1: Level the Forms
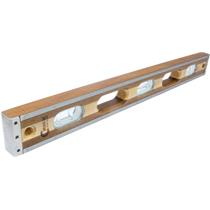
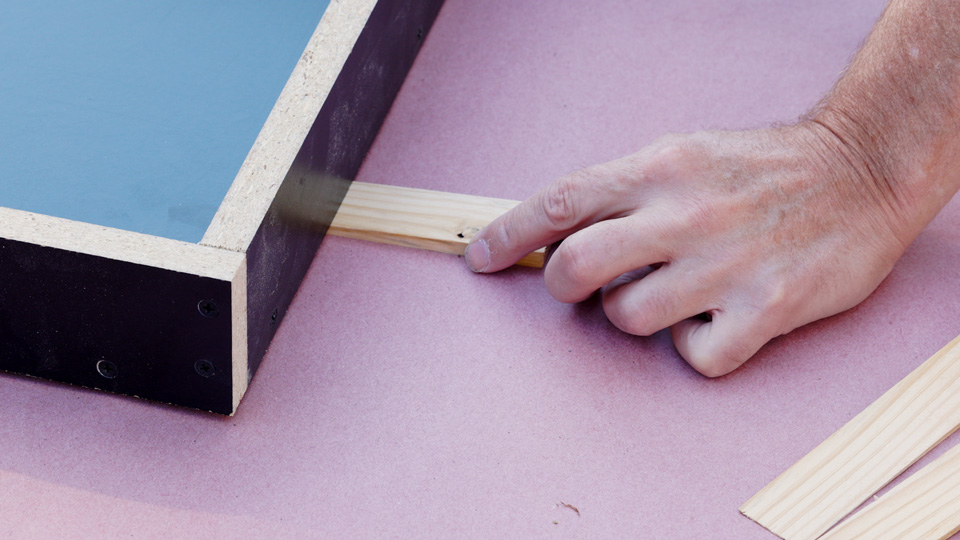
Check each form with a level before you pour because if the forms are not level, the concrete will settle toward the low end. A simple way to raise or lower the form is to place shims along the edges.
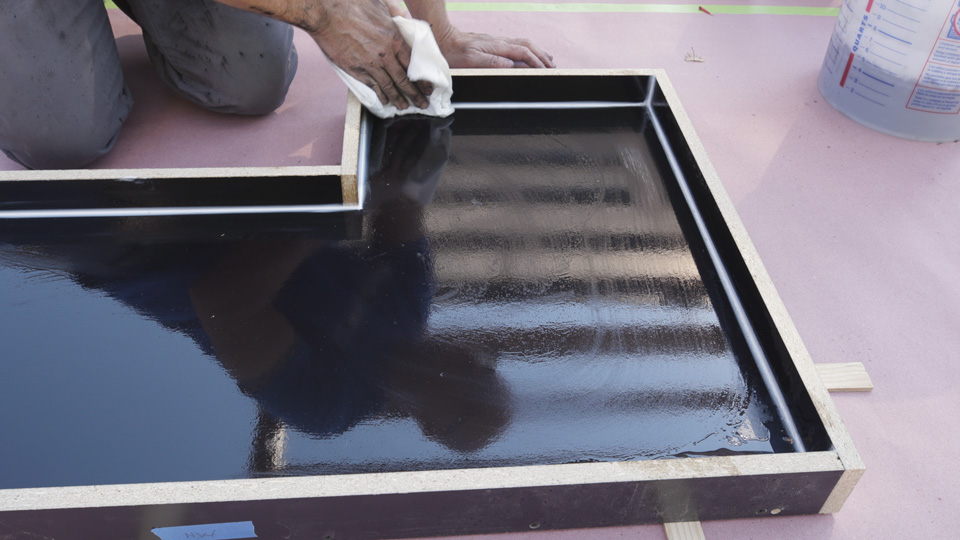
Step 2: Clean Forms and Spray Release Agent
Start by removing any dirt or debris from the form with a cloth. Then, spray the form with a concrete releasing agent or a lubricant, like WD-40. This helps the concrete release from the form once it is cured.
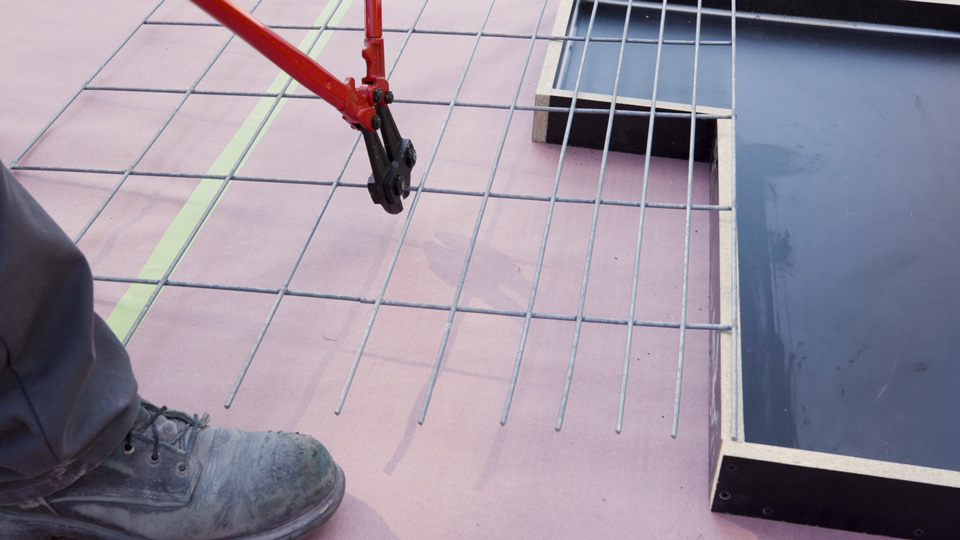
Step 3: Cut Metal Reinforcement Material
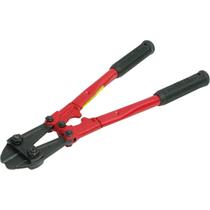
The countertops will need wire or rebar to reinforce the concrete. We chose metal wire fencing because it was already set up in a grid. Use bolt cutters or a grinder with a cut-off wheel to cut the wire to size.
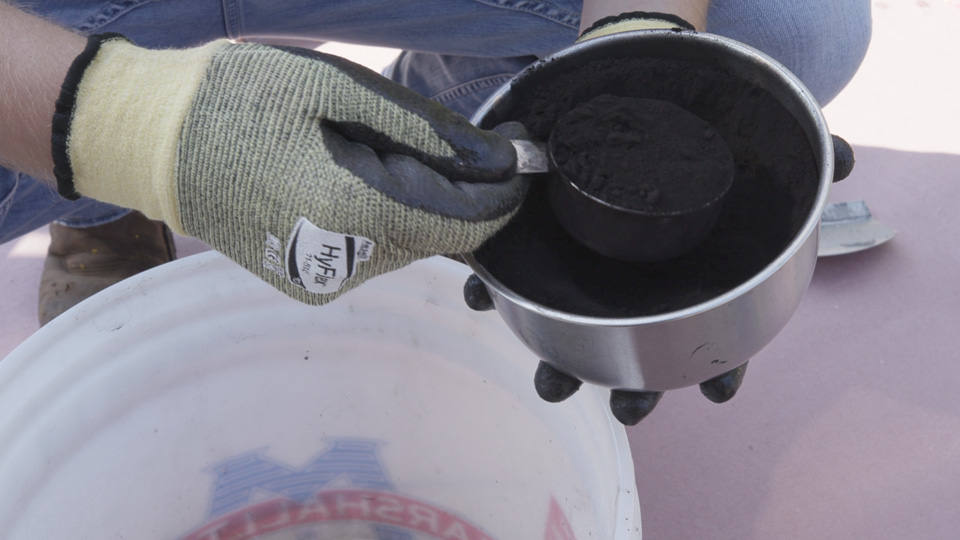
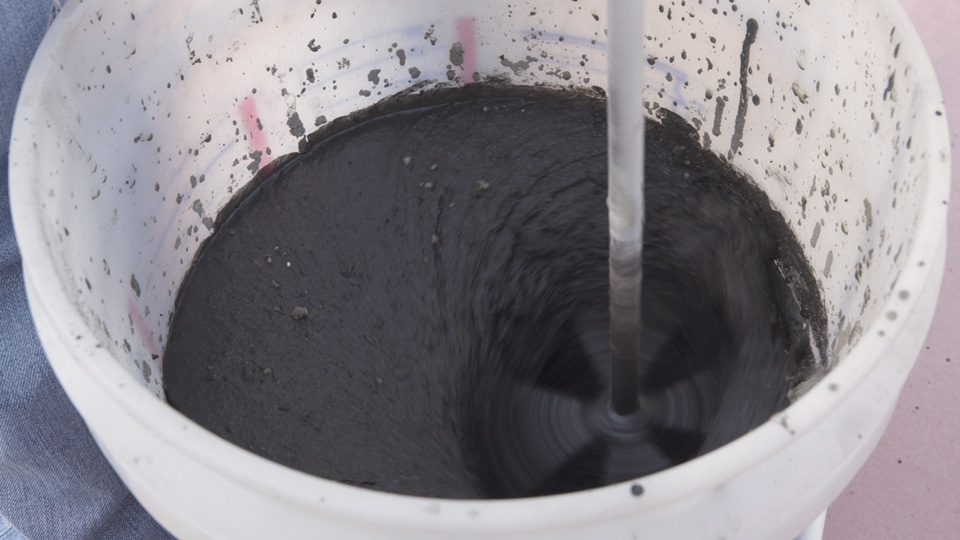
Step 4: Mix Water and Colorant
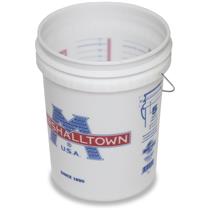
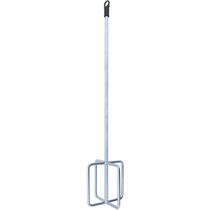
Fill a five-gallon bucket with the correct amount of water for one bag of concrete mix, per the manufacturer’s instructions. If you want to add colorant, now is the time! Add the desired amount to the water. Use a drill with an eggbeater mixer to mix the colorant into the water.

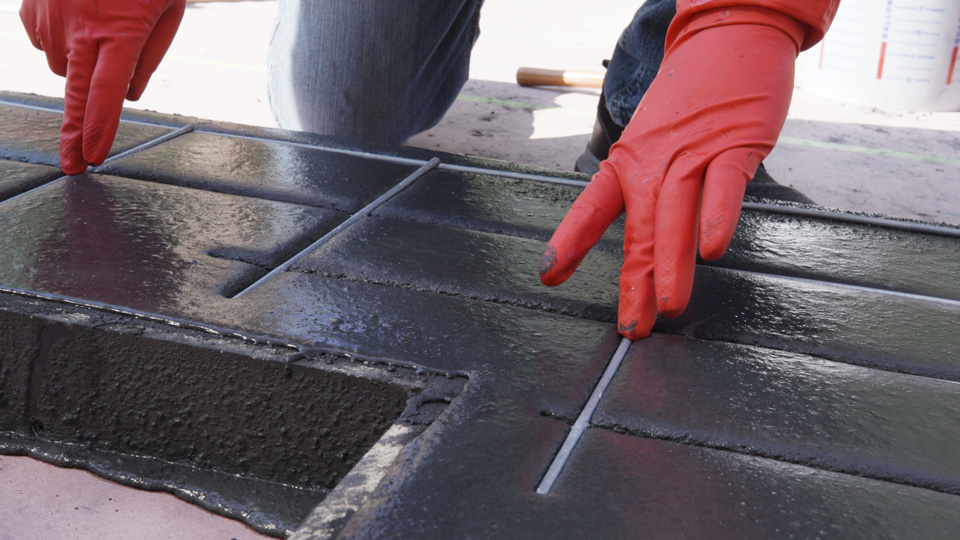
You should always wear rubber gloves and safety goggles when dealing with concrete.
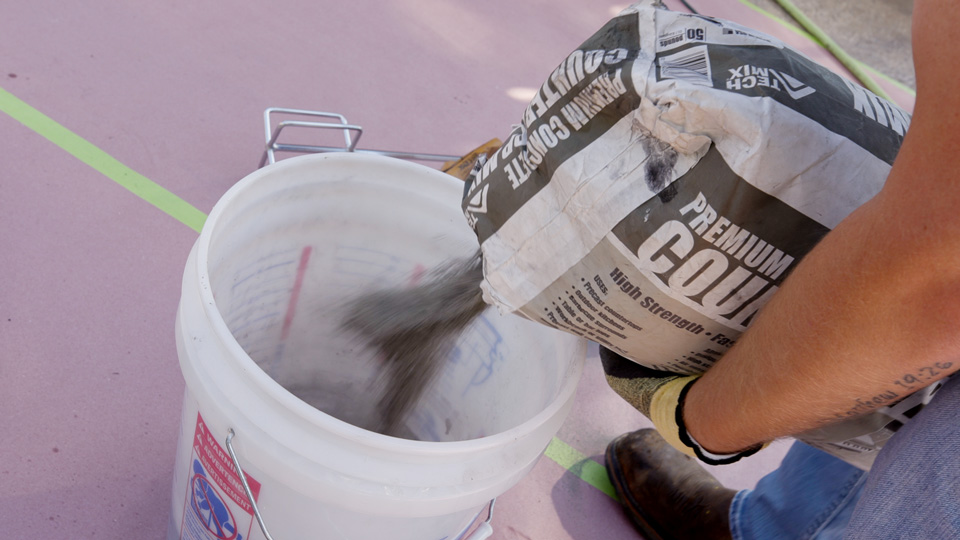
Step 5: Mix the Concrete
Now it’s time to mix the concrete. Add 1/2 to 3/4 of a bag of concrete and mix thoroughly with the same drill and eggbeater mixer. Then, add the rest of the concrete mix to the bucket and finish mixing. If the concrete is too thick, add a little water to thin it out. It should easily pour out of the bucket but should not be soupy or runny.
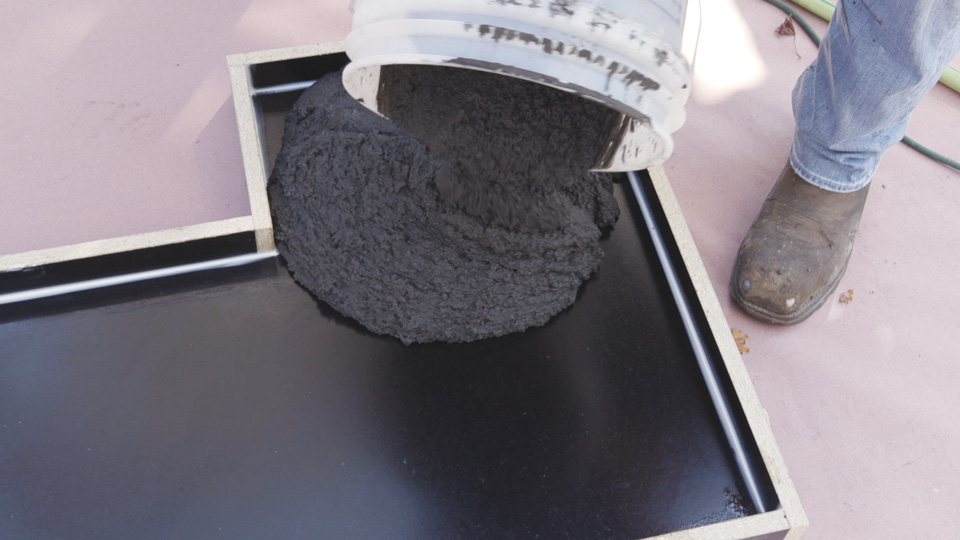
Step 6: Pour the Concrete
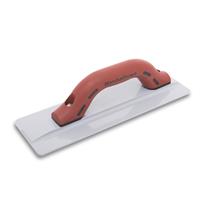
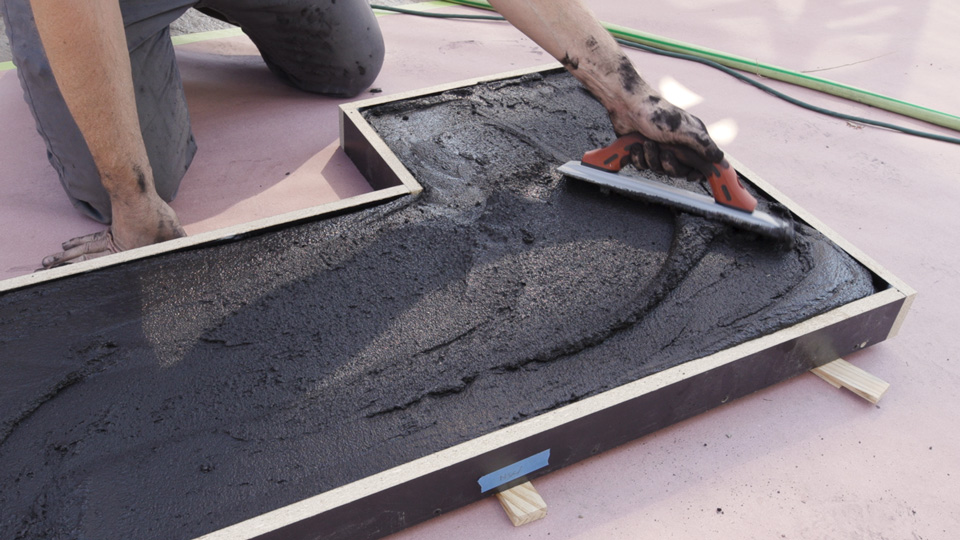
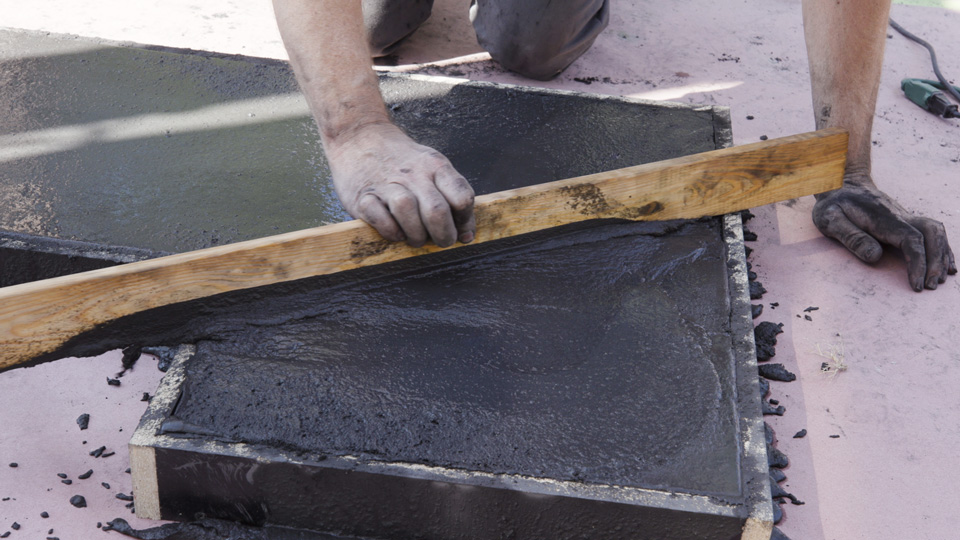
Pour the concrete out of the bucket into the form. Using a magnesium float, work the concrete into the corners, making sure to get it level with the top of the form.
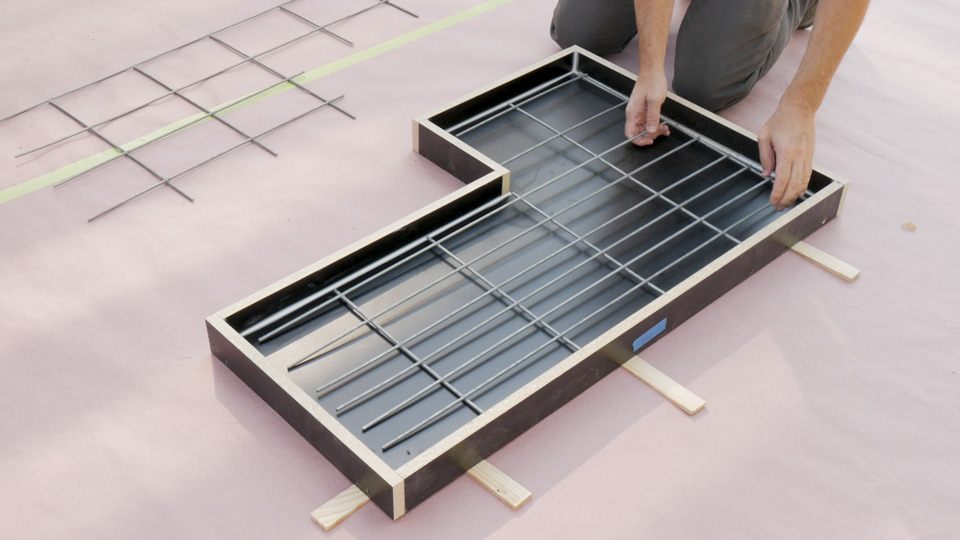
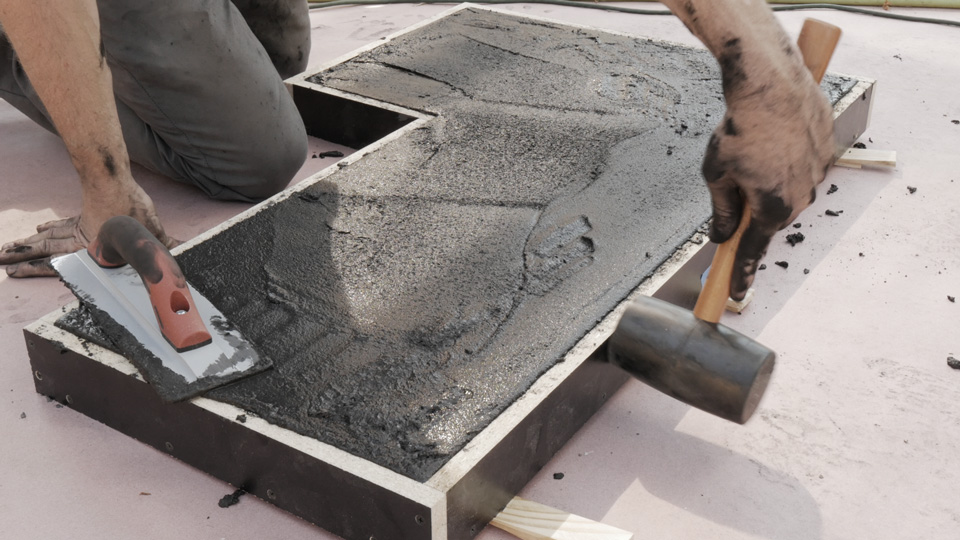
Step 7: Vibrate, Screed, and Add Metal Wire Reinforcement
Using a rubber mallet or hammer, hit the sides of the form. This will vibrate the concrete and help it settle down into the corners. Use a screed board to screed the concrete so it’s level with the form. Finally, place the metal wire fence sections down into the concrete until they just disappear under the surface. Then, use a float to smooth and level the surface.
Step 8: Let the Concrete Cure
Let the concrete cure in the forms. Once it looks dry, add water with a garden hose to slow down the curing process – this will make it stronger.

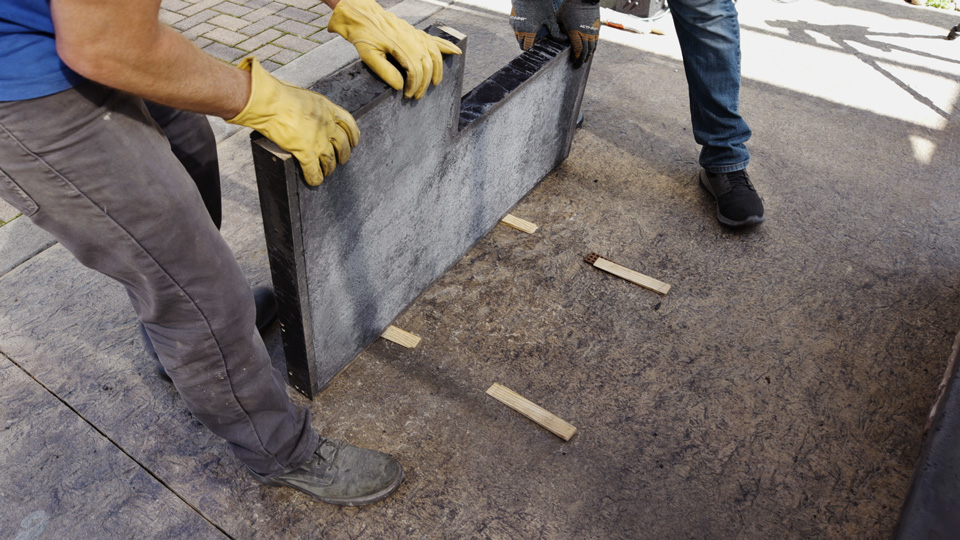
Step 9: Remove from Form
Once the concrete countertops have cured per manufacturer’s instructions, you can remove them from the forms. It is best to have help for this step. Carefully lay the form upside down and gently wiggle the form to remove the concrete countertop. If it does not release, unscrew the sides to take the form apart. Set the sections in place to check the fit. If the edges seem too sharp or irregular, use a concrete rub brick to round them over and smooth them out.
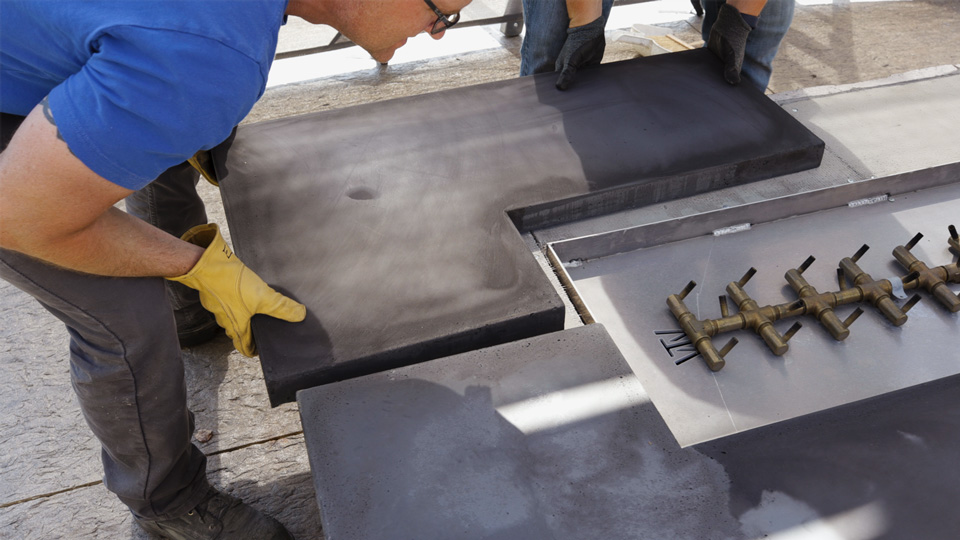
Now the four L-shaped concrete countertop sections are done! To see how to stain and seal the tops to protect them from dirt, stains, and weather, click on Part 3.