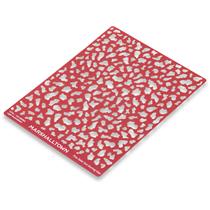
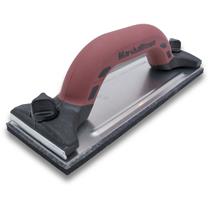
At some point in time, you will need to repair a damaged wall in your house and chances are, that wall will have a textured finish. Instead of hiring a professional or breaking out the hopper gun, you can use our MARSHALLTOWN Knockdown Texture Repair Stencils. These come in three patterns: small, medium, and large. They are all designed to mimic the common patterns found on knockdown textured walls and are large enough to work for most repairs.
This task can be done in eight easy to follow steps.
Step 1: Repair Damaged Drywall
Before doing any texturing, you need to repair the damaged area. If the damage requires a drywall patch, go back to one of our earlier posts – Easy Guide for Patching Drywall Holes– to learn all about using a drywall patch kit.
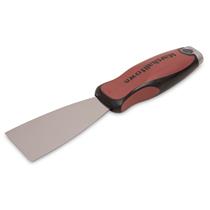
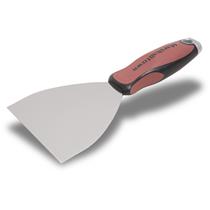
If the damage is less severe, like a dent, you can easily repair it with joint compound and a small putty knife. Spread the compound over the damaged area in a crisscross pattern to ensure complete coverage. Then “feather out” the edges.
Allow the joint compound to completely dry before lightly sanding over any high spots with a dry sanding sponge or hand sander. Now, your wall is ready for the new texture.
If you haven’t used a texture stencil before, it is a good idea to practice on a sample board such as a piece of scrap drywall or smooth cardboard. This way, you will know the right technique needed to achieve professional-looking results.
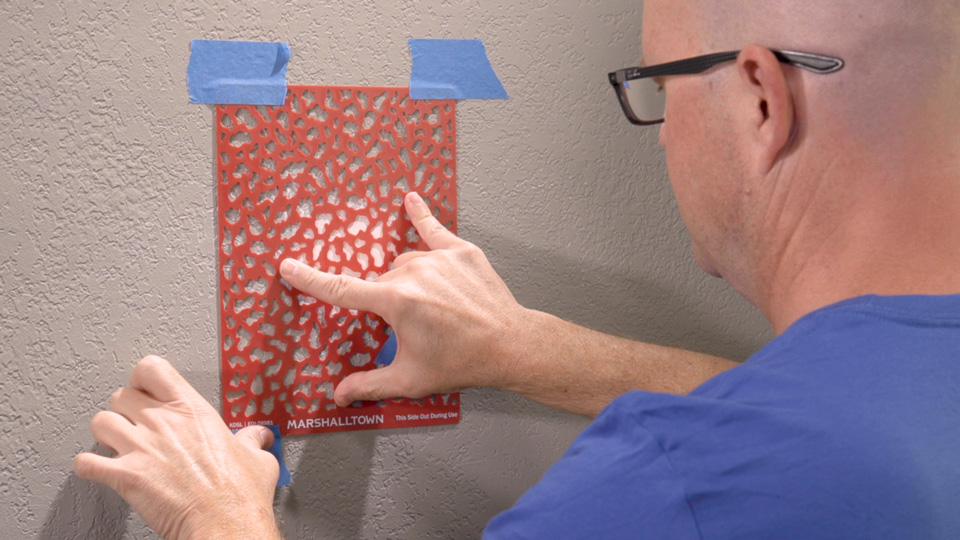
Step 2: Place the Stencil
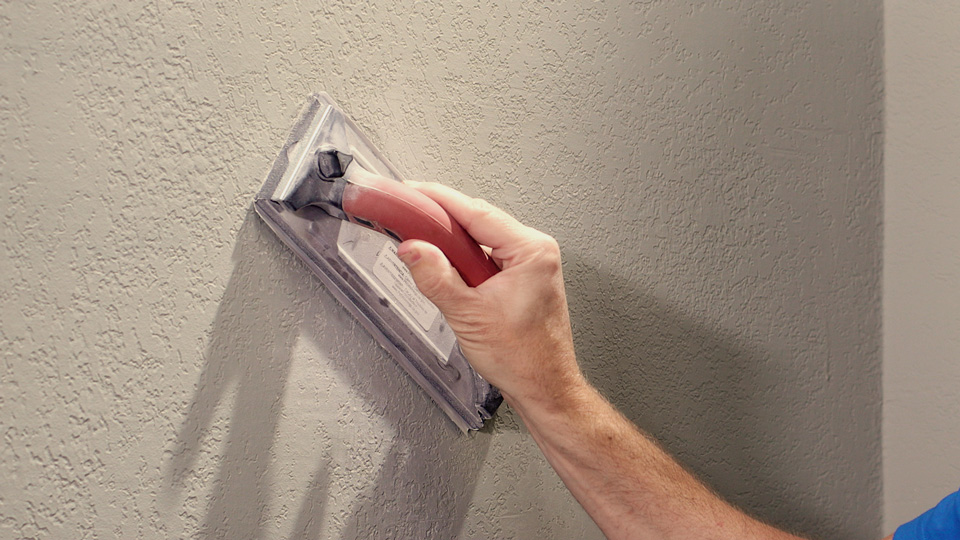
Put the stencil over the area to be repaired. Move it side to side and rotate it to find a good match with the existing wall texture. Then, tape the stencil in place with masking tape.
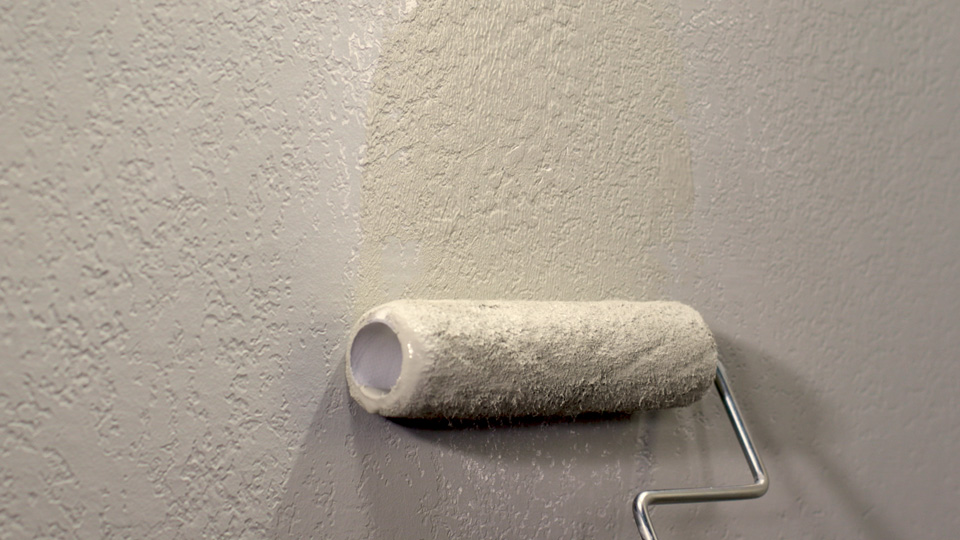
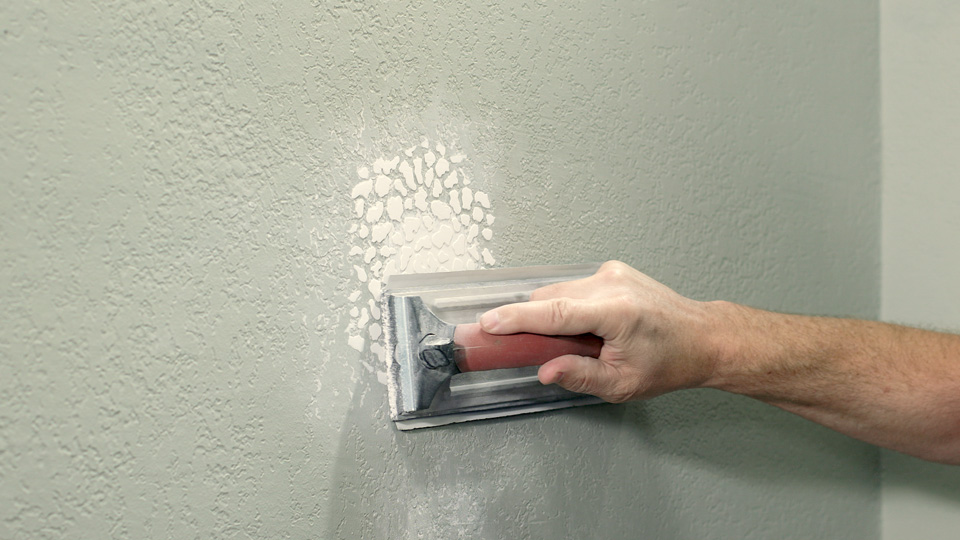
Step 3: Apply Joint Compound
Using a medium-sized joint knife, apply a small amount of drywall compound over the repair area. As you do this, scrape the joint knife across the top of the stencil to keep the texture flat. Slightly overlap the new pattern onto the existing texture around the repair area to blend it in with the rest of the wall.

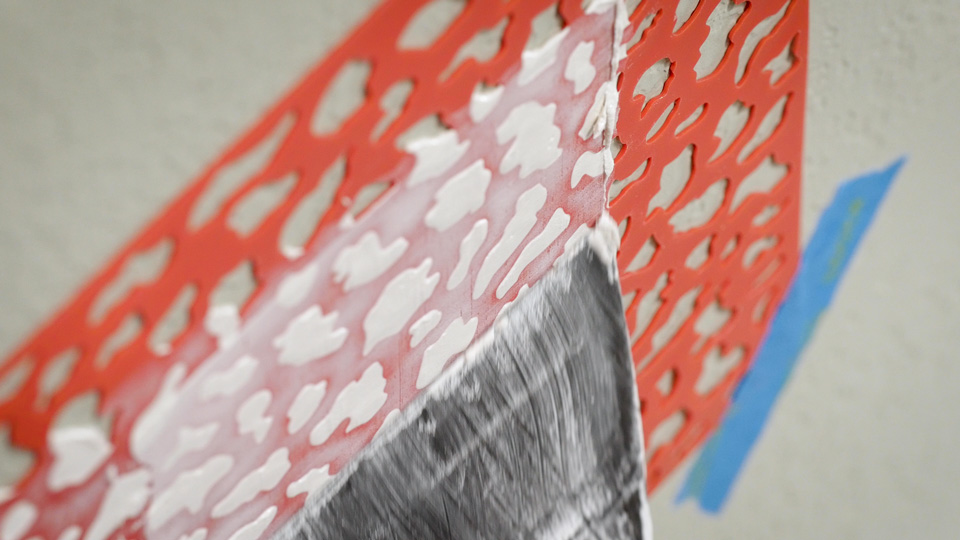
Step 4: Remove and Dry
Make sure to gently remove the stencil while the joint compound is still wet. This will prevent you from pulling off texture if it dries to the stencil. Allow the wall to dry.
Step 5: Clean Stencil
Because the MARSHALLTOWN Texture Repair Stencils are reusable, clean your stencil as soon as possible to keep it nice for future projects. Let it soak in water for 20 minutes, wipe off leftover compound, and rinse with clean water.
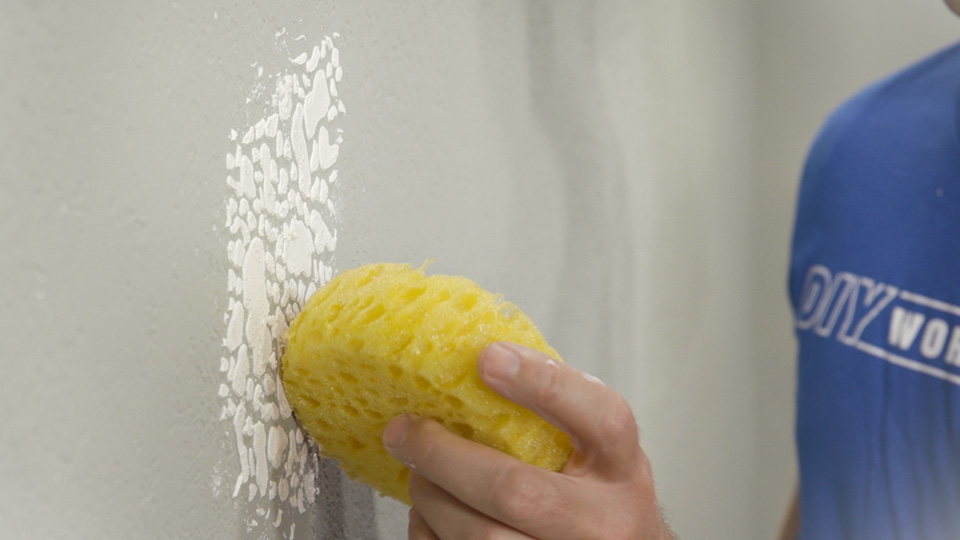
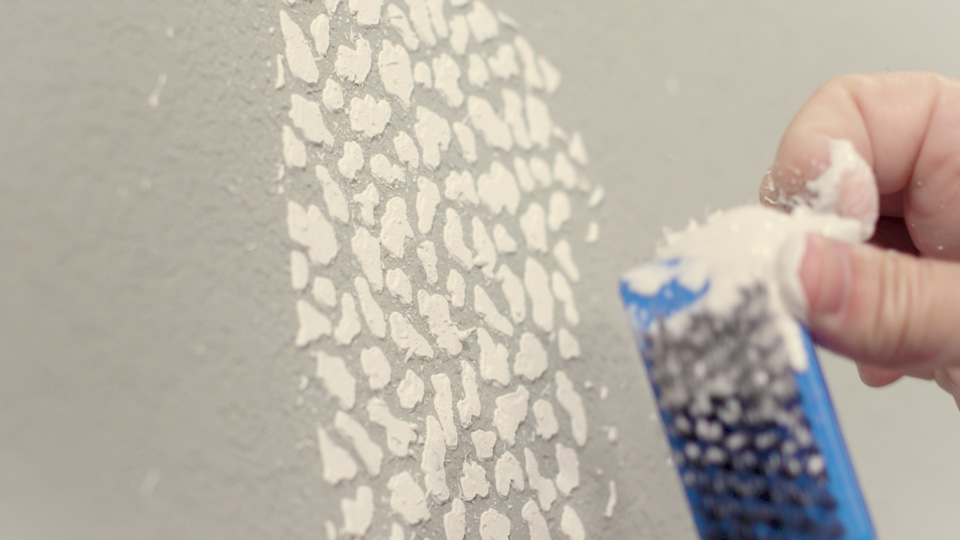
Step 6: Add Additional Joint Compound
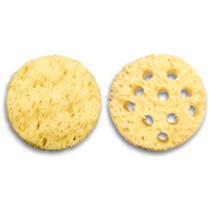
Some walls have additional texture within the knockdown surface. Using a texture repair sponge, dab small amounts of joint compound in and around the textured area. You can also do this by flicking the joint compound off a stiff brush. Both techniques will help the new knockdown texture blend in better with the existing wall.
Step 7: Sand
Now, using your hand sander, sand the texture down to the same level as the existing texture. Practice sanding the sample board first, so you know how much material to remove and how much pressure to apply. When you are satisfied with the test sample, you can move to the wall and start sanding. Work around the edges to feather in the best you can.
If the texture repair doesn’t quite match, don’t worry! It does not have to be perfect. Your goal is to make the repair less noticeable.
Step 8: Finishing Touches
Once the newly textured area is dry, you can apply primer and paint. You’ll be amazed as the repair area blends right in with the existing knockdown texture!